Preparing & Inoculating Bulk Mushroom Substrate

Part 2 : Unit 4 : Preparing and Inoculating Bulk Substrate

Now that your grain spawn jars are fully colonized, it’s time to cook up the last substantial meal for your fungal friends – the bulk mushroom substrate. The Psilocybe Cubensis family is known to grow well on a standard bulk substrate recipe – a mixture of coco-coir / vermiculite / gypsum (CVG).  Once this mixture is prepared and pasteurized – it’s mixed (inoculated) with fully colonized grain spawn inside a clear plastic tote, called a “monotub”. With many evenly spread inoculation points inside the bulk substrate, the tub is covered and left to incubate in a dark, undisturbed area at 22°C – 27°C or 70°F – 80°F for about 10 days. During this time, the mycelium spreads from the grain to the substrate and colonizes it. When all the substrate is fully colonized, your “mycelium cake” will finally be  ready to fruit.

Colonizing bulk substrate
Colonizing Bulk Substrate

Table of Contents - Preparing Bulk Mushroom Substrate

Preparing Bulk Mushroom Substrate for Inoculation

Items needed
Notes & Tips

Video Tutorial : Making Coco-Coir / Vermiculite / Gypsum Bulk Substrate

The video markers above 👆🏼correspond to the the various Steps in this Unit. Click on them to skip to a Step.

Step 1 : Boil Water. Mix Coir, Vermiculite, Gypsum (CVG) in 5 Gallon Bucket

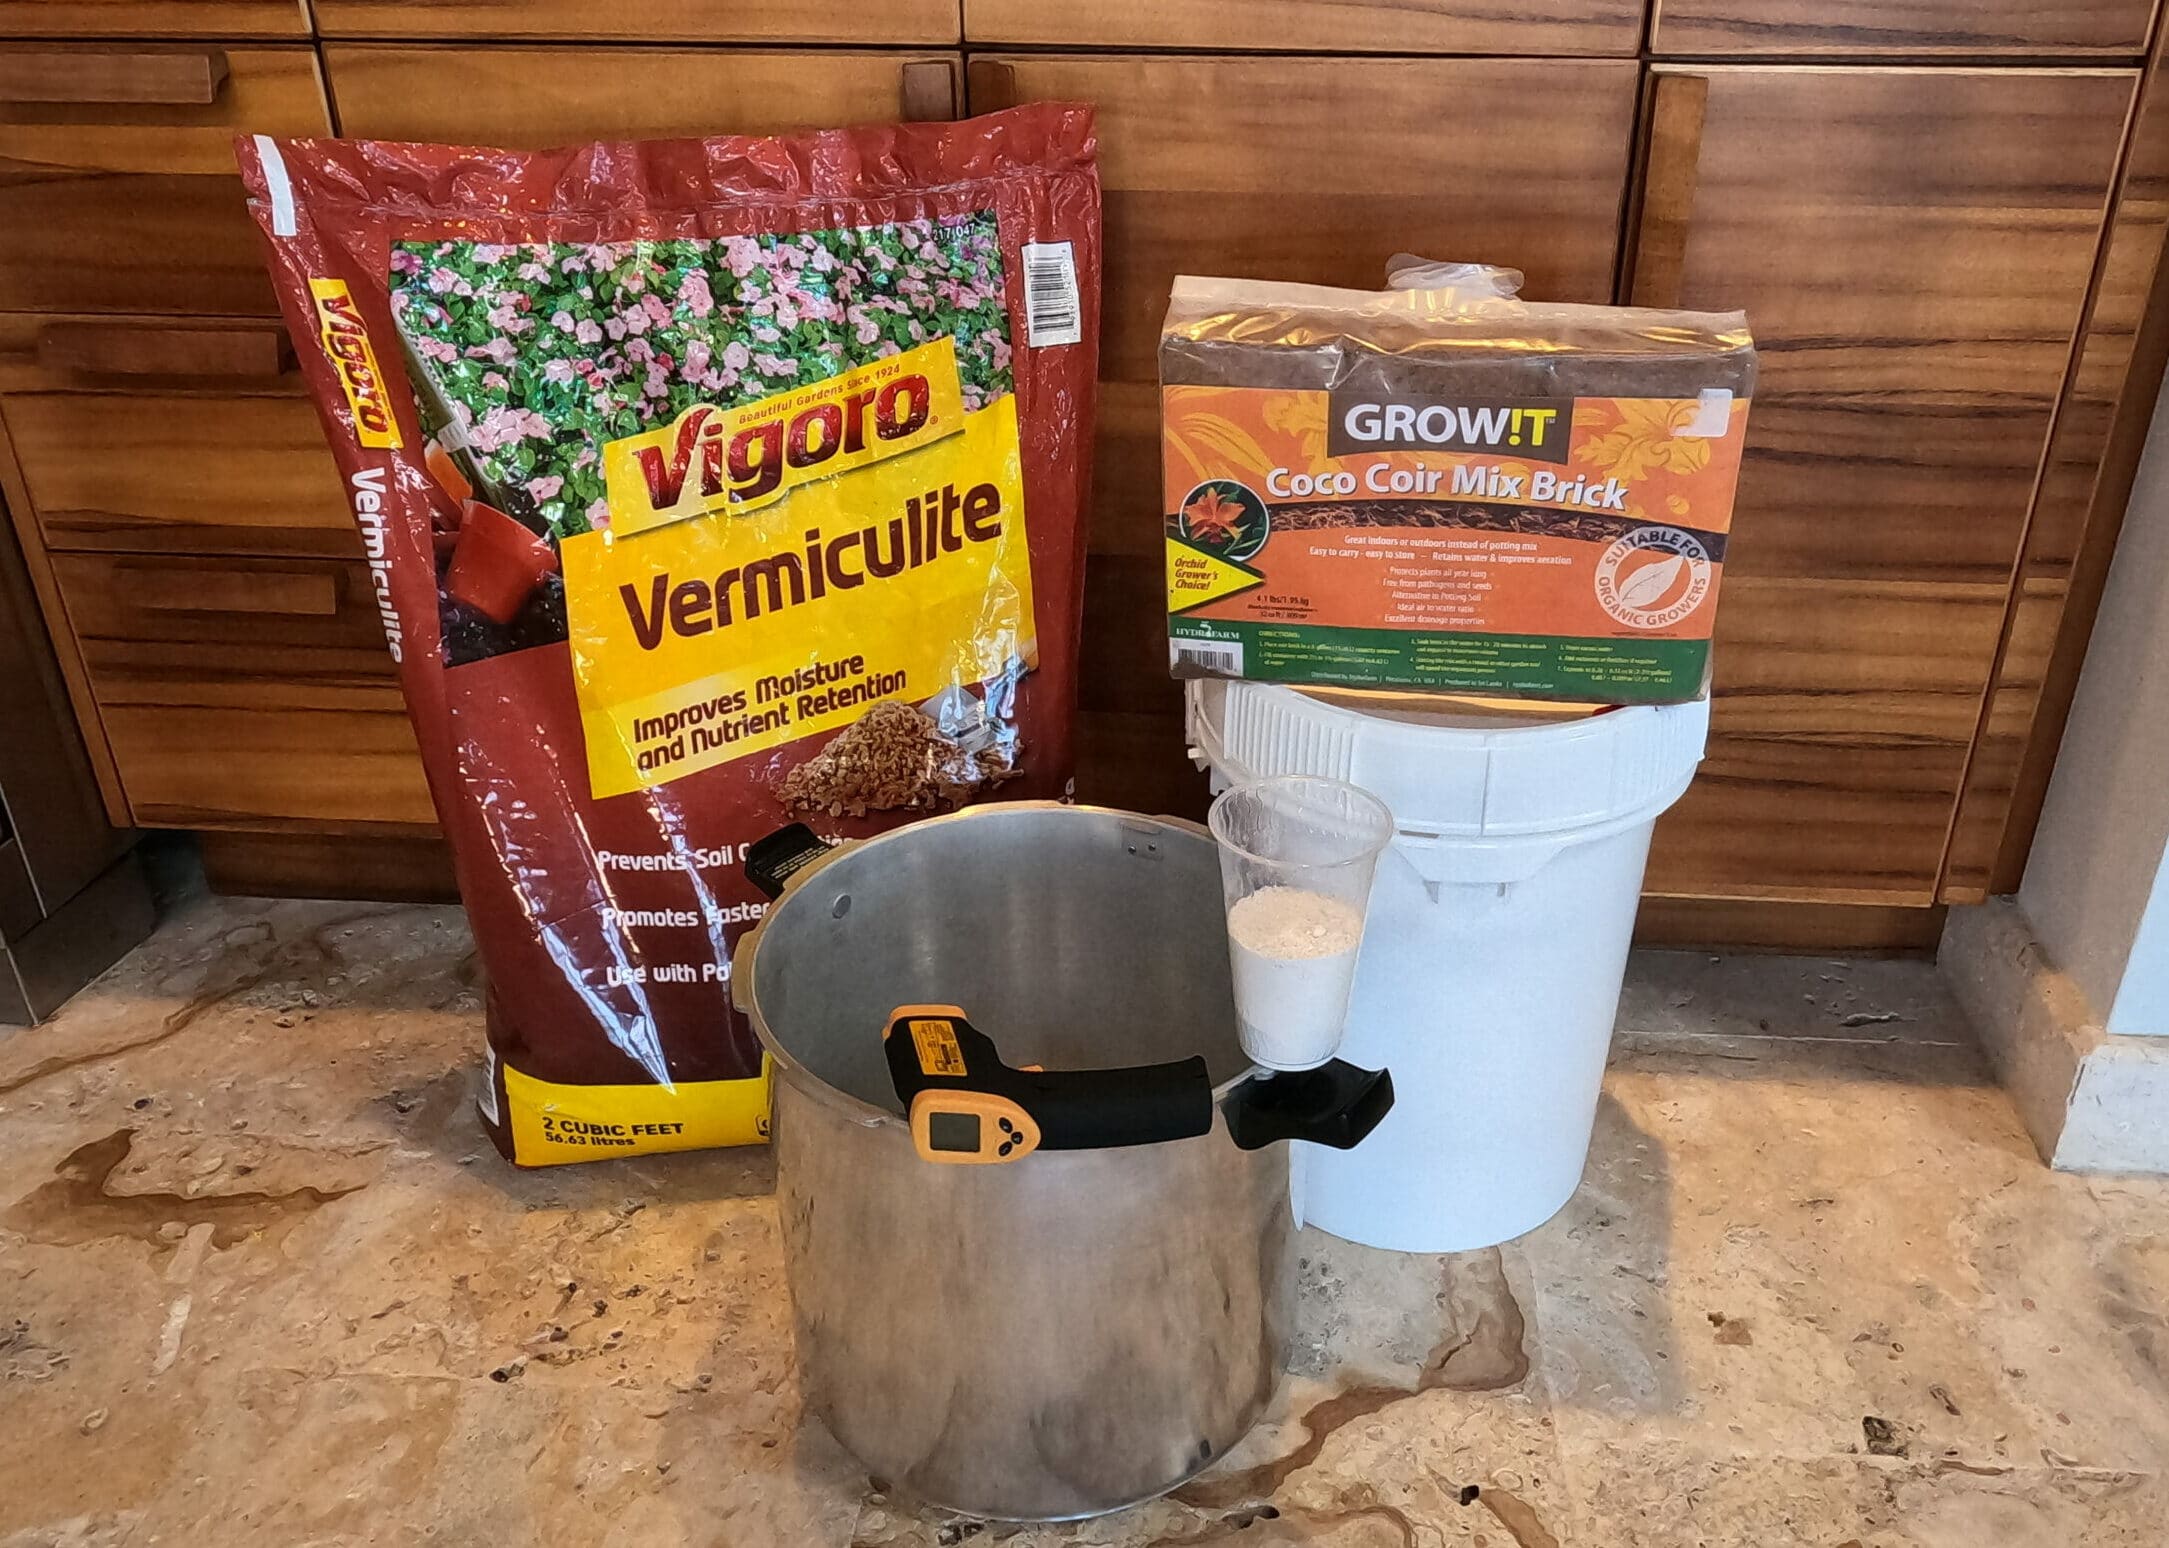
Pour 4 liters of non chlorinated water into the pressure cooker pot and bring it to a roaring boil. While the water is heating up, wash, clean, wipe and then sanitize your bucket and lid, and allow to dry. Place the coco-coir in the bucket, and then mix the gypsum with the vermiculite in a separate bowl and add to the bucket. 

Step 2 : Pour Boiling Water into Bucket and Cover (Bucket TeK)

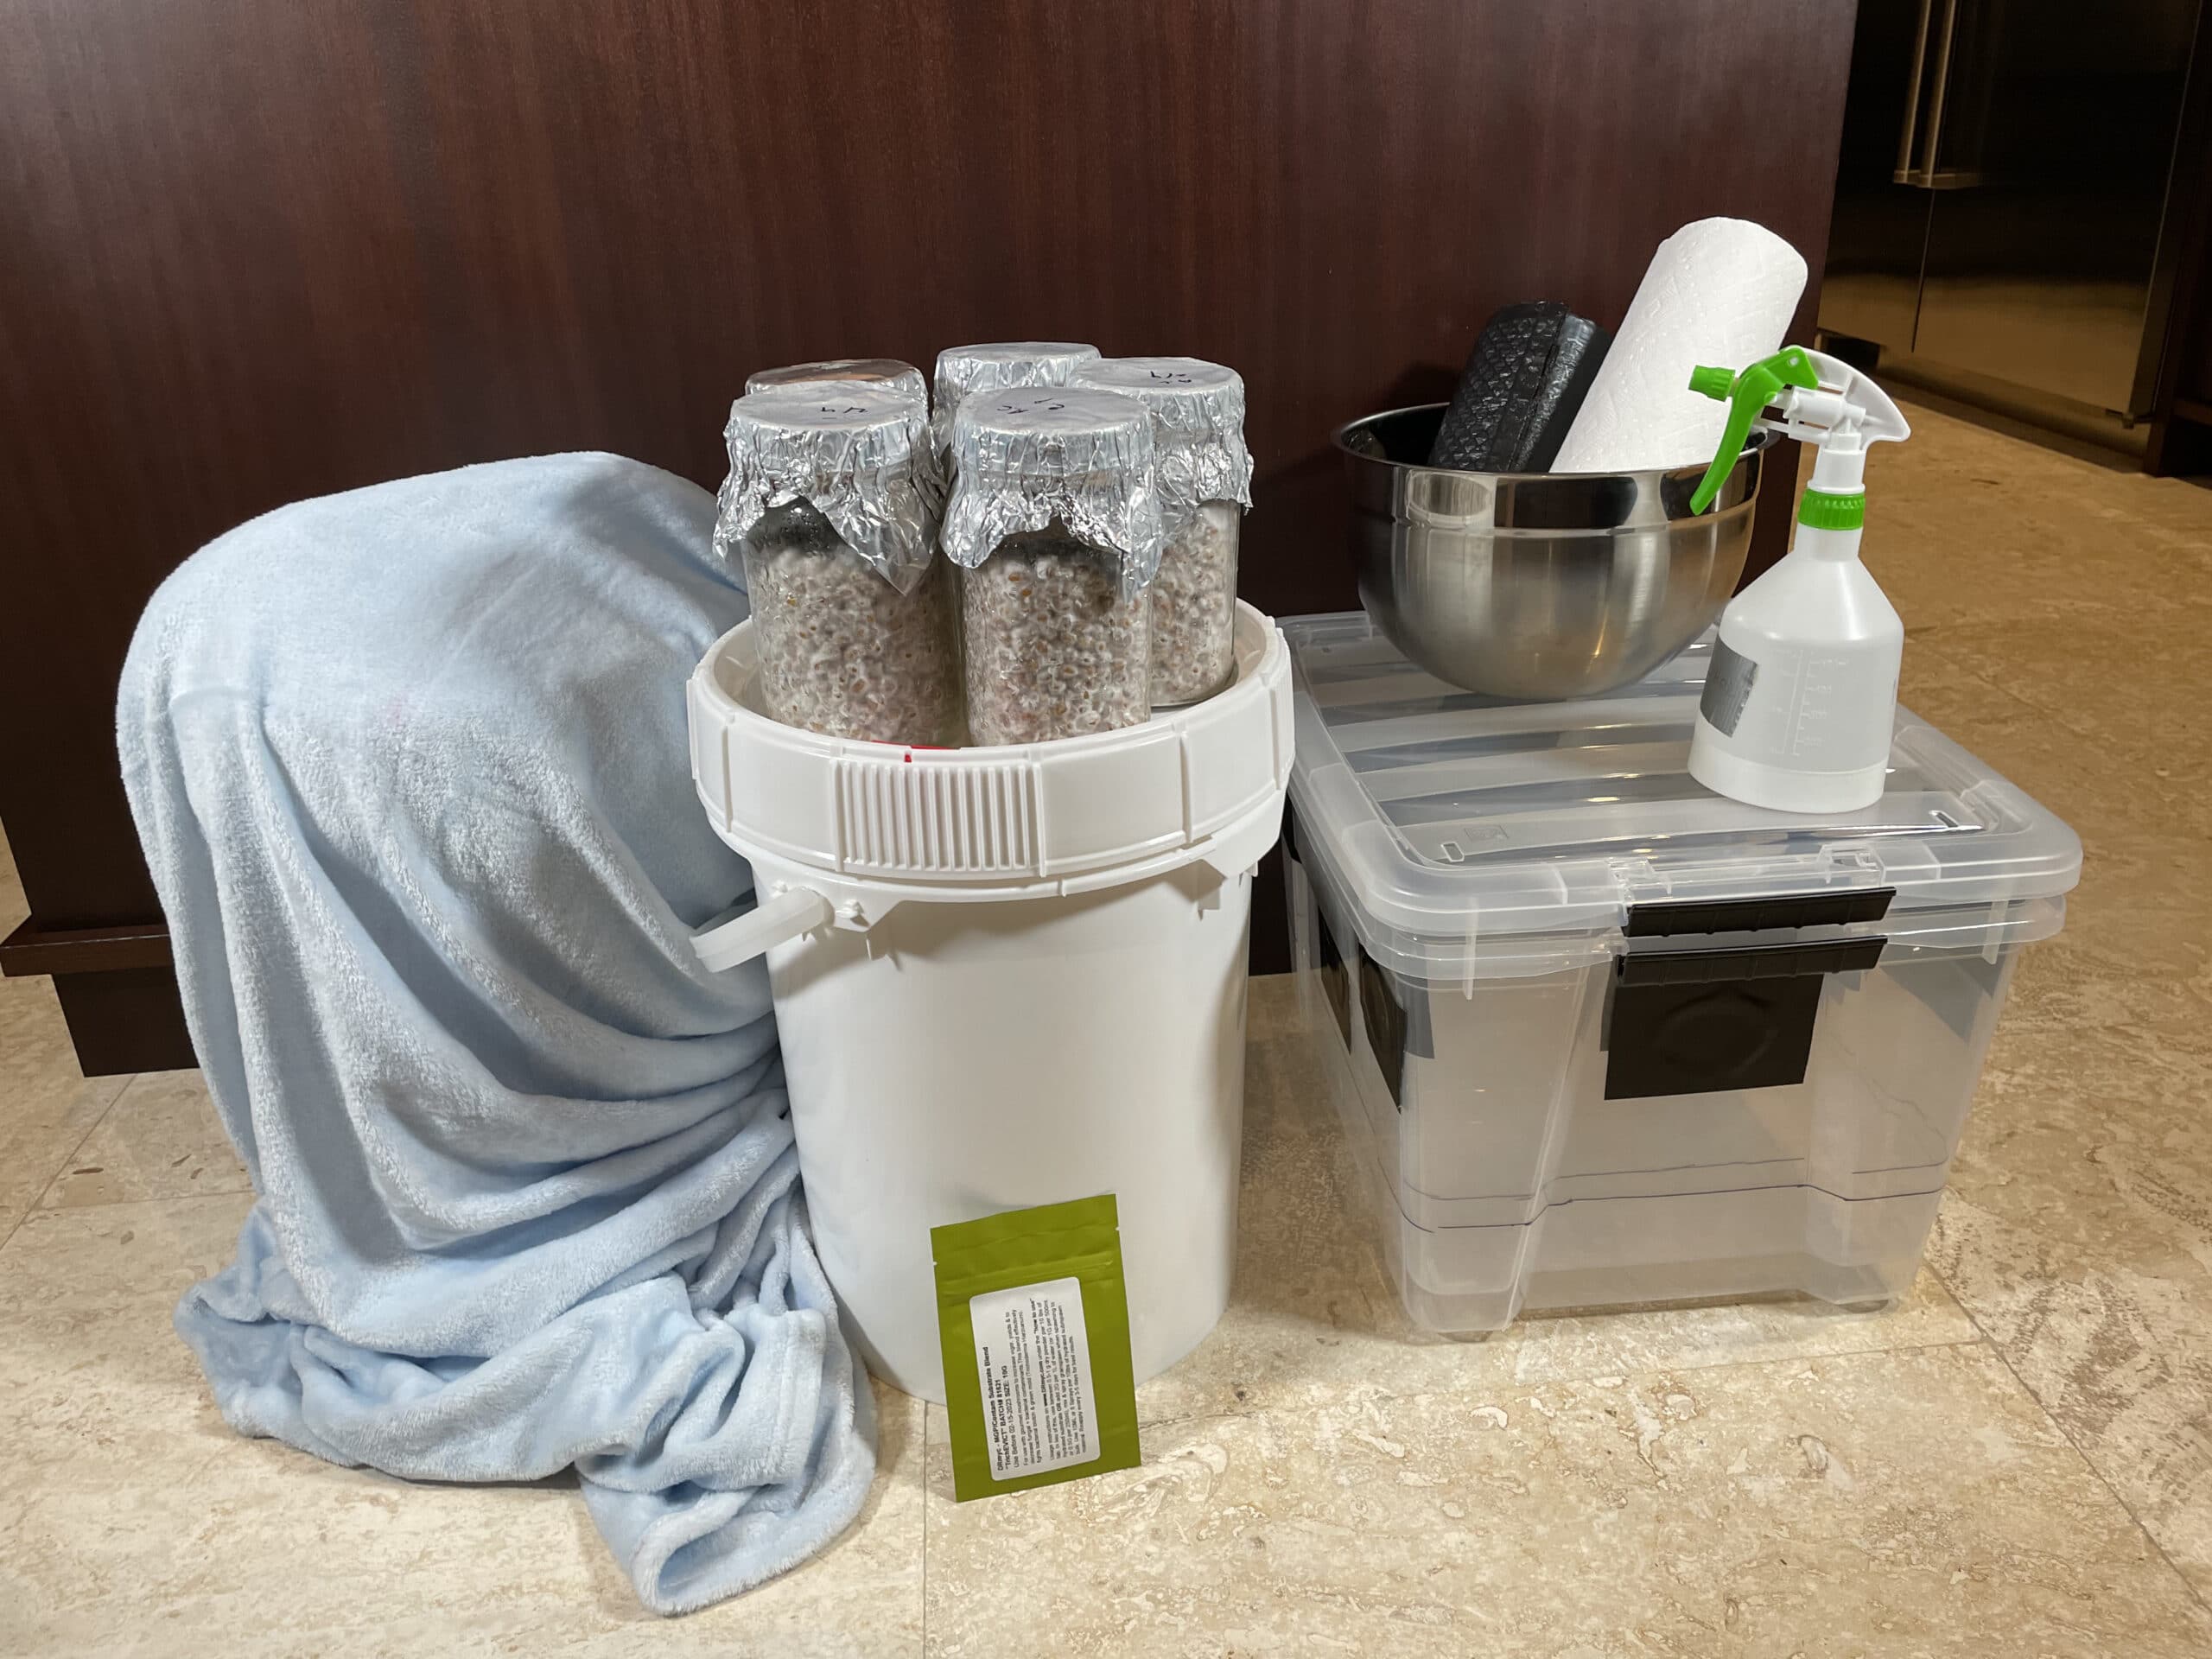
Put some oven mitts on your hands, and very carefully pour the boiling water into the bucket. Cover the bucket with the lid and place in a quiet corner. Cover the bucket with a blanket or towels so it cools down slower, and has more time to pasteurize at high temperatures – ideally 70°C – 82°C or 160°F – 180°F for 3-4 hours. If you make the substrate mixture in the afternoon or evening, you can leave it to cool overnight and then mix it with grain spawn the next day.

Inoculating Bulk Substrate in a Monotub

Items needed
Notes & Tips

Video Tutorial : Setting up your Monotub (Mixing Grain Spawn and Bulk Substrate)

The video markers above 👆🏼correspond to the the various Steps in this Unit. Click on them to skip to a Step.

Step 1 : Prepare Probiotic Liquid (Optional)

This step is completely optional, and depends on whether you opted to use a commercial product called TrichEvict with your grow. If so, start by preparing the probiotic liquid nutrient. Lightly disinfect the funnel, spoon and jug with alcohol and let it fully dry out. Measure out 1 gram of TrichEVICT powder (per 1 liter of water) and put it in the jug. Pour 1 liter of non-chlorinated water into the jug and mix. Don’t use tap water. Use distilled, mineral or water that has been boiled for 20 minutes and cooled to room temperature. Pour the Probiotic TrichEVICT liquid into a spray bottle using the funnel.

Otherwise, if you are not using the TrichEvict probiotic, just prepare about 1 liter of some distilled water, or clean pre-boiled non chlorinated water to add to your substrate in case it needs additional moisturization.

Step 2 : Disinfect Tub, Extra Bucket and Metal Bowl / Pot

Now you are going to disinfect your tub, an extra bucket and a metal bowl or pot, in which you will put some bulk substrate for later use. Lightly mist a paper towel with alcohol. Get your first tub ready. Make sure its clean, and that there’s no debris inside. Lightly spray the inside of the tub, including its sides. Wipe down the alcohol with a paper towel. You don’t need to wipe the tub completely dry – the thin film of alcohol will evaporate in a few minutes. Wipe down the inside of the tub lid as well. Place both tub and lid aside and allow the alcohol to evaporate from them.

Disinfect the metal bowl or cooking pot which you will use to keep some extra substrate aside. This extra substrate will be used as a “casing layer” –  a very thin top layer which you will eventually put on the surface of the grain / substrate mixture. Now it’s time to clean and disinfect the extra bucket which you will use to divide the substrate into two batches. Disinfect the bucket and lid. You will later use the buckets as “mixing bowls” for the grain spawn and bulk substrate. You need two buckets, because you want to divide your substrate/grain mixture between the two. This way, if one of the jars is contaminated, you will still have one viable tub.

Step 3 : Open Bucket with Pasteurized CVG and Mix Well

Now it’s finally time to open your pasteurized bulk substrate. Touch the bucket to make sure it is at room temprature before using it. All the ingredients will need a good mixing now. Break up the coco-coir brick and pulverize all the small chunks. Slowly work your way down to the bottom of the bucket. The gypsum tends to accumulate in the bucket corners, so really dig down and mix everything well. By mixing, you’re also distributing the water content in the substrate more evenly.

Step 4 : Check for Proper Field Capacity in Bulk Substrate

Ideally, you want there to be just enough water in the substrate for the mushrooms to be happy, but not so much that your tub gets waterlogged. This magical balance point is called “field capacity”. If you used our recipe, you should be good to go. To test field capacity, tightly squeeze a handful of substrate. You should barely be able to squeeze out a few drops of water. Mix well every time you add water. You really want to spread the water around evenly. If you find that you have exceeded field capacity and the substrate is too wet, squeeze the excess liquid out until field capacity is reached. Close the bucket.

Step 5 : Put a few Handfuls of Substrate Aside. Split the rest Between the two Buckets.

Next, take 3 large handfuls of substrate and put them in the metal bowl / cooking pot. Disinfect a ladle which you will later use to split the substrate between the buckets. Open the second bucket and use the ladle to divide the substrate evenly between the buckets. If you have a weight scale, you can check to see if the buckets weight the same when you’re done. If you don’t have a scale, you can estimate the 50% split visually. You can also lift the buckets to feel their weight. Cover both buckets and put one of them aside. You will use it later.

Step 6 : Break up Grain Spawn Jars

Now it’s time to break up the spawn in the jars. Get something to soften the blow on the jars, like a book and / or a towel. Remove the aluminium covers from the jars. Inspect each jar for contamination. Green moulds, black fluff or slime are all bad signs. Only use the jar if it has clean, white mycelium going all through the grain. Now take the jars one by one, and start tapping them on the towel and book. You want the grain to break up so that you will be able to pour it out of the jar. Don’t tap it too hard. Just go slow and steady. Once completed, leave the jars closed, and bring them back to the bulk substrate buckets.

Step 7 : Pour Grain from 3 Jars into First Bucket and Mix Well

Grab the Dr Myc spray bottle you made earlier, and 3 grain spawn jars. Open the first grain spawn jar, and carefully sniff it. It should have a clean smell. Do not use a jar if it smells rancid or sour.  Pour the grain into the bucket.  Repeat this process with the remaining 2 jars. Don’t forget to sniff them too. Now you want to mix the grain spawn with the bulk substrate until the grain is evenly mixed throughout. Now we can add some more Dr MYC spray. Shake the bottle around and spray the bulk substrate several times, as you mix it around.  Occasionally, spray a bit more. Once everything is mixed well, close the bucket. You’re going to transfer this to the monotub now.

Step 8 : Line the Monotub with a Bag and Transfer the Mixture Inside

Take out a new, large, clean trash bag and use it to line the tub. Take time to get the bag aligned well. You want to make sure it’s evenly placed in the tub and will be able to hold the substrate from all sides. Spray the bag lining evenly with some Dr MYC. Use the ladle to transfer the grain / substrate mixture from the first bucket to the monotub. Make sure not to get any grain / substrate between the tub and the bag lining.

Spread the mixture evenly in the lined monotub. Feel free to spray some more Dr MYC on the substrate between ladles. Pour any remaining substrate into the monotub. Gently pat down the mixture. You wan to straighten it, not compact it. Make sure all the 4 corners of the tub are patted down and filled in well. You can use the 3 inch mark you drew earlier on the monotub to verify that you have an even thickness throughout the mixture.

Step 9 : Apply a Thin Casing Layer on the Mixture

Take a handful of the clean substrate which you placed earlier in the metal bowl, and sprinkle it over the mixture. You want to create a thin, even layer of grainless substrate that just covers the grain/substrate mixture. Spread this casing layer around evenly all over the surface, and gently pat it down. Spray a final round of Dr MYC on the surface of the casing layer. Make sure you get all the sides and corners as well.

Step 10 : Cut Away the Excess Trash Bag Around the Mycelium Cake.

Get a scalpel or sharp blade. You’re going to cut the excess bag from about 2 inches above the substrate. Press the blade against the tub and cut across the plastic bag on all four sides of the tub. Give your tub a last pat down, just in case anything moved around as you were cutting the plastic bag. Add one last final spray with Dr MYC. Spray only the casing layer, don’t get the sides of the tub wet. Cover the tub with its lid.

Step 11 : Cover Monotub and Put in Incubation for 10 Days.

Your Monotub is officially going into incubation for about 10 days now, and should not be opened until then. Mark and date and the sub species on your tub. Take your tub into a quiet dark room with ambient temperatures of about 24°C – 28°C, or 70°F – 80°F. Cover with a blanket or turn off the light. Incubation should be done in the dark. Repeat the process with the second tub and use a fresh pair of gloves for each tub. During the 10 day incubation period, you can peek into the tub through the lid, using a flashlight, but do not open the lid!

Next Unit: Fruiting and harvesting – this is the most exciting step in mushroom cultivation. Watching tiny sized pins grow into full sized fruits in a few days. We show how to dry and store them for long term preservation. 

13 Responses

  1. I want Enigma! What is the potency of those freaky, mean, weird mutants. Mentioned test revealed it was stronger. I really like the way you have the truth! Spread it to the people. CVG’s are where it’s at! Mono tubs. I mean you did a great job with this. And I would like to thank you for that.

  2. I found it confusing using measurements of 600g( by weight ) v in the written instructions and using volumetric measurements of 4q in the video.

    My 600 g vermiculite was like 8 quarts
    Go figure

    1. Good question. The yield depends greatly on many factors, such as nutrient levels of the substrate, temperatures, fruiting conditions, humidity, contamination, etc. Assuming everything is dialed in, a yield of about 1-1.5 kilos of fresh mushrooms can be expected. When dried out, this could end up being around 120g dried mushrooms. This yield could be increased substantially (x3) if a more nutrient rich substrate was used, for example, including dry horse manure to the CVG substrate before pasturization. This however, may also increase the risk of contamination, which is why we don’t recommend you try this as your first growing experience.

    1. Yes. If you’re not interested in generating more growth from the LC / petri dish, you can store them in a fridge for extended periods of time. I have had liquid cultures stay viable for several months in the fridge.

  3. If I am using a 66qt mono tub, what is the ratio of all the ingredients needed including how many qt jars of spawn? Thanks.

    1. A 66qt monotub should be large enough to hold all the substrate made in a single tub using the recipe on this site. Ratios wouldn’t need to change.

  4. Very clear and easy to understand. Thankyou! I have done maybe 6 grows succesfully since Oct. 2022. Funny Every time I get ready to put the spawn to substrate I have to look this up. This time I found you. Why do others try to complicate such an easy straightforward process I don’t know. But after reading your “How to” I don’t think I’ll have to look it up again. Thanks.
    1 question. This time I am using a peat moss and vermiculite calcium mixture that I had from another vendor. I decided to add about half Coco coir before I pasteurized. Does this sound like a good idea to you? I haven’t added spawn yet. Just curious what you think. Thanks in advance!

    1. Two things, and a suggestion: 1) If i remember correctly, peat moss and calcium hydroxide is often used as a casing layer for the substrate, to protect it from contaminants and to help keep it hydrated. I don’t think it should be used as a substrate itself. 2) There’s always a very delicate balance with bulk substrate. On one hand you want there to be as much nutrients for the mushrooms as possible, but on the other – the more nutrients, the more likely to contaminate. I suspect all the complexity around the topic which you are reading has to do with that. Some people add cow/horse manure, some use worm castings, others just CVG. My suggestion is this: For the first few grows, use CVG only, until you feel confident in the grow process. Once you have a few successful grows under your belt, try to improve your bulk substrate by adding 30% composted / sun dried horse manure to your it (of course, after a really good pasteurization). You will notice a big difference in the fruiting bodies. Good luck!

  5. I’ve always been a visual learner and after scouring forums for hours with little progress, ive learned everything ive needed in about an hour watching your videos. Thank you so much 🙂

    Setting up the monotub doesn’t seem very sterile and seems risky in that respect? No SAB, colonised grain out in the open air for long periods of time. If it didn’t work you wouldn’t have made it this way I know :), I’m just curious why I’m wrong?

    Thanks again.

    1. Thank you! Your instincts are correct. Once you break out that colonized grain out of the bag / jar, you’ve already subjected it to contamination. However, at this stage of development of the mycelium, with the large amount of contact / inoculation points the mycelium gets with the substrate, it ends up colonizing the substrate very fast, and out-competes the other nasties. So while the first few stages of mushroom cultivation need to be sterile, this last part does not. Saying that, the less contamination you introduce into the monotub process, the better, as your mycelium cake will get more flushes and milage. For more sensitive species and substrains, i will occasionally make my monotub in front of a flow hood…but the process is too complex (for me) to do with a SAB.

Leave a Reply

Your email address will not be published. Required fields are marked *

This site uses Akismet to reduce spam. Learn how your comment data is processed.