- 🍄 Grow Magic Mushrooms
-
-
🍄 Online Course Navigation
The cultivation process is divided into two Parts. Each Part consists of "Units", and each Unit is broken down into steps.
-
-
- 🗞️ Blog Articles
Fungi.org Blog Post Categories
You can visit the Blog Home Page, or check out specific categories below.
- New to MushroomsBasic concepts of Magic Mushroom cultivation.
- Magic Mushroom Edible RecipesTasty foods and edibles made from magic mushrooms
- Psychology and PsychedelicsNEWArticles covering psychology and psychedelics
- Mushroom Cultivation TipsNEWStep-by-step tutorials around Mushroom cultivation.
- 🌈 Resources
- 📩 Contact Us

30 Responses
Hi!!! Thanks for this tutorial!!! One question how much weight can you make out of this same set up? I just bought the same following your instructions… Thanks you so much!
Total crop can vary due to the nutrients, number of flushes, contamination, etc. Saying that, you can expect anywhere from 600-1200 grams of wet mushrooms from this setup (or more, if you keep clean flushes).
I have a question about a second fruiting. Since there are many more mushrooms left, can you let them grow and pick the second batch after initial harvest? Or should you only harvest the first fruiting and then toss the remaining spores that need more time since they are farther down in the substrate? Thanks in advance.
Good question. I find that for me, this depends whether the growth in the tub is even or not. In tubs with even growth of the mushrooms, where they are mostly the same shape and size, I usually harvest them all, then clean the substrate from remaining undeveloped pins (to avoid the rot), and then re-inject with liquid. Sometimes the tub grows unevenly, and then it’s more of an ongoing process of picking and rehydrating than straight flushes.
Helo,
Very nice instruction. Thanx. I was just wondering, you say “be careful not to let any water droplets fall on the surface of the mycelium”. If there is a lot of condensation and dropping of huge droplets mycelium… what is the down side of it? How to go about afterwards? I guess a thic layer of mycelium formes instead of fluffy small pins…
Thank you! Water can suffocate mycelium if it pools on top of it, and usually prevents the area covered with water from pinning. Also, pools of water on top of the mycelium may indicate that your CVG substrate was over hydrated, so you can dial your water ratios better next time around.
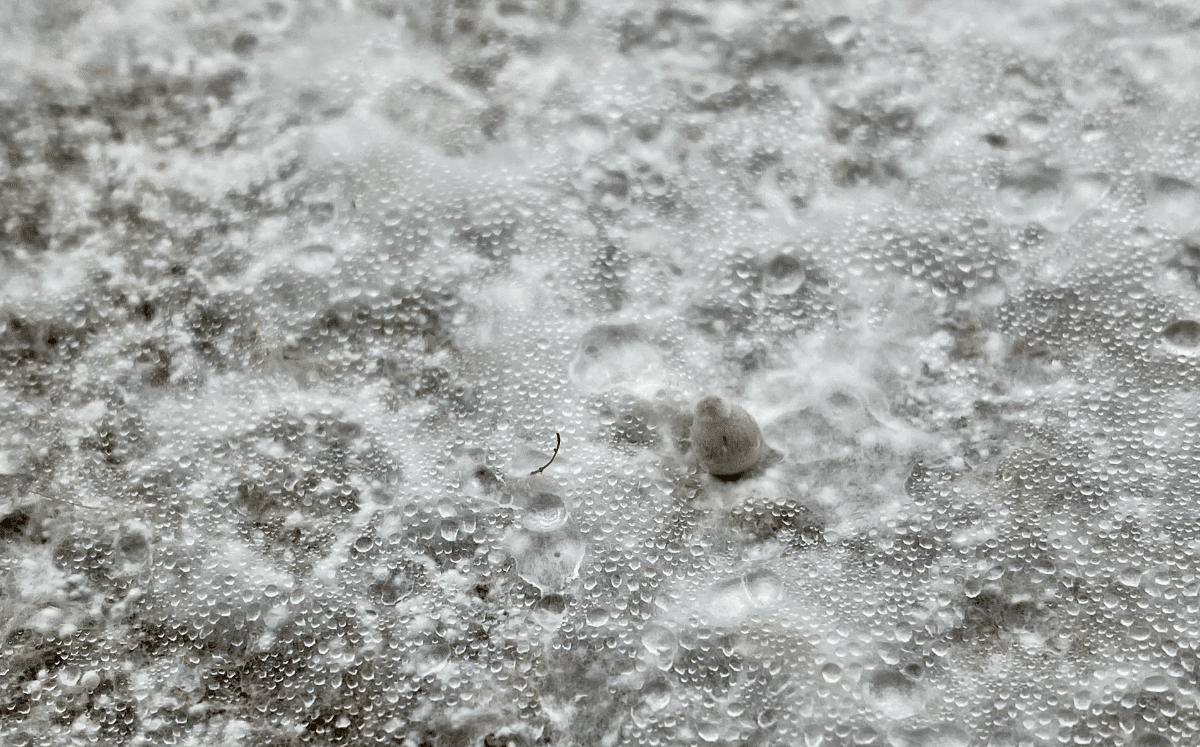
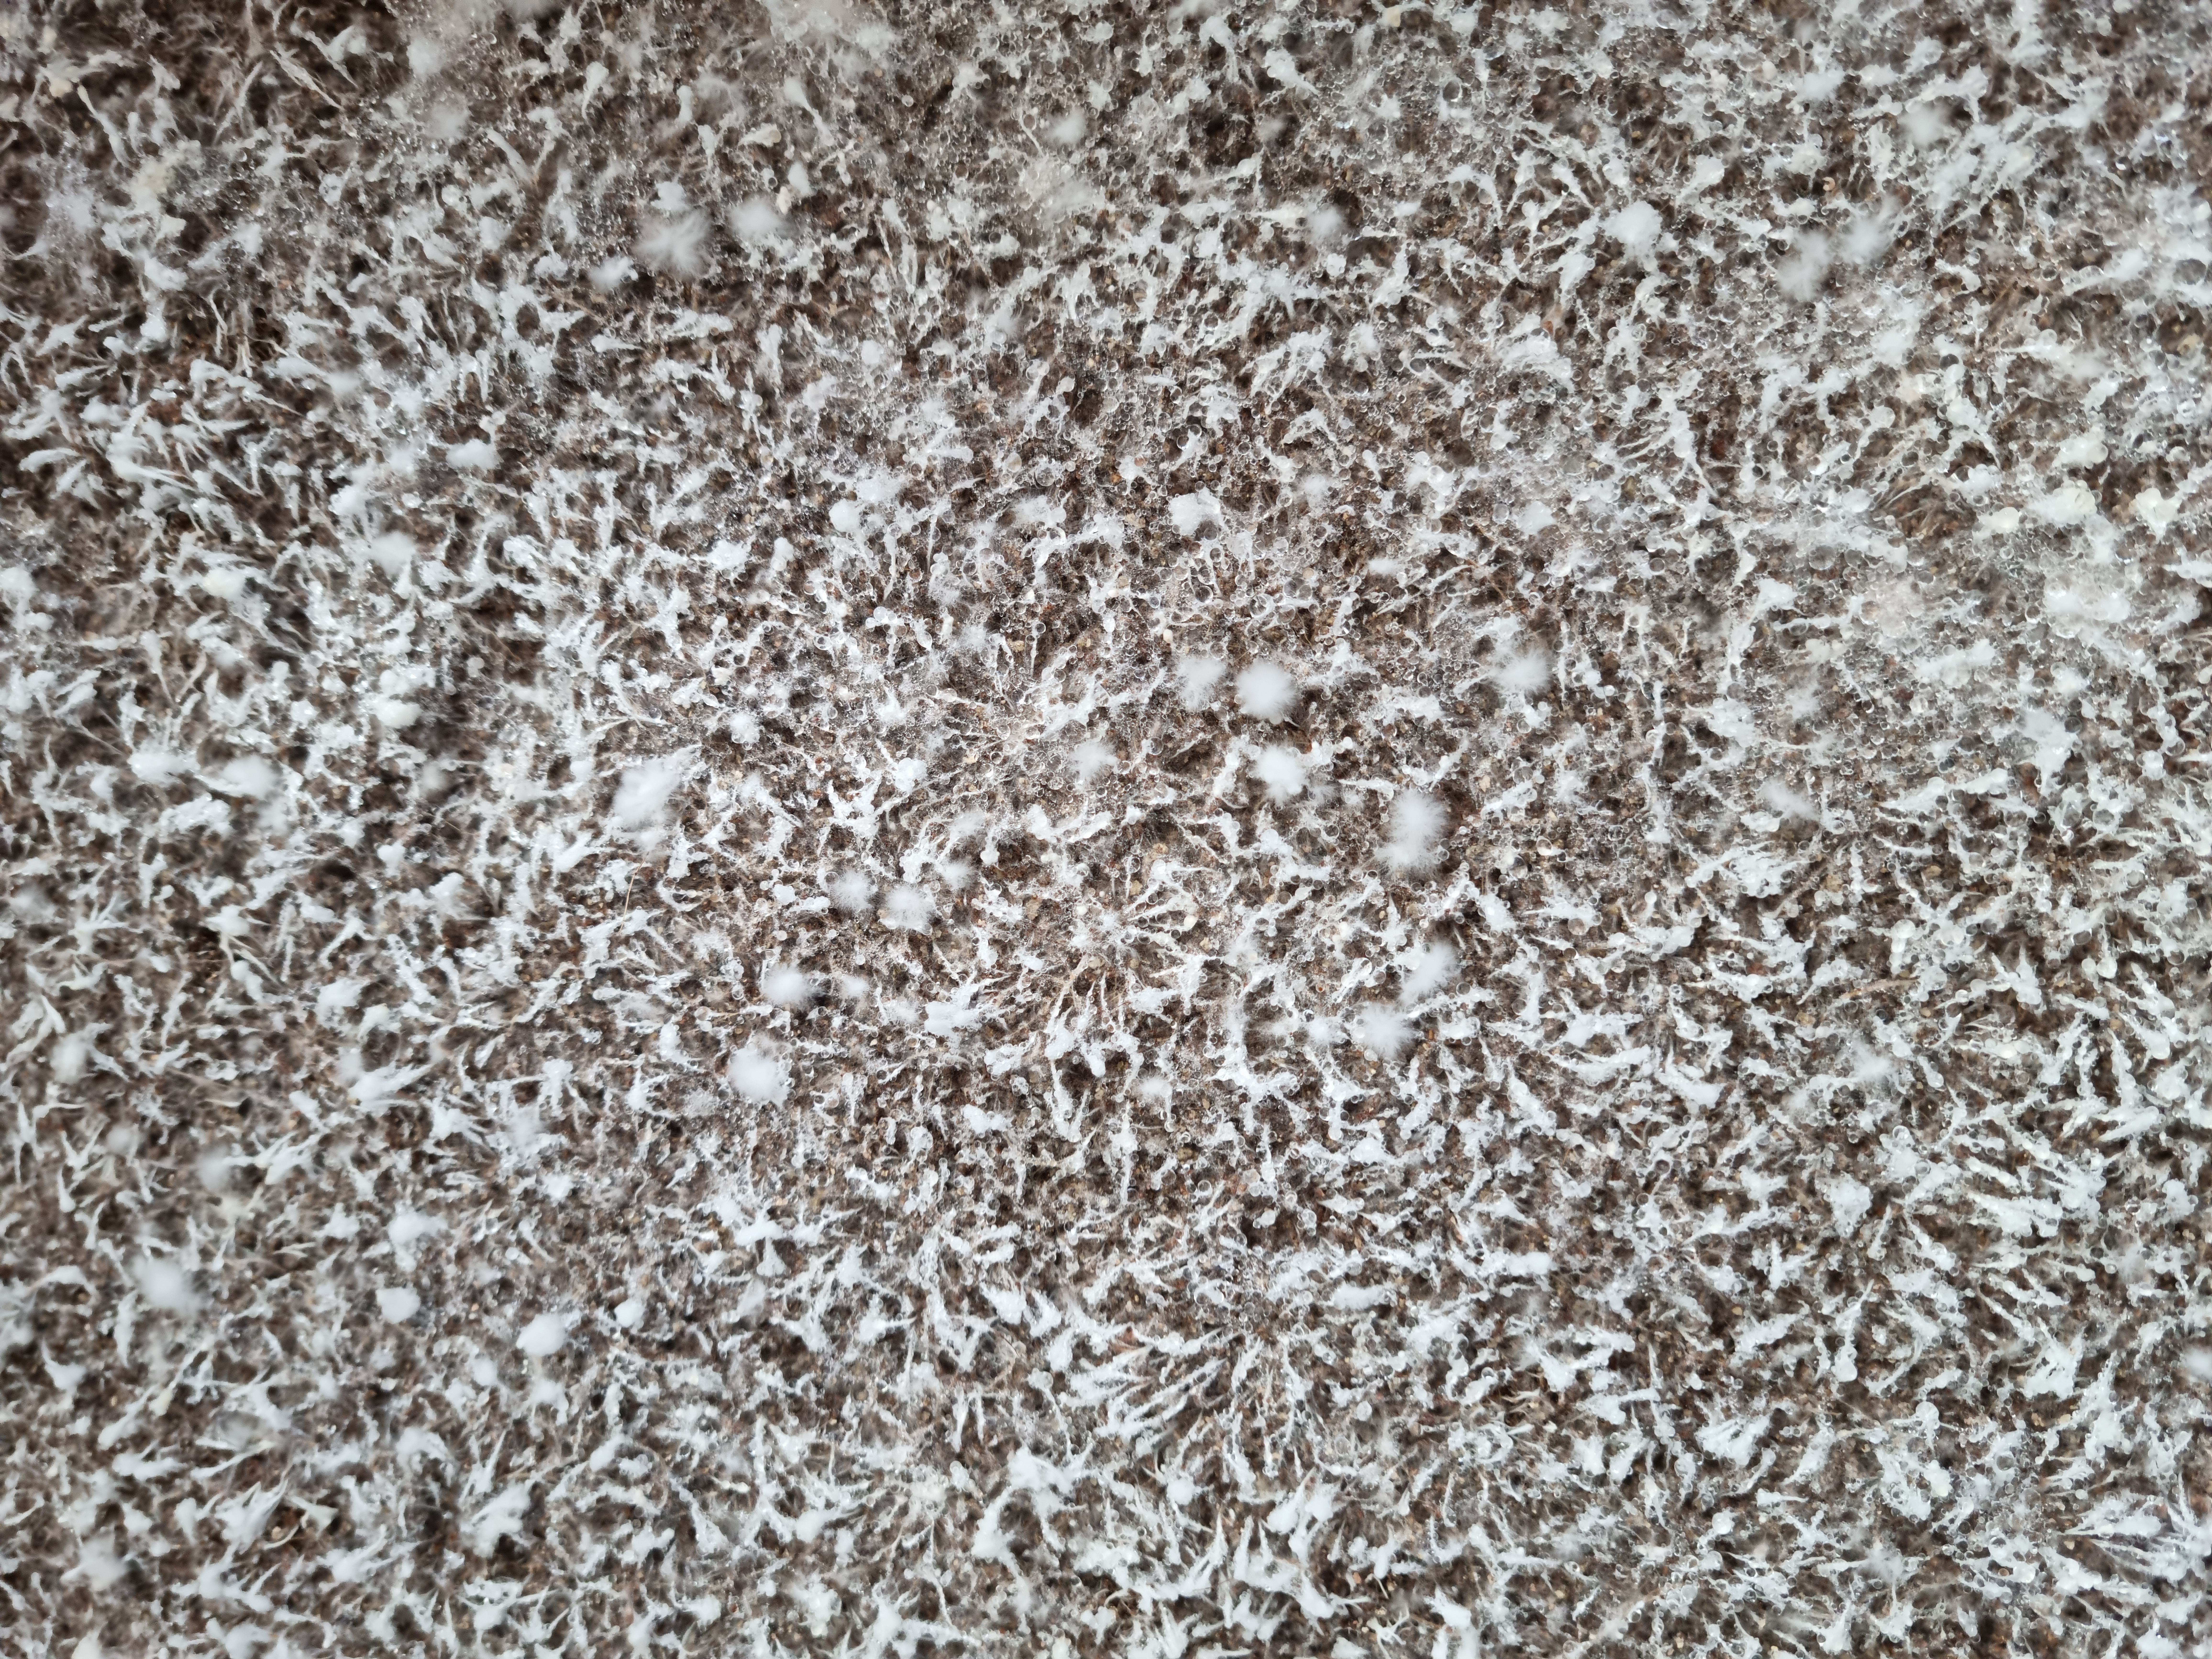
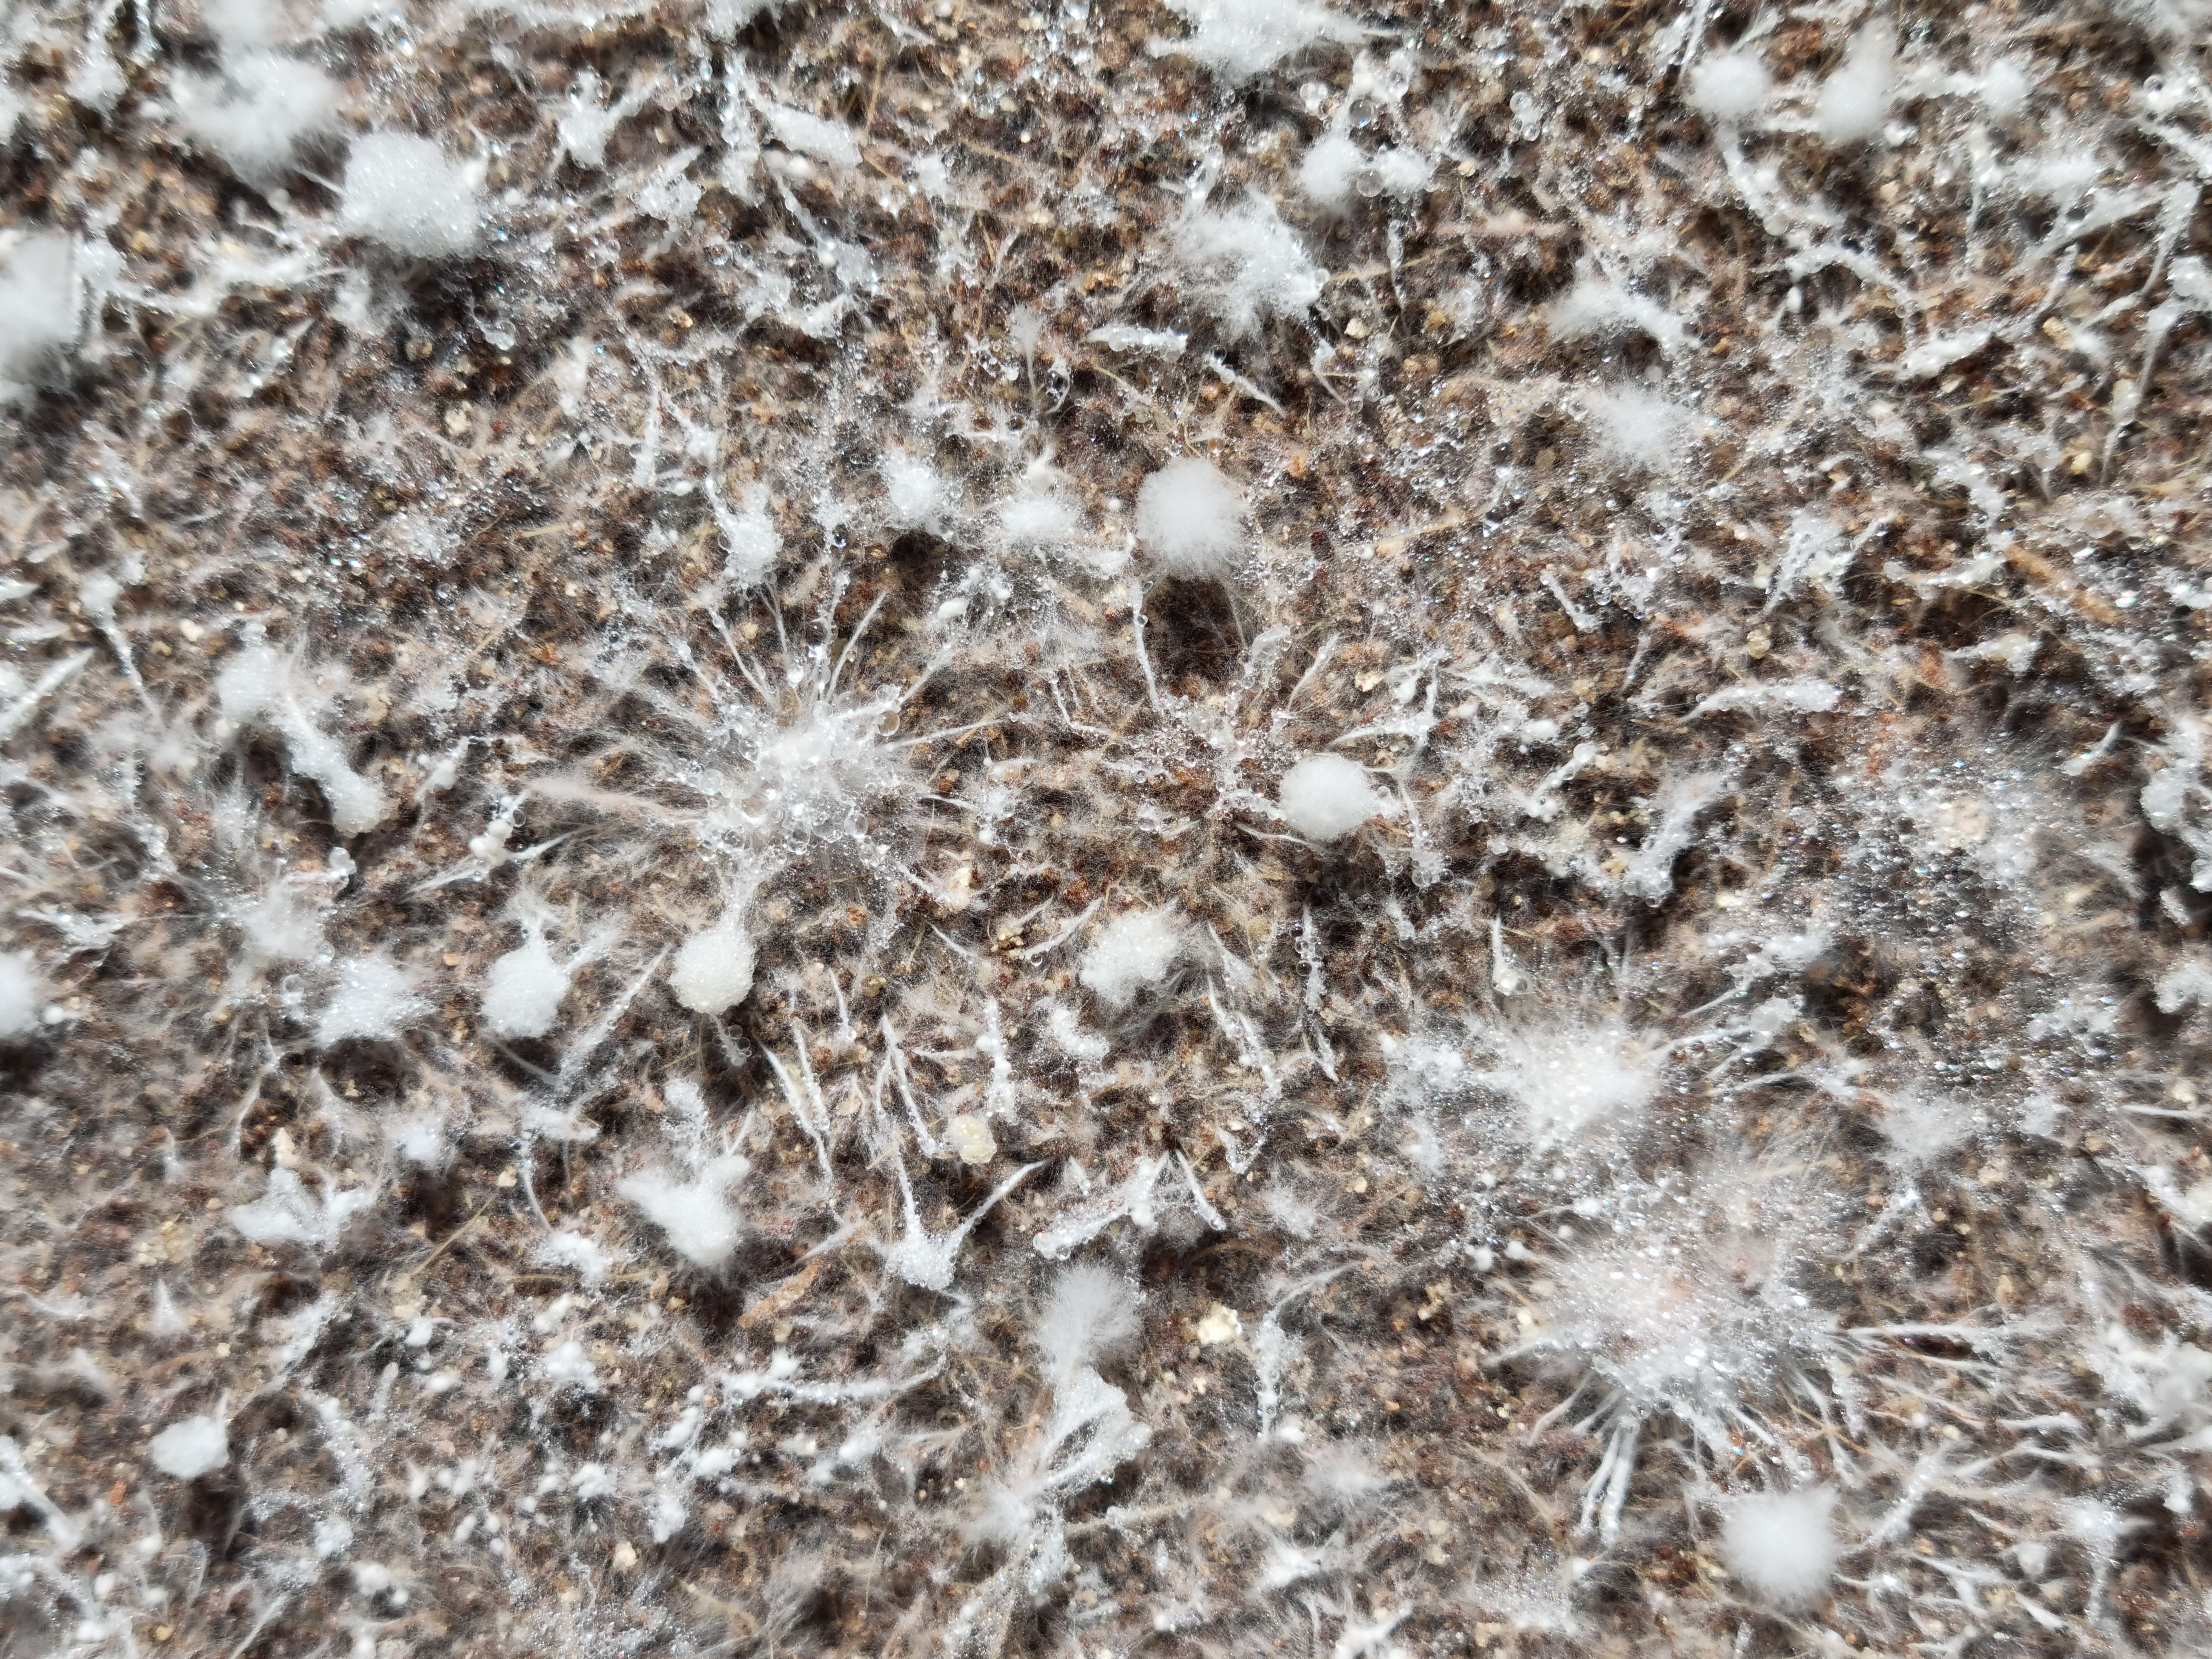
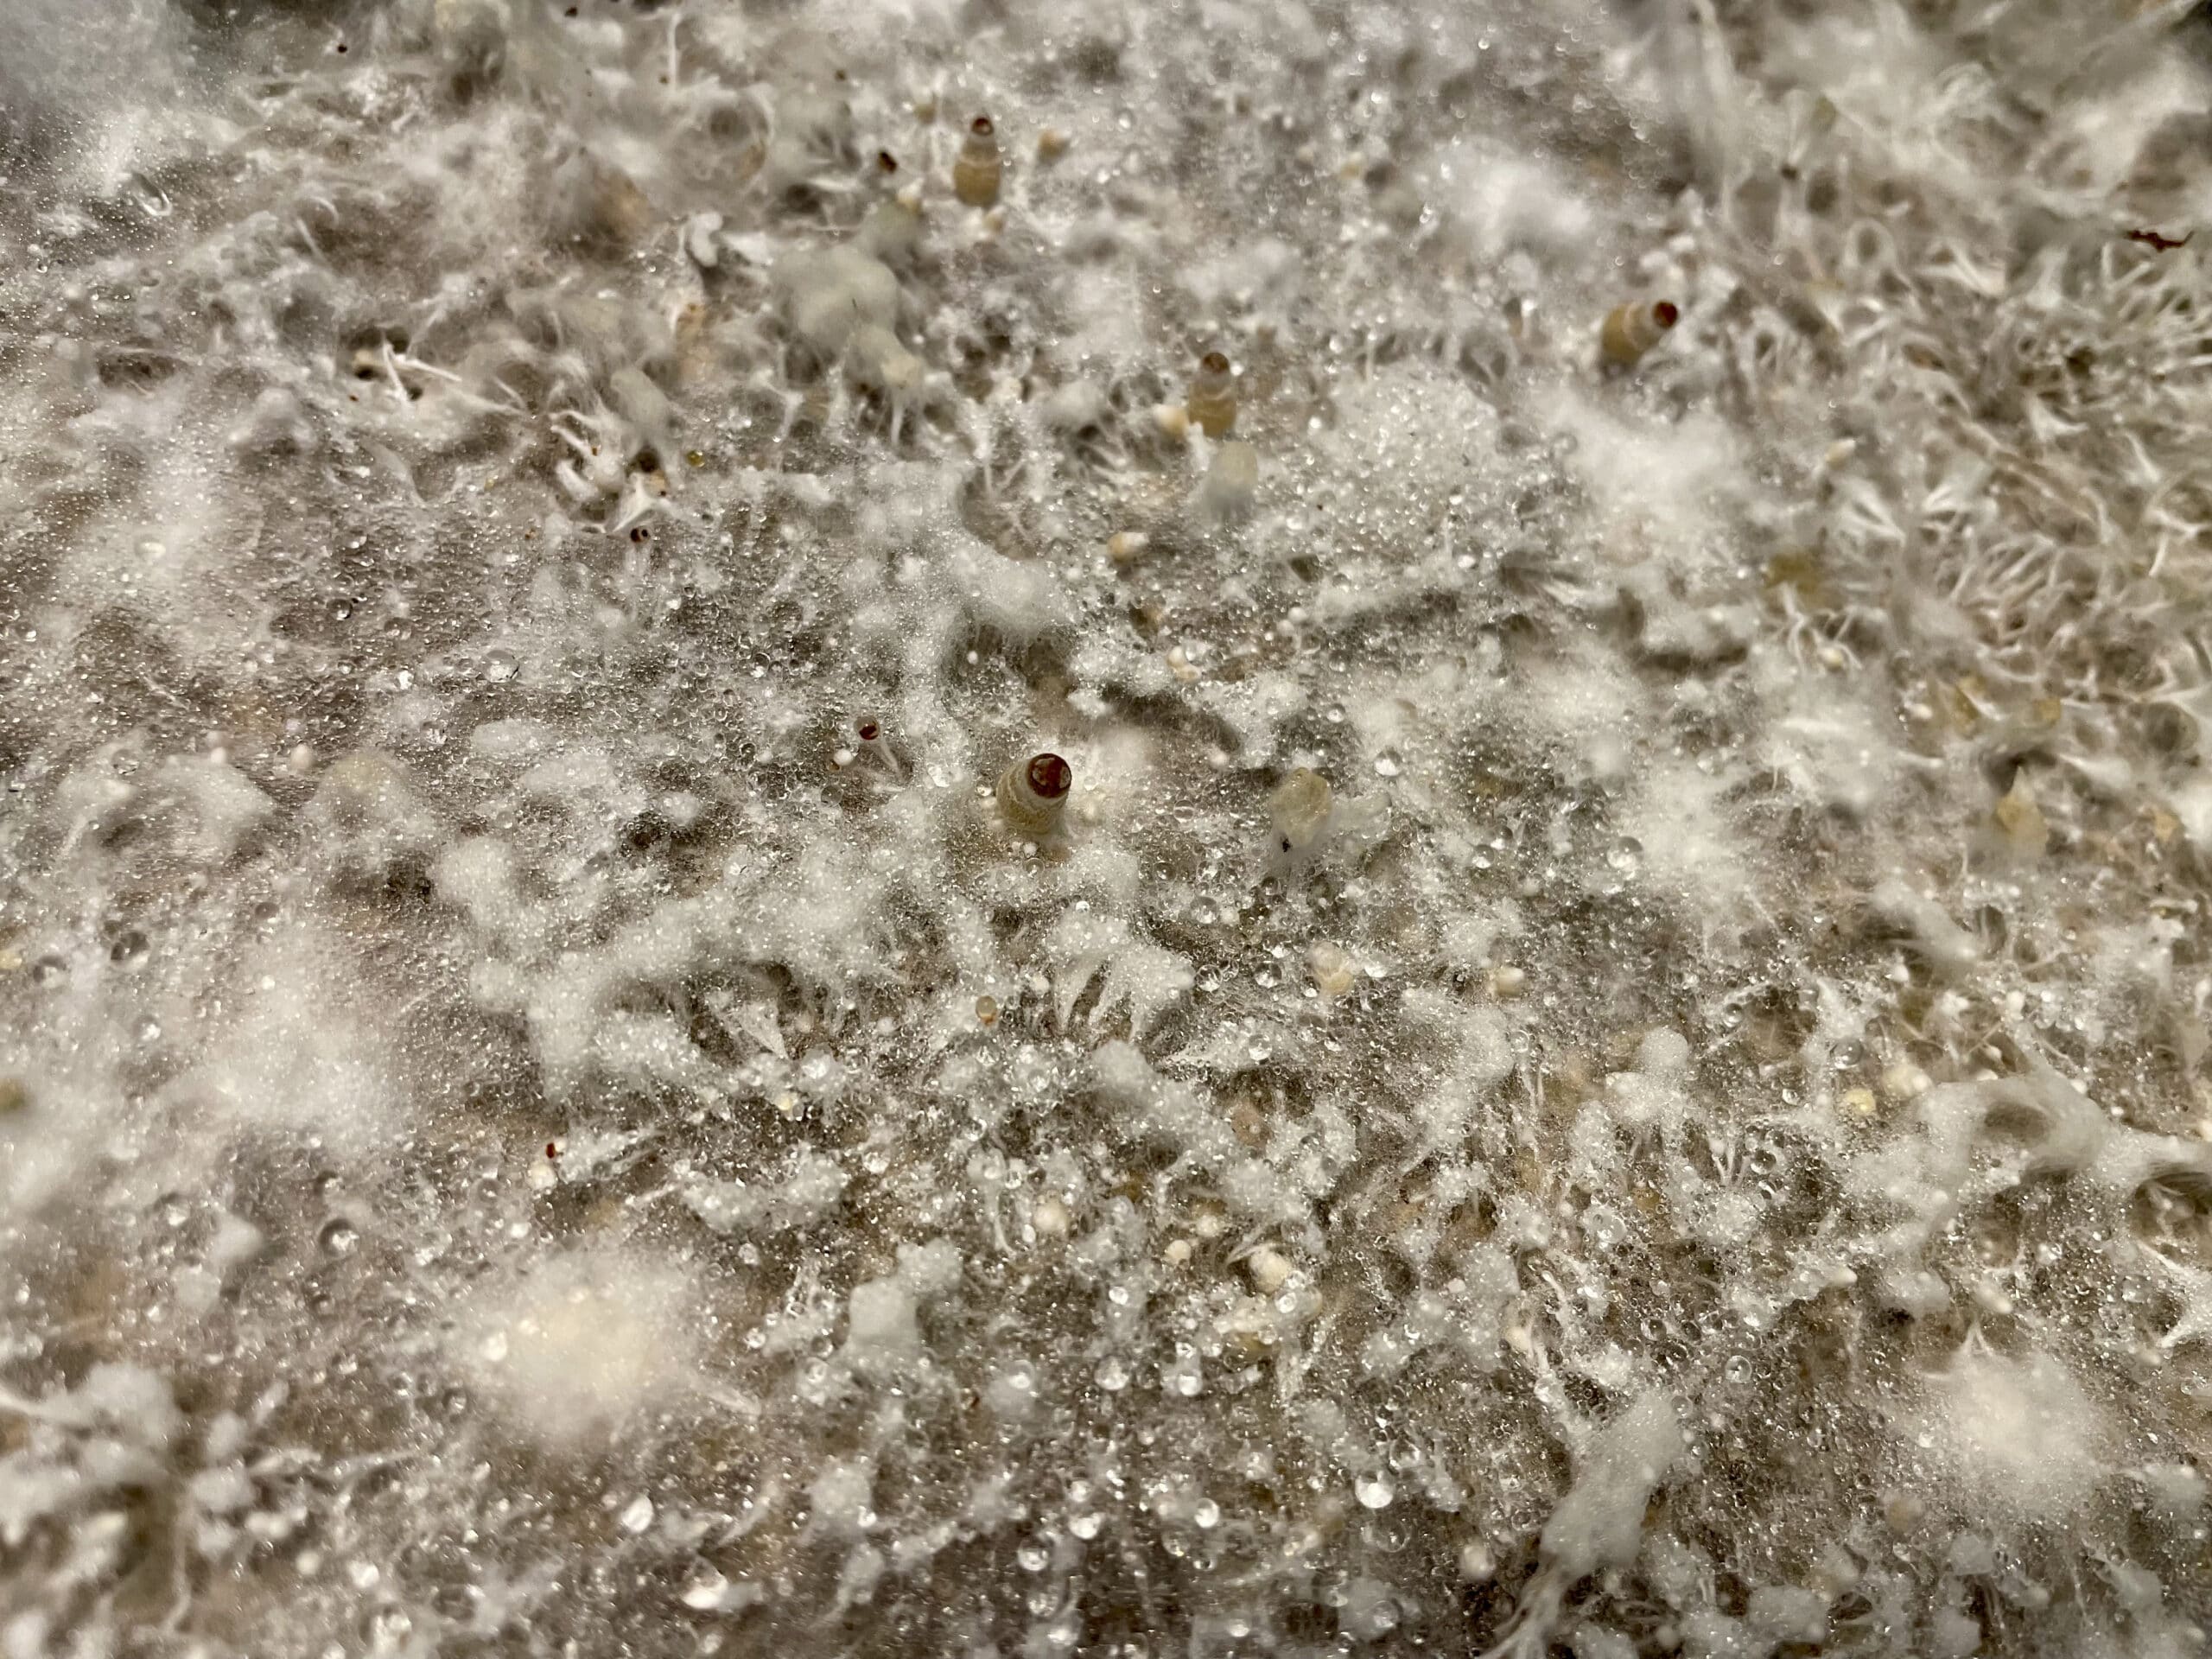
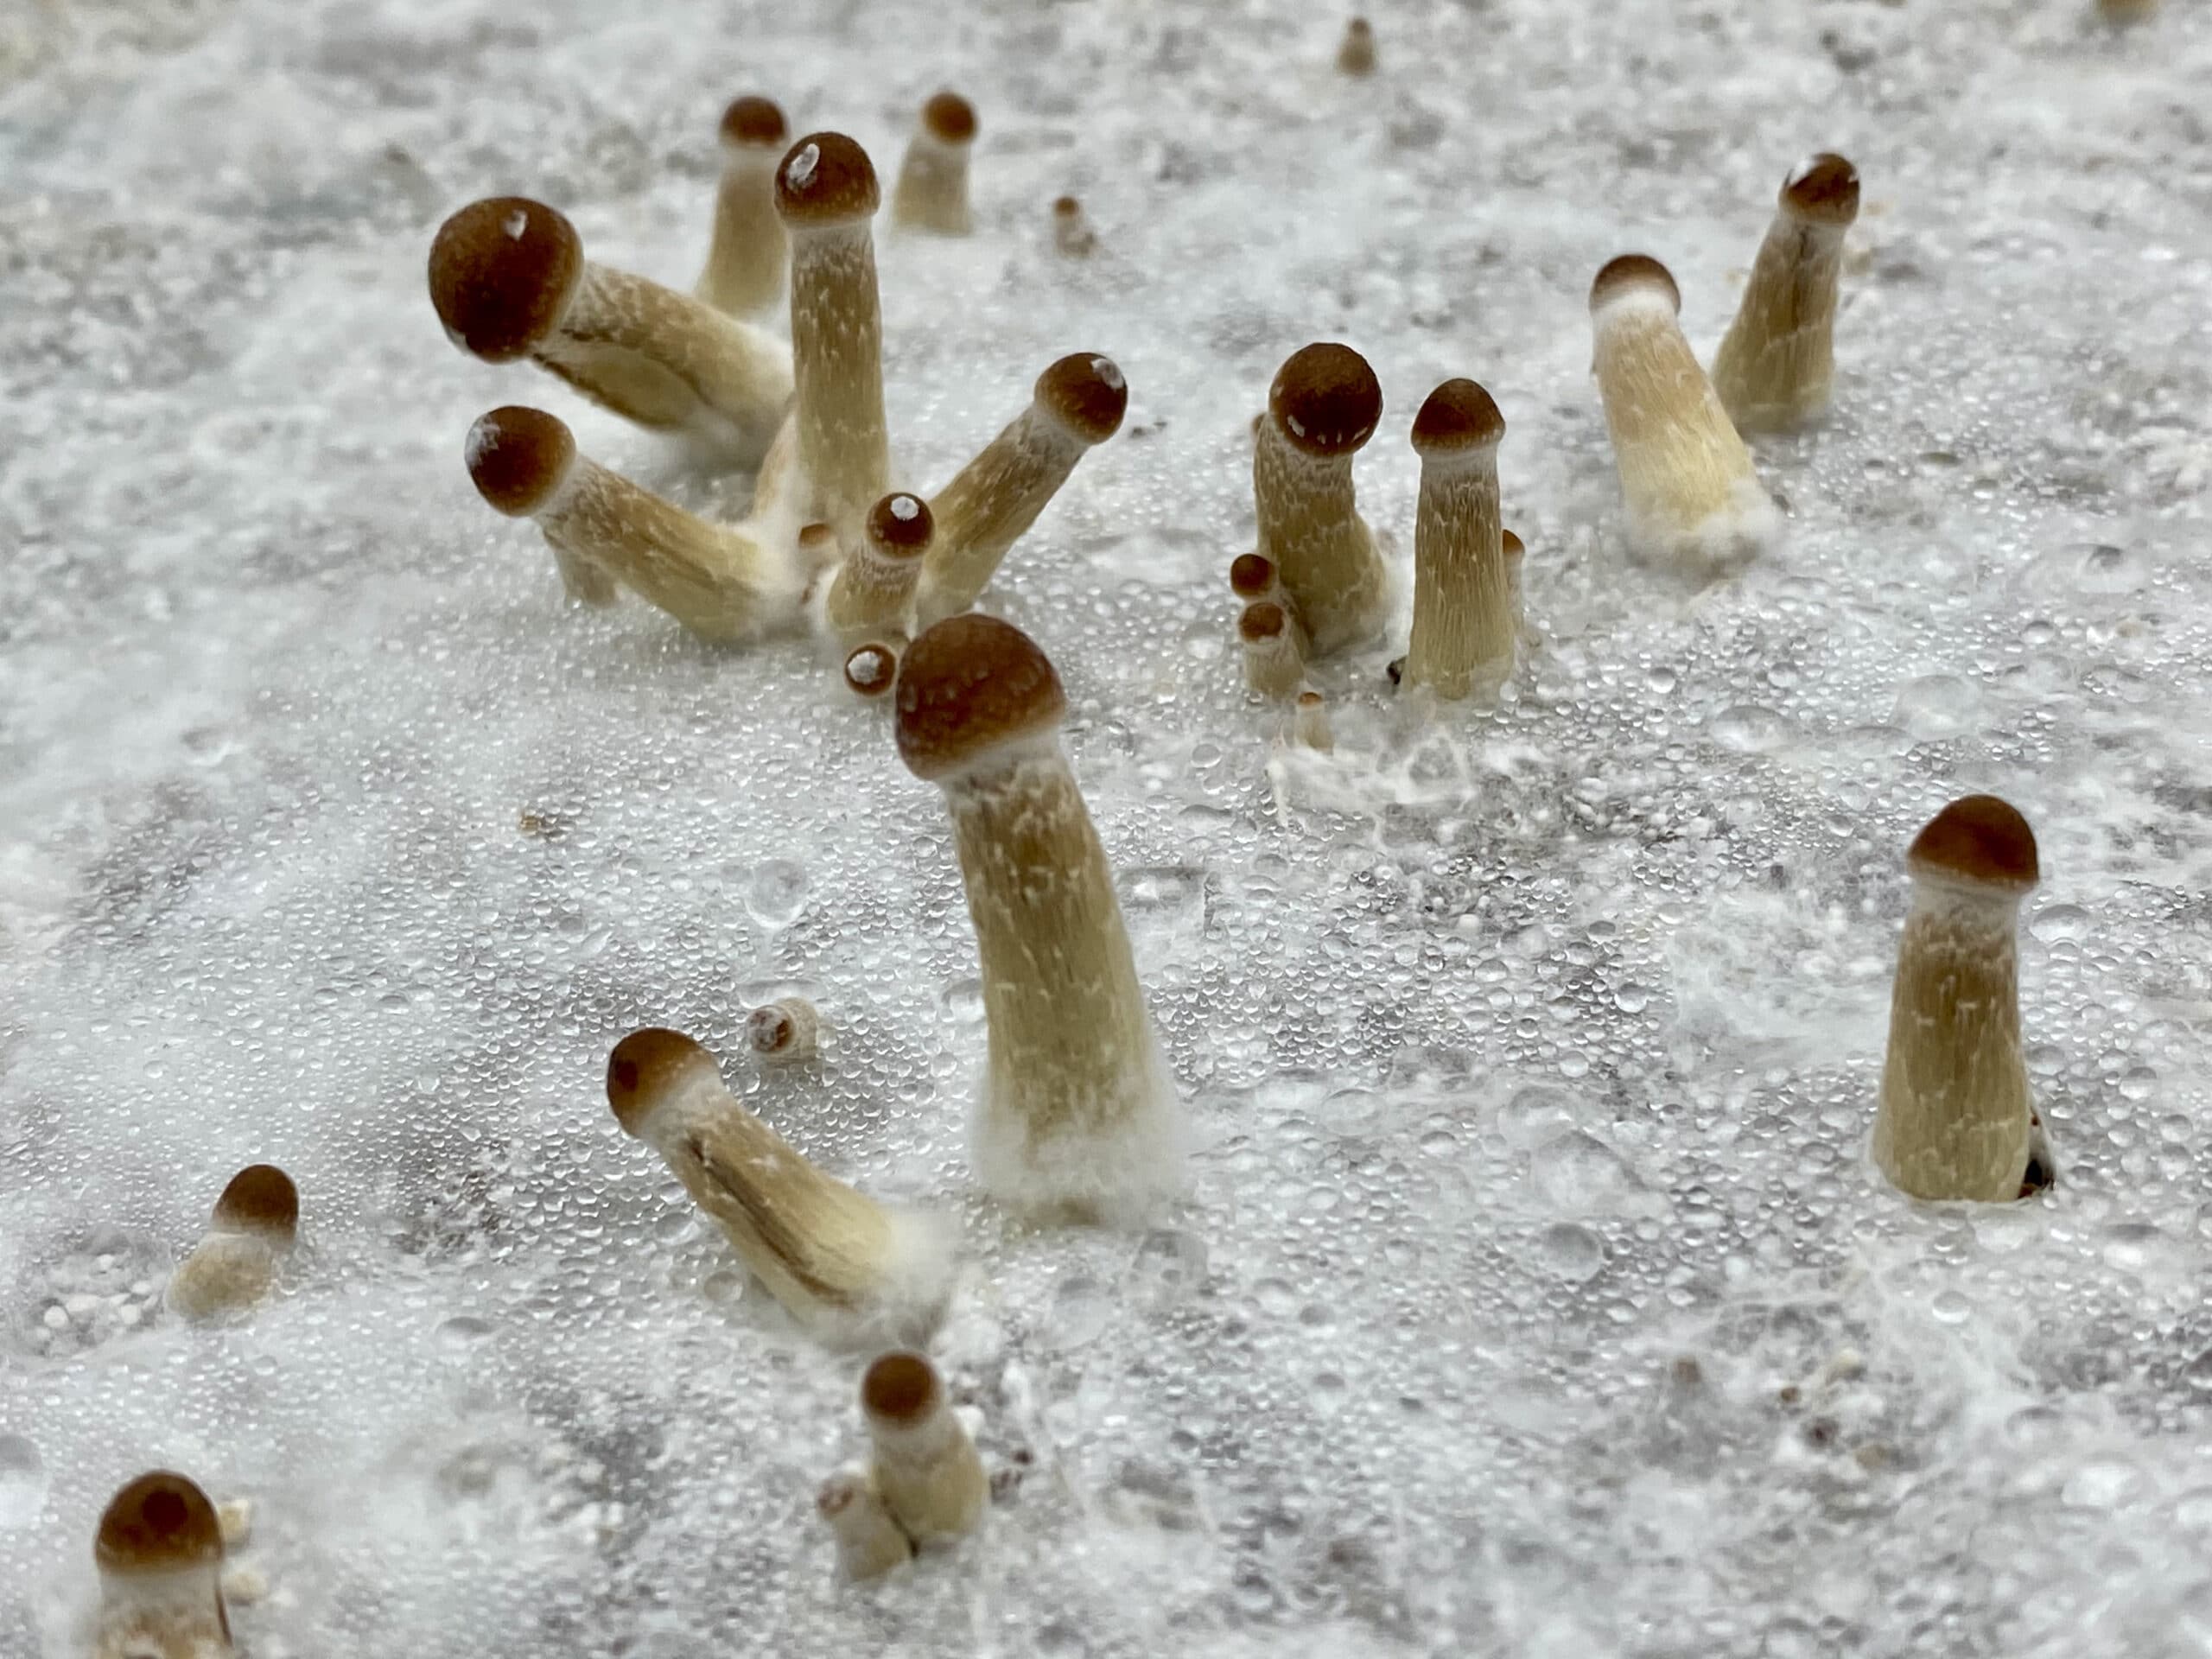
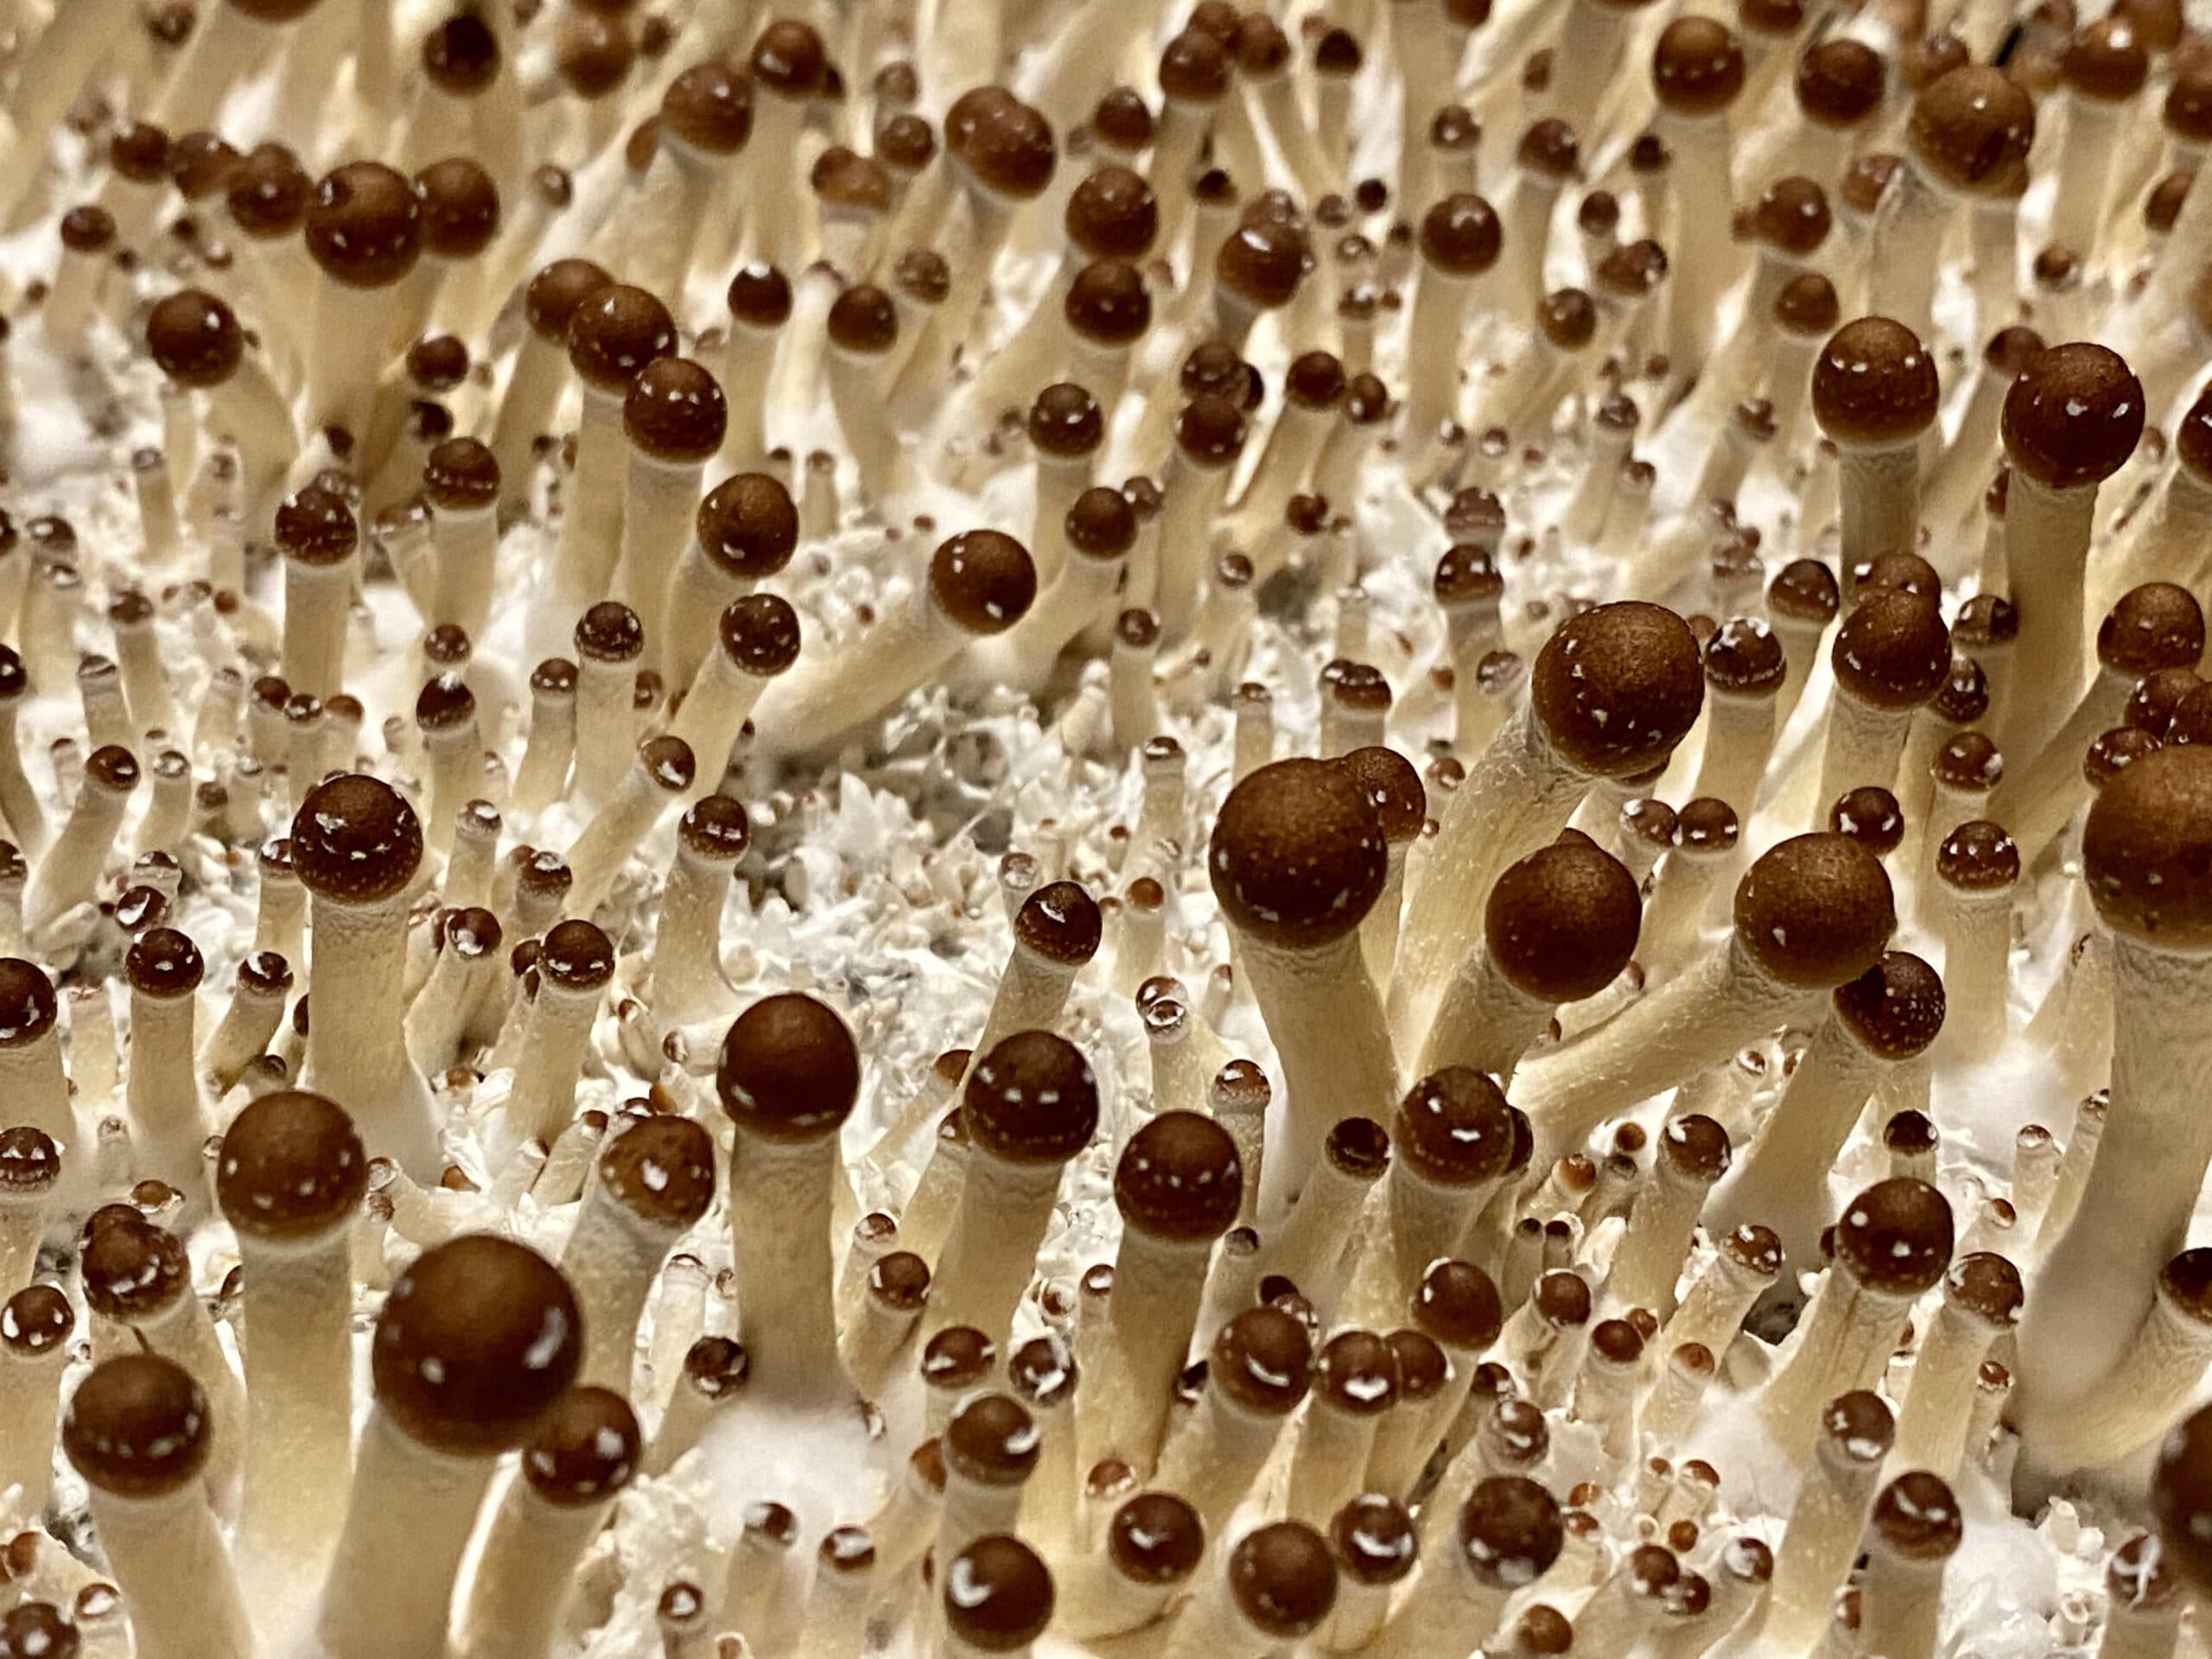
Hi funguy, so I have made it this far and what an adventure it has been, my compliments to you! I have a couple of questions if you don’t mind? Coming into FAE, the tubs are humid as the walls and lid are all misted up, although not to the point where there was an impending chance of water droplets from the lid falling onto the cake, does the humidity of the tub need to be such that you, can visibly see signs of water droplets on the cake surface for pinning to occur. All of my grown is Tomentose and not Rhizomorphic, every guide seems to be Rhizomorphic growth so i can’t seem to find a baseline comparison.
Many Thanks
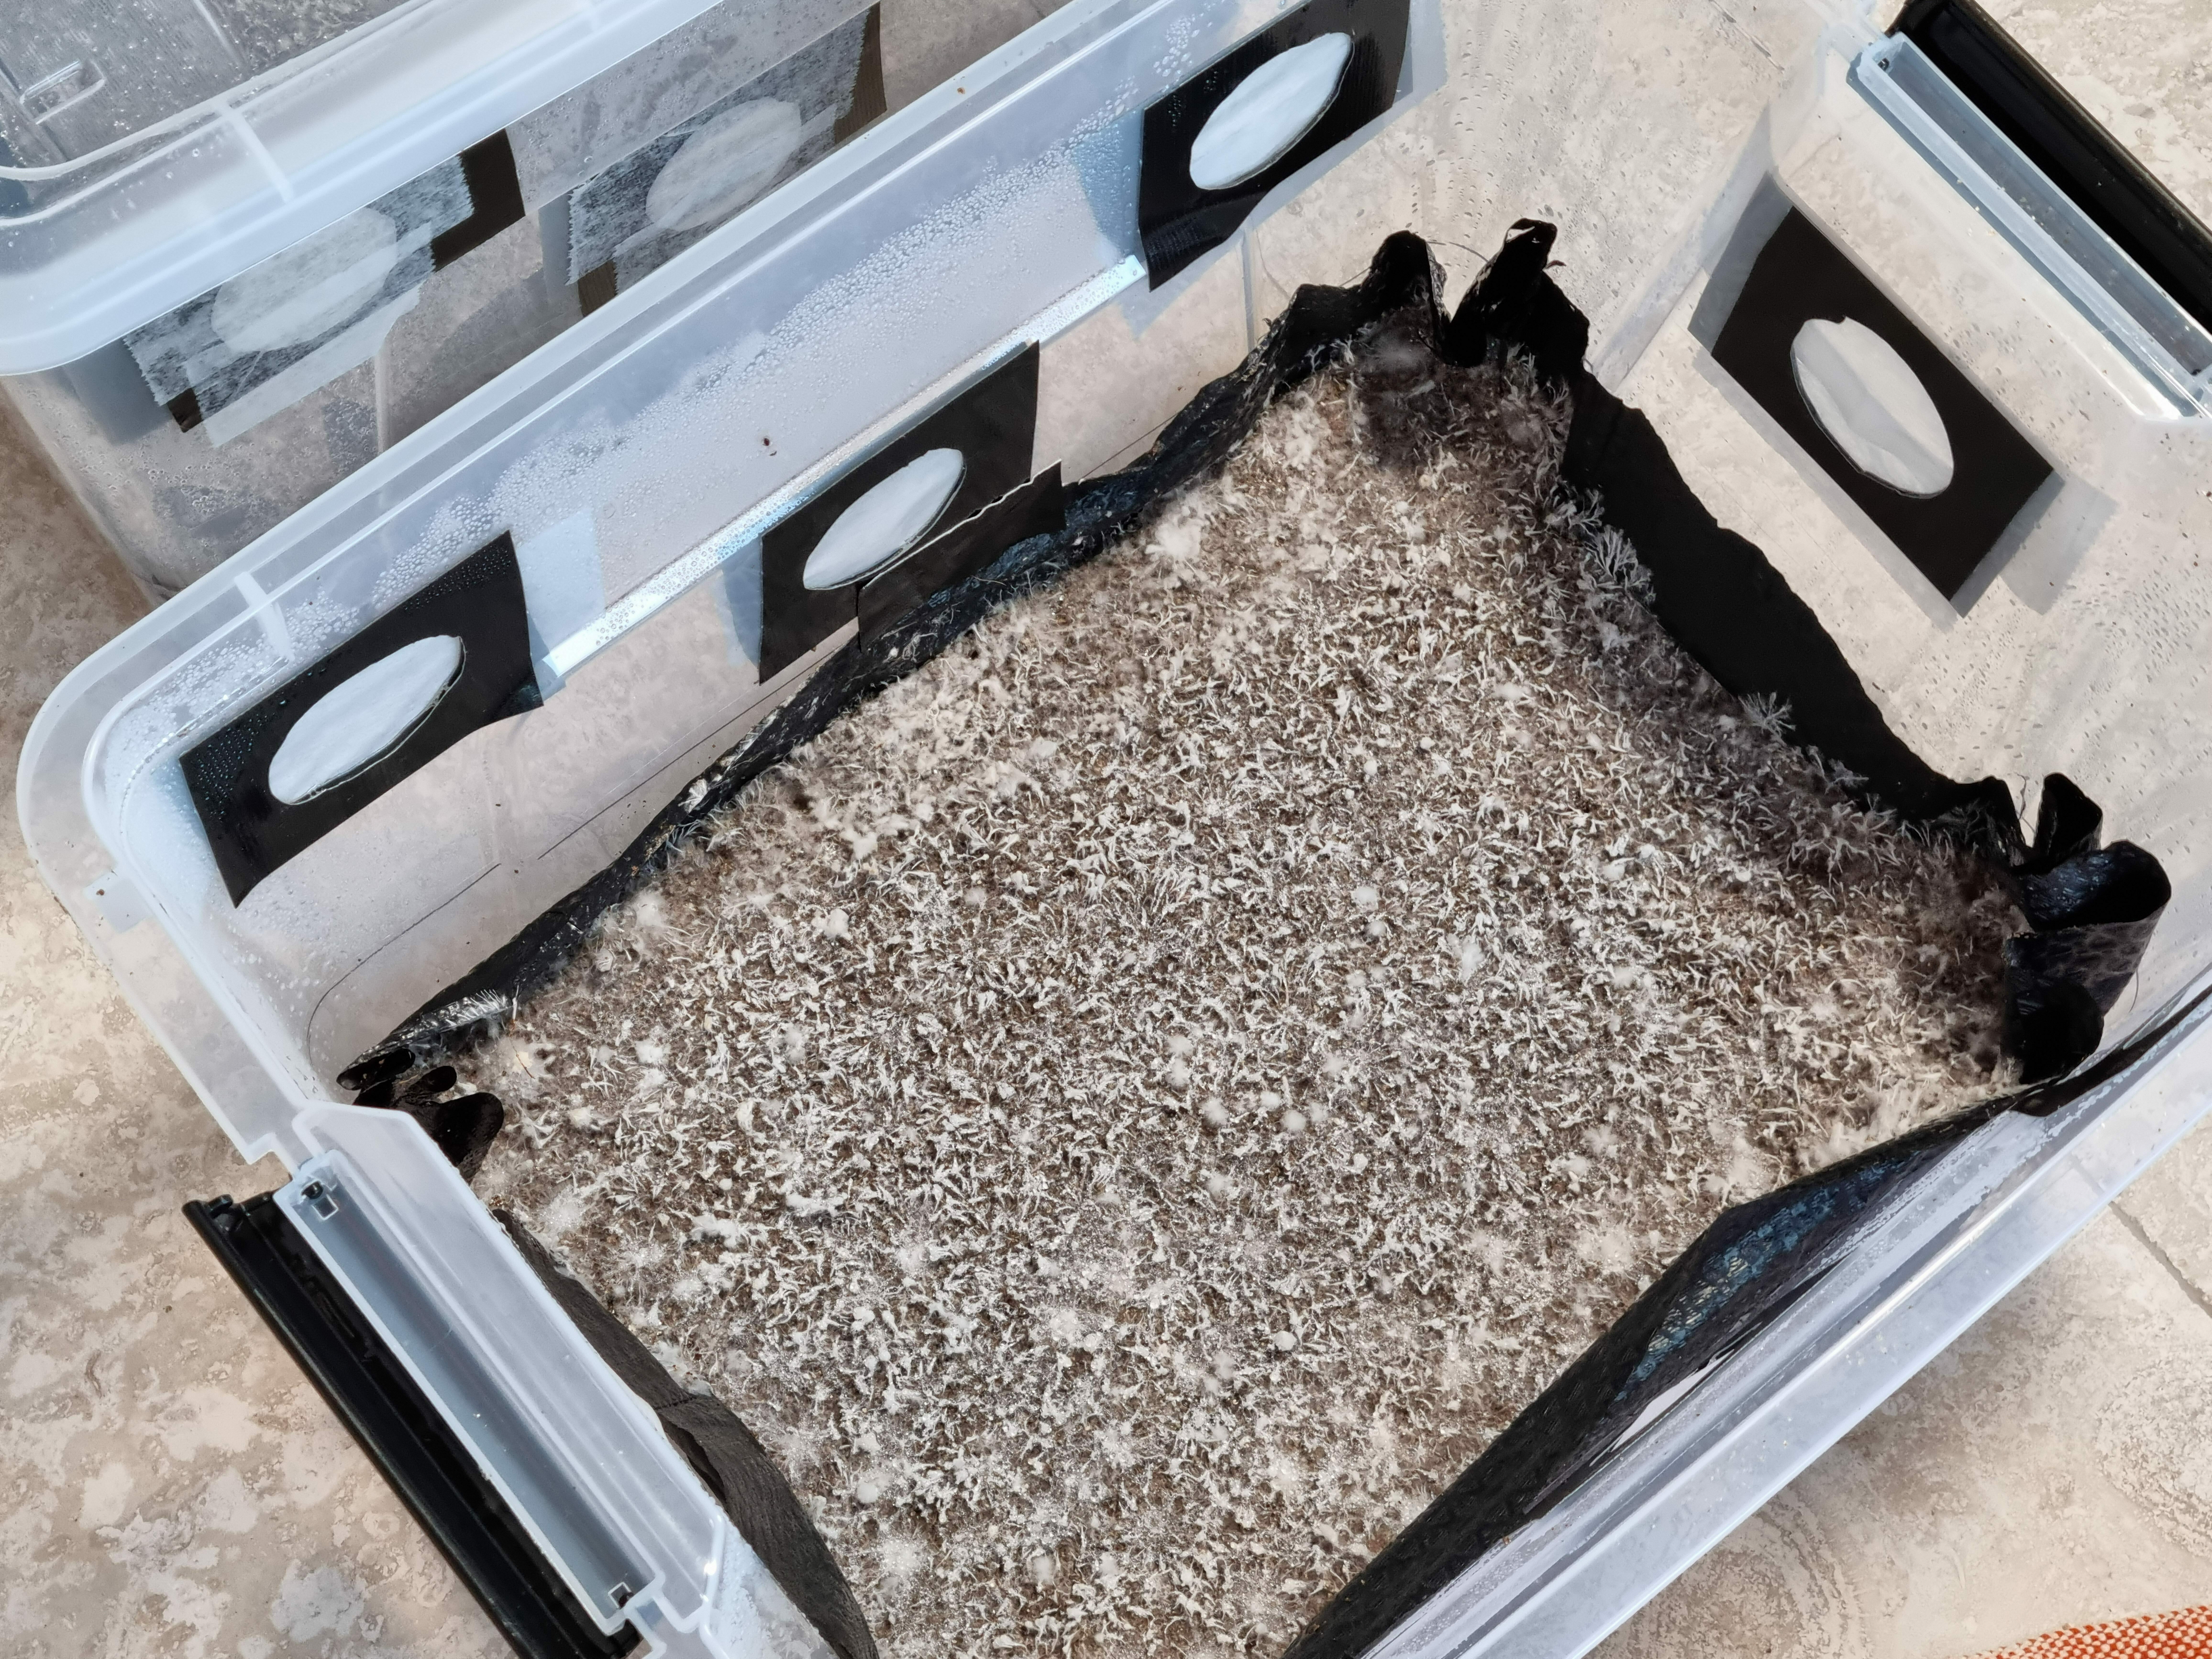
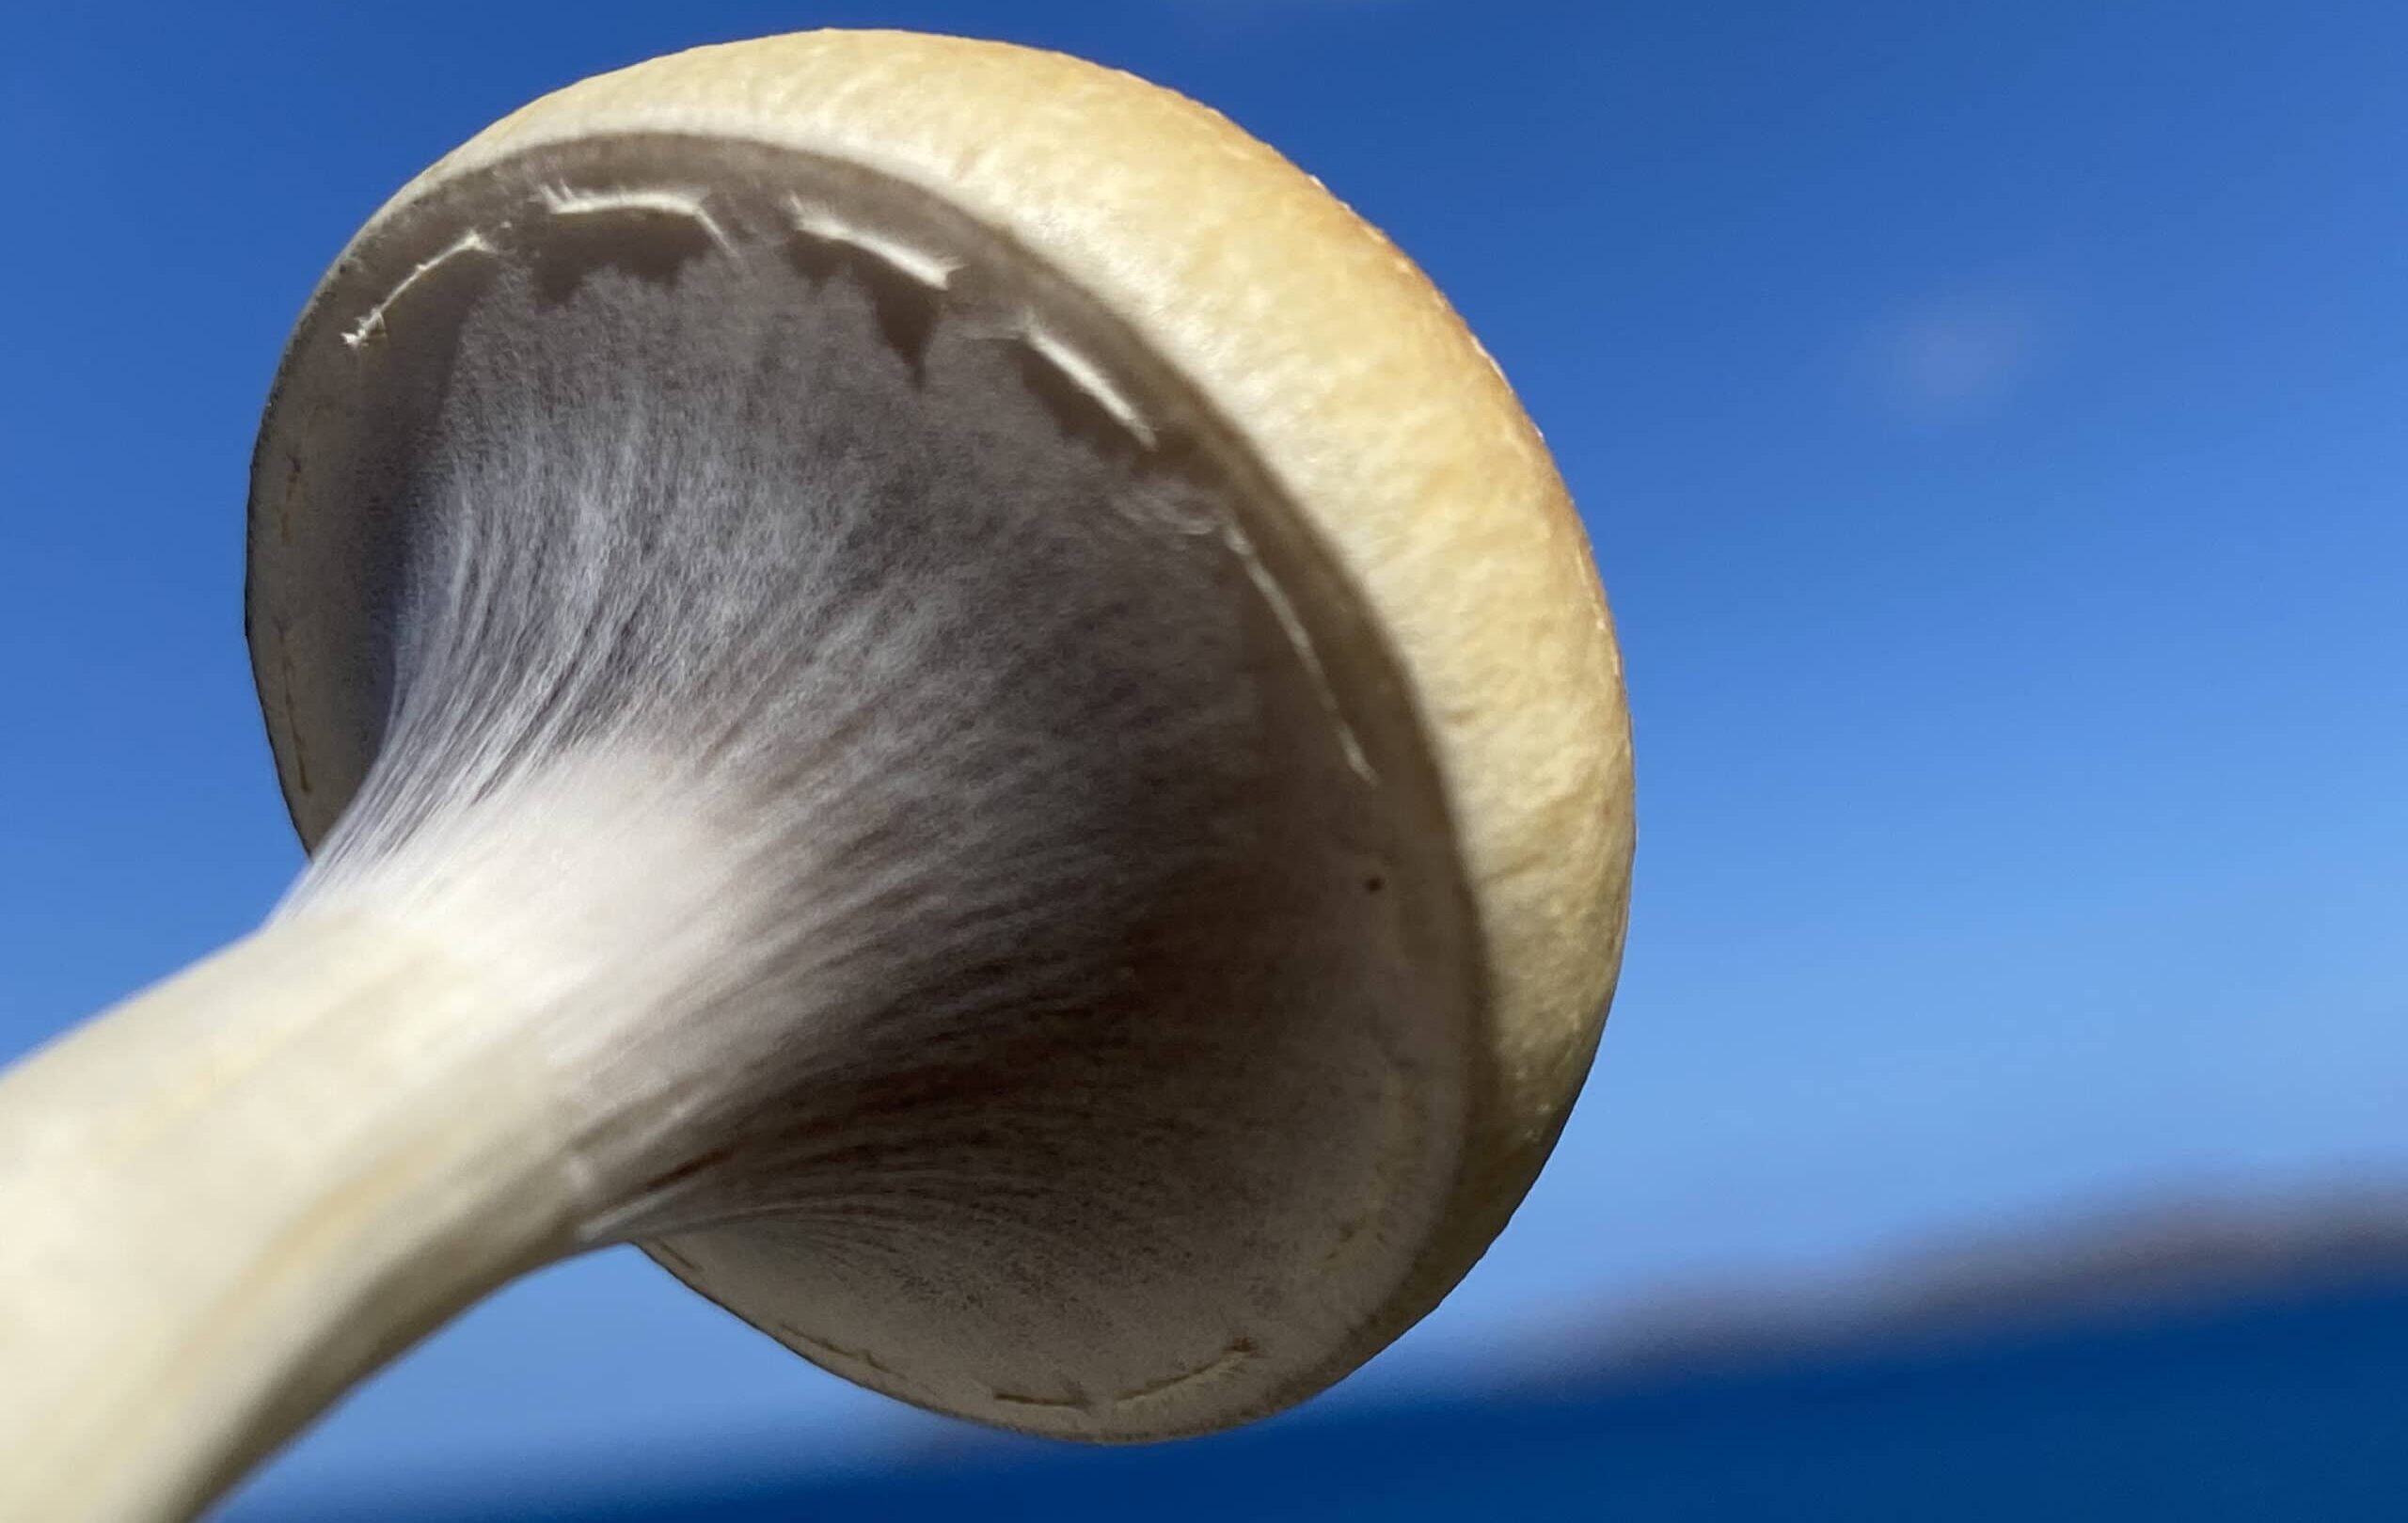
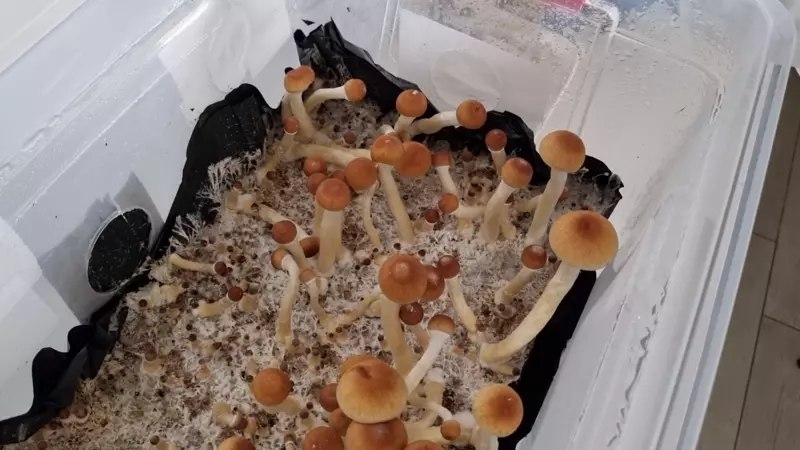
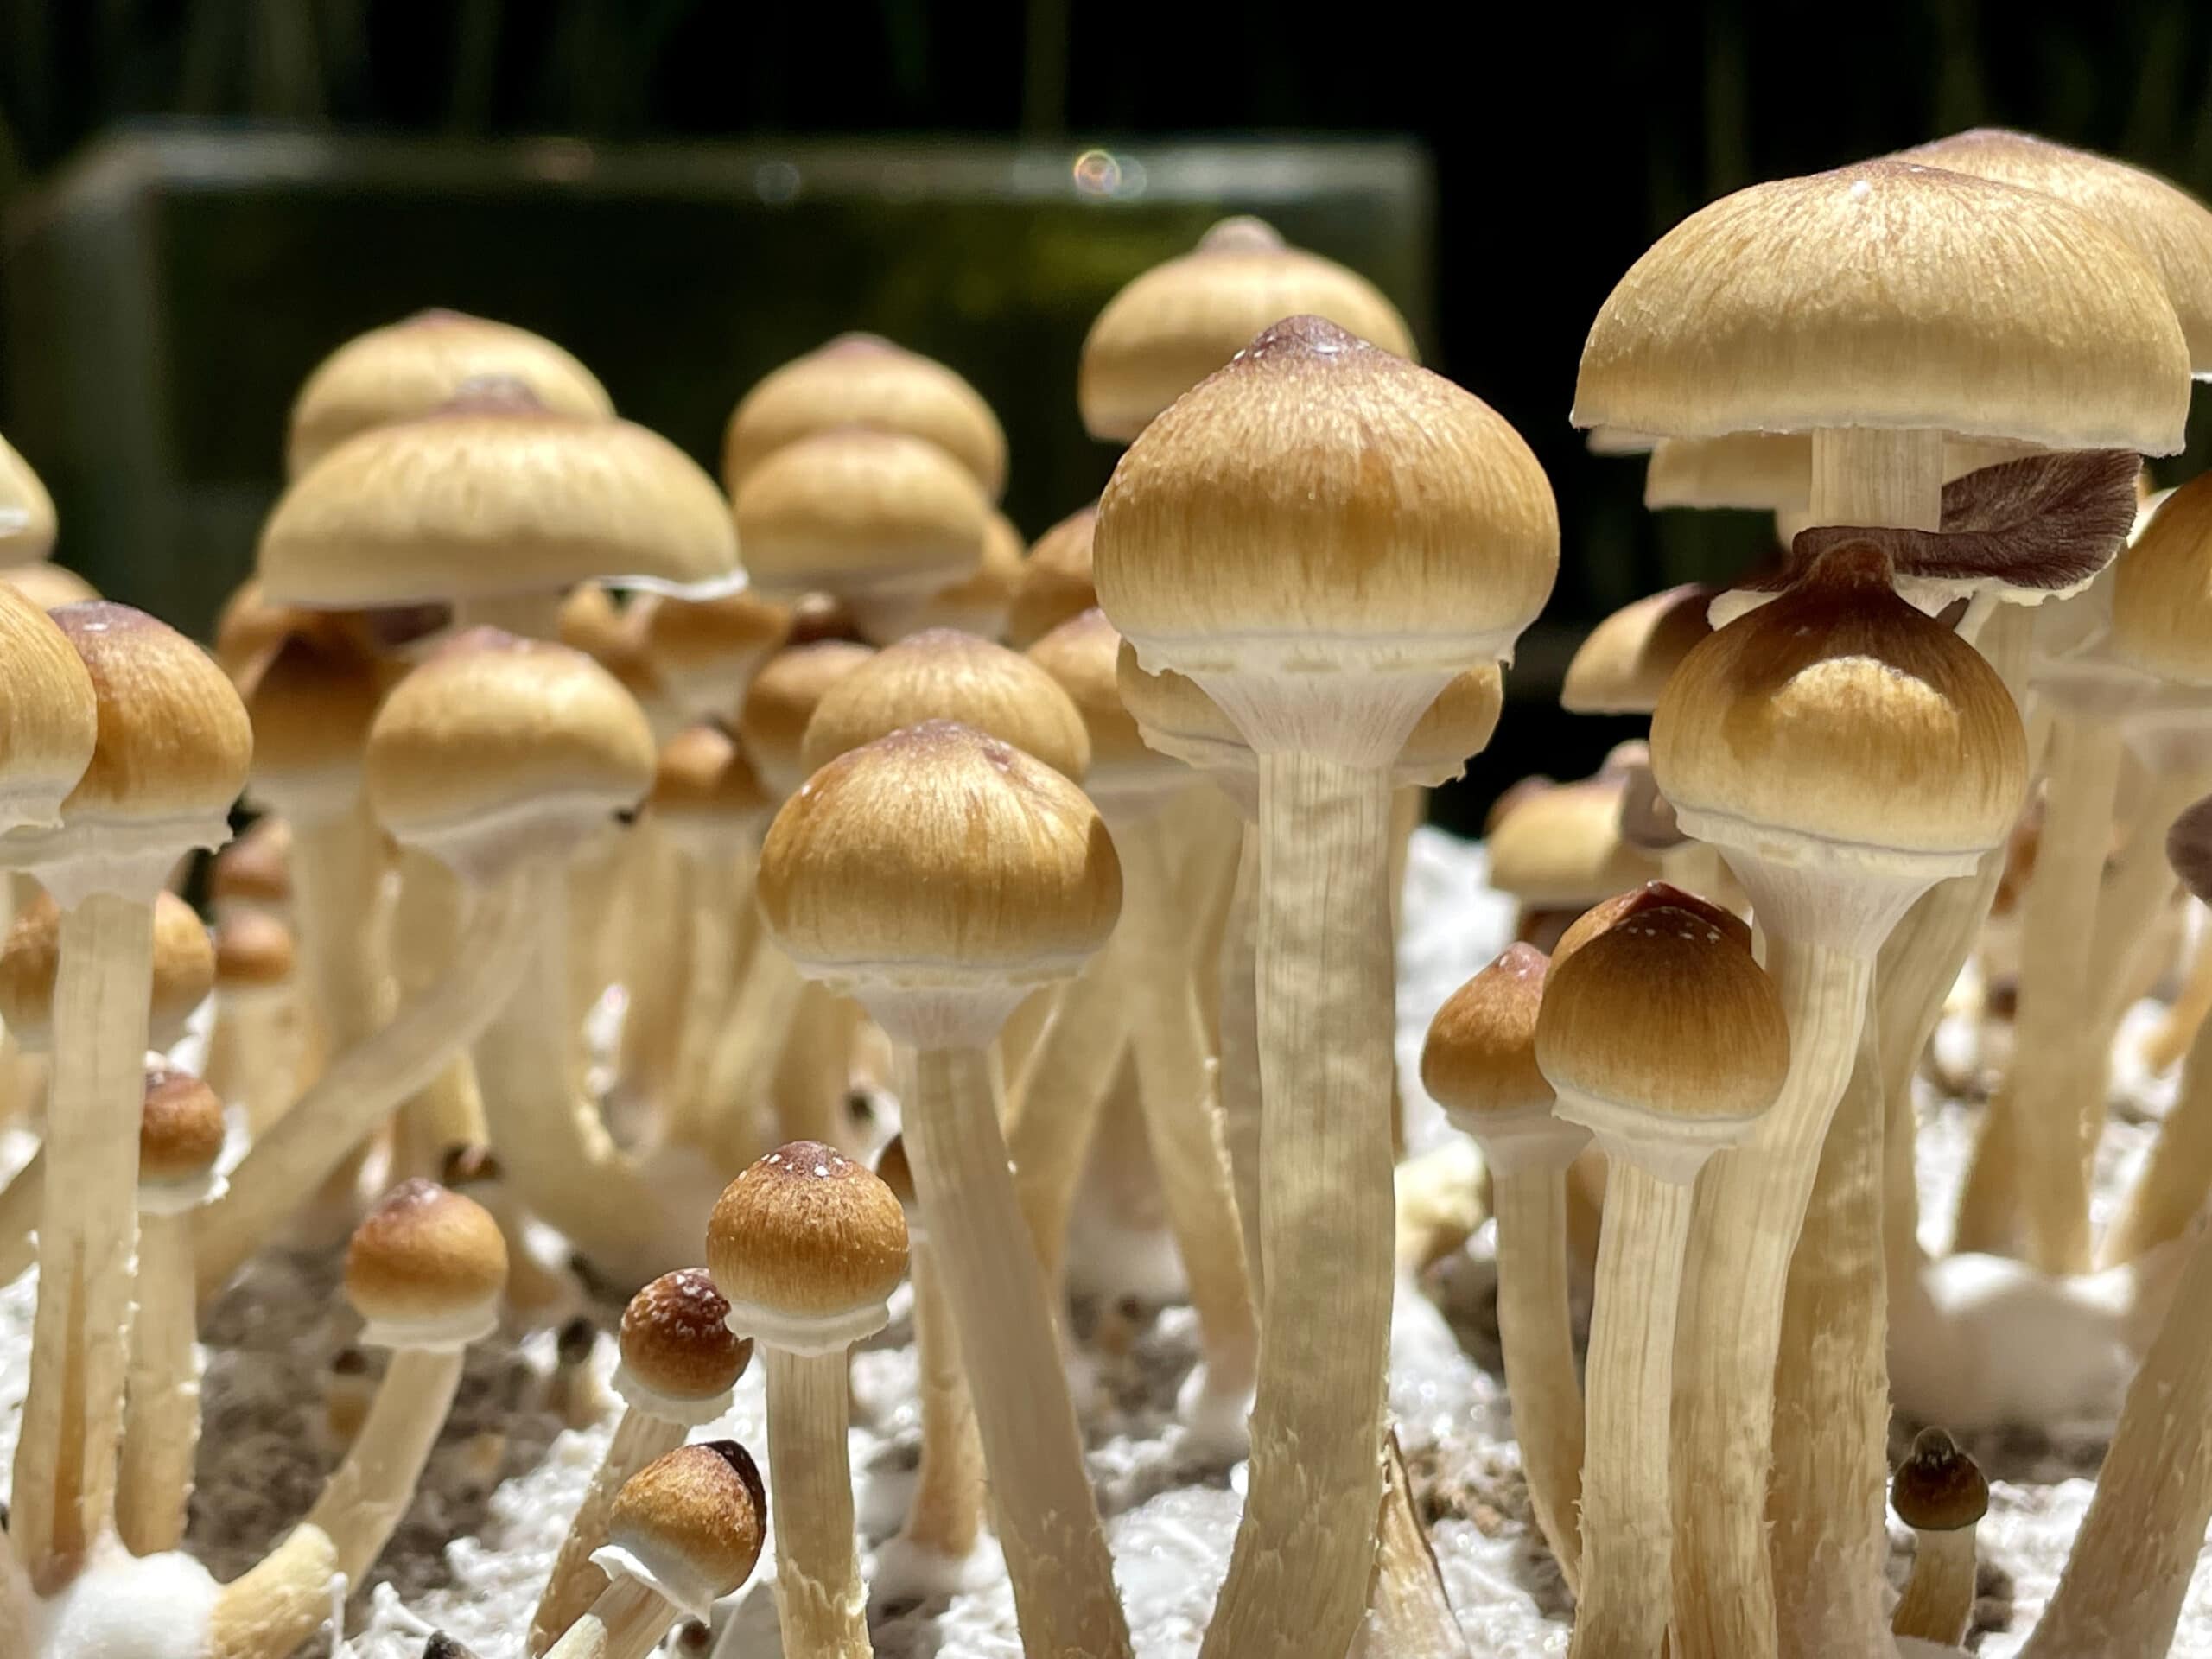
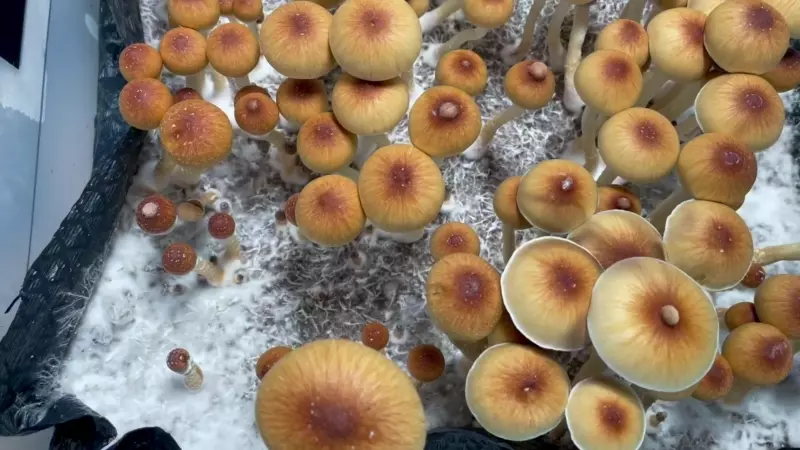
Thank you for the kind words. This is a good question, and your observations are correct. Usually some really fine humidity droplets appear on the mycelium, some classic examples can be found in the various pinning pictures on this page for both rhizomorphic & tomentose growth, you can click on the images to enlarge them and zoom in. I’ll add some image captions as well for better clarity. I was happy to see the followup message saying you had success!
So is it best at this point to introduce a humidifier line into each tub? Or is it best to inject distilled water into the soil in several places? If so do you inject or spray the nutrient probiotic as well?
Thanks
Your question touches two important points, which I will try to separate and clarify. The injection of water into the mycelium cake (or dunking of the cake in water) rehydrates the cake and provides water for the mushrooms to grow. The humidity caused by the closed tub (or a humidifier) create the fruiting and growing conditions for the mushrooms to develop. Now, let’s talk about each separately :
Misting – In general, unless you have extreme environmental conditions which are drying up your tub, you shouldn’t need to re-mist until after the first flush. You should mist (or carefully add a humidifier with a humidity gauge into) your tub only if you see the tub walls no longer contain small droplets and are dry.
Rehydrating the cake – Rehydration of the cake should happen after every flush, and can either be done by injecting distilled water / nutrient probiotics into the cake, or by dunking the cake in water for 12-24 hours and then putting it back in the tub. Hope this clarifies!
Thanks Funguy..that does help.
So an update on my last two tubs (done at the same time). I used your substrate mixture and im on my third-flush and no infection. This process has increased my yield as well as investment quite a bit..Thank you dewd!
Since I did these last 2 tubs (still producing at 2+ months later) im set on using this substate mixture.
So when doing non-pciclosibin strains is this still a good substrate combination to use? Or would using the 50/50 masters mix (wood pellets/soy bean husks) be more effective?
Thanks!
Congratulations! Matching the type of substrate to the mushroom is very important. For example, “dung lovers” (such as cubensis) won’t do too well on just wood/pellet substrate, and vice versa. Saying that, I believe that the probiotic mixture extends the life of the mycelium cake, no matter the species. This might be a good question for Dr. Myc himself.
Hi there, thank you so much for the tutorial. It’s amazing, most helpful to have found so far.
Just a question, when the mycelium is ready for the fruiting period, can I put it under a grow lamp? I have a full spectrum one 800W.
Thank you! Light is not strictly required for the growth of magic mushrooms. They don’t photosynthesize like plants do. From my understanding, the light simply helps the mushrooms figure out which direction to grow in, and not much more. Generally speaking, ambient, non direct light for about 10-12 hour a day is required. So, if you live in a place that has plenty of sunlight during the day, you can just place the tub in a room with a window and that should be fine – otherwise you can use some artificial lighting. My only concern with artificial lighting is the heat it might give off, and the fact that it might dry up the moisture inside the tub.
Really appreciate the reply and advice, thank you. i do have a room that gets plenty of indirect sunlight so will try that. Thank you again!
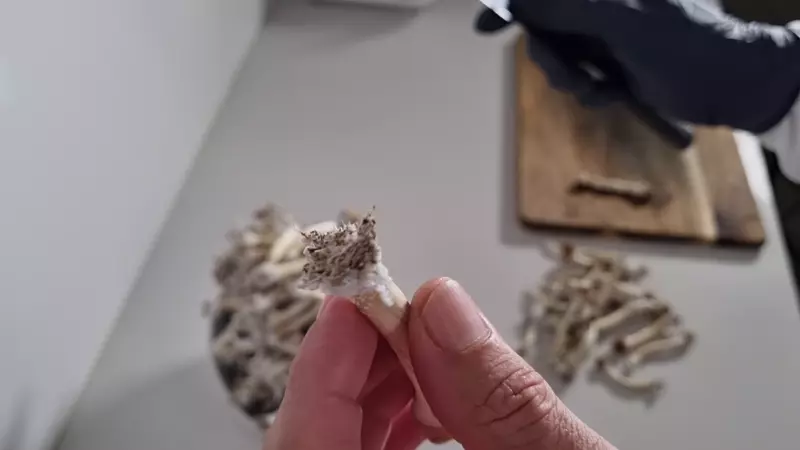
From what I’ve read higher temperatures during dehydration don’t break down psilocybin but reduce the dry time and the time exposed to air, which does weaken psilocybin. Anything up to 250-300. I’ve also seen where older theories say only use low temperatures. Do you have an opinion or experience on this?
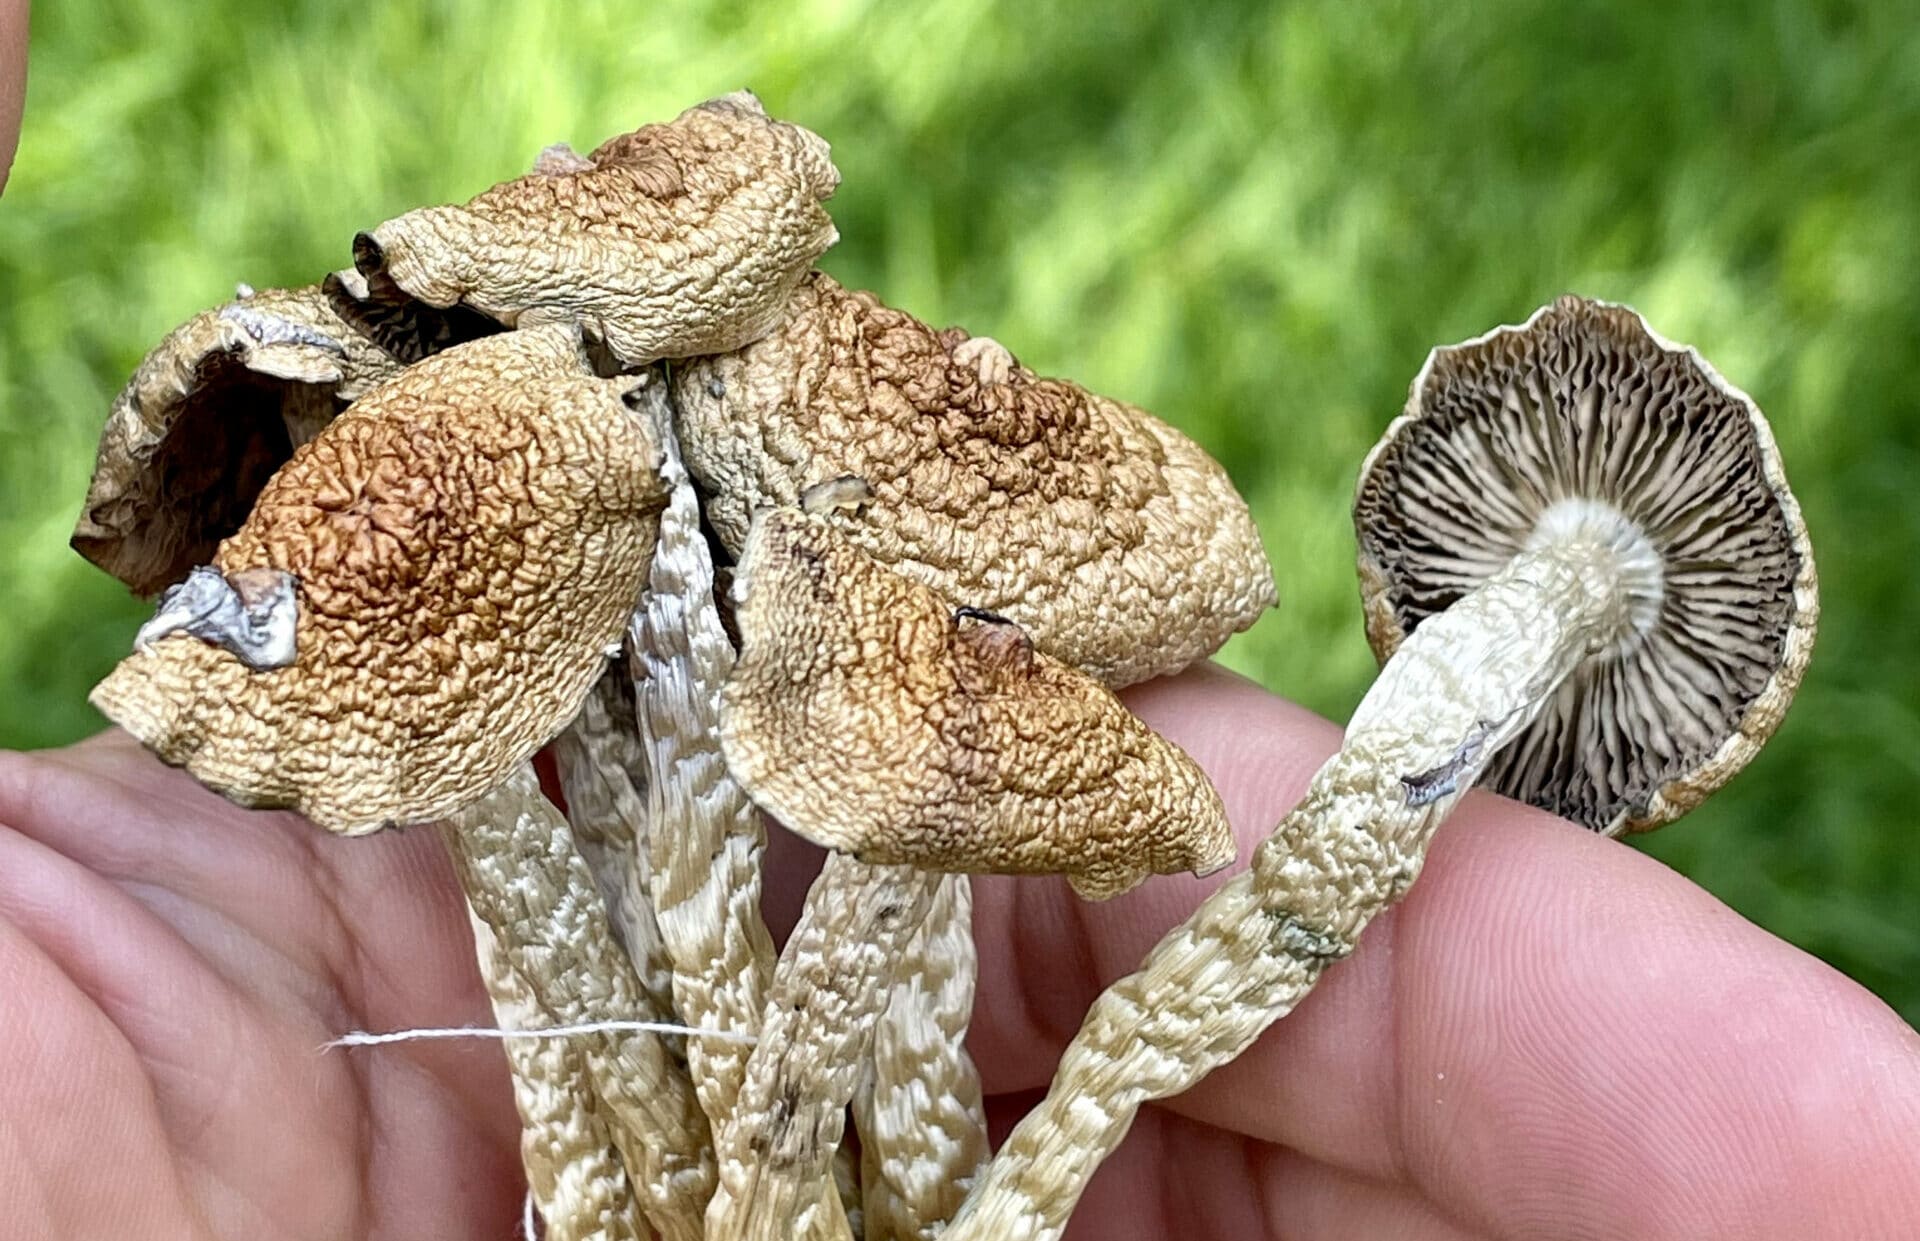
I have an opinion, and limited experience…as i always use temps around 95-100 F and don’t stray much from it. I once heard the very valid argument that psilocybin doesn’t get destroyed or degraded when concocted into tea (around 200 F), so there’s no danger in using higher temps in drying either. I still use the 100 F mark, which does the job in about 24 hours, depending on the size of the fruits. I can’t say i feel any significant degradation at those periods of time.
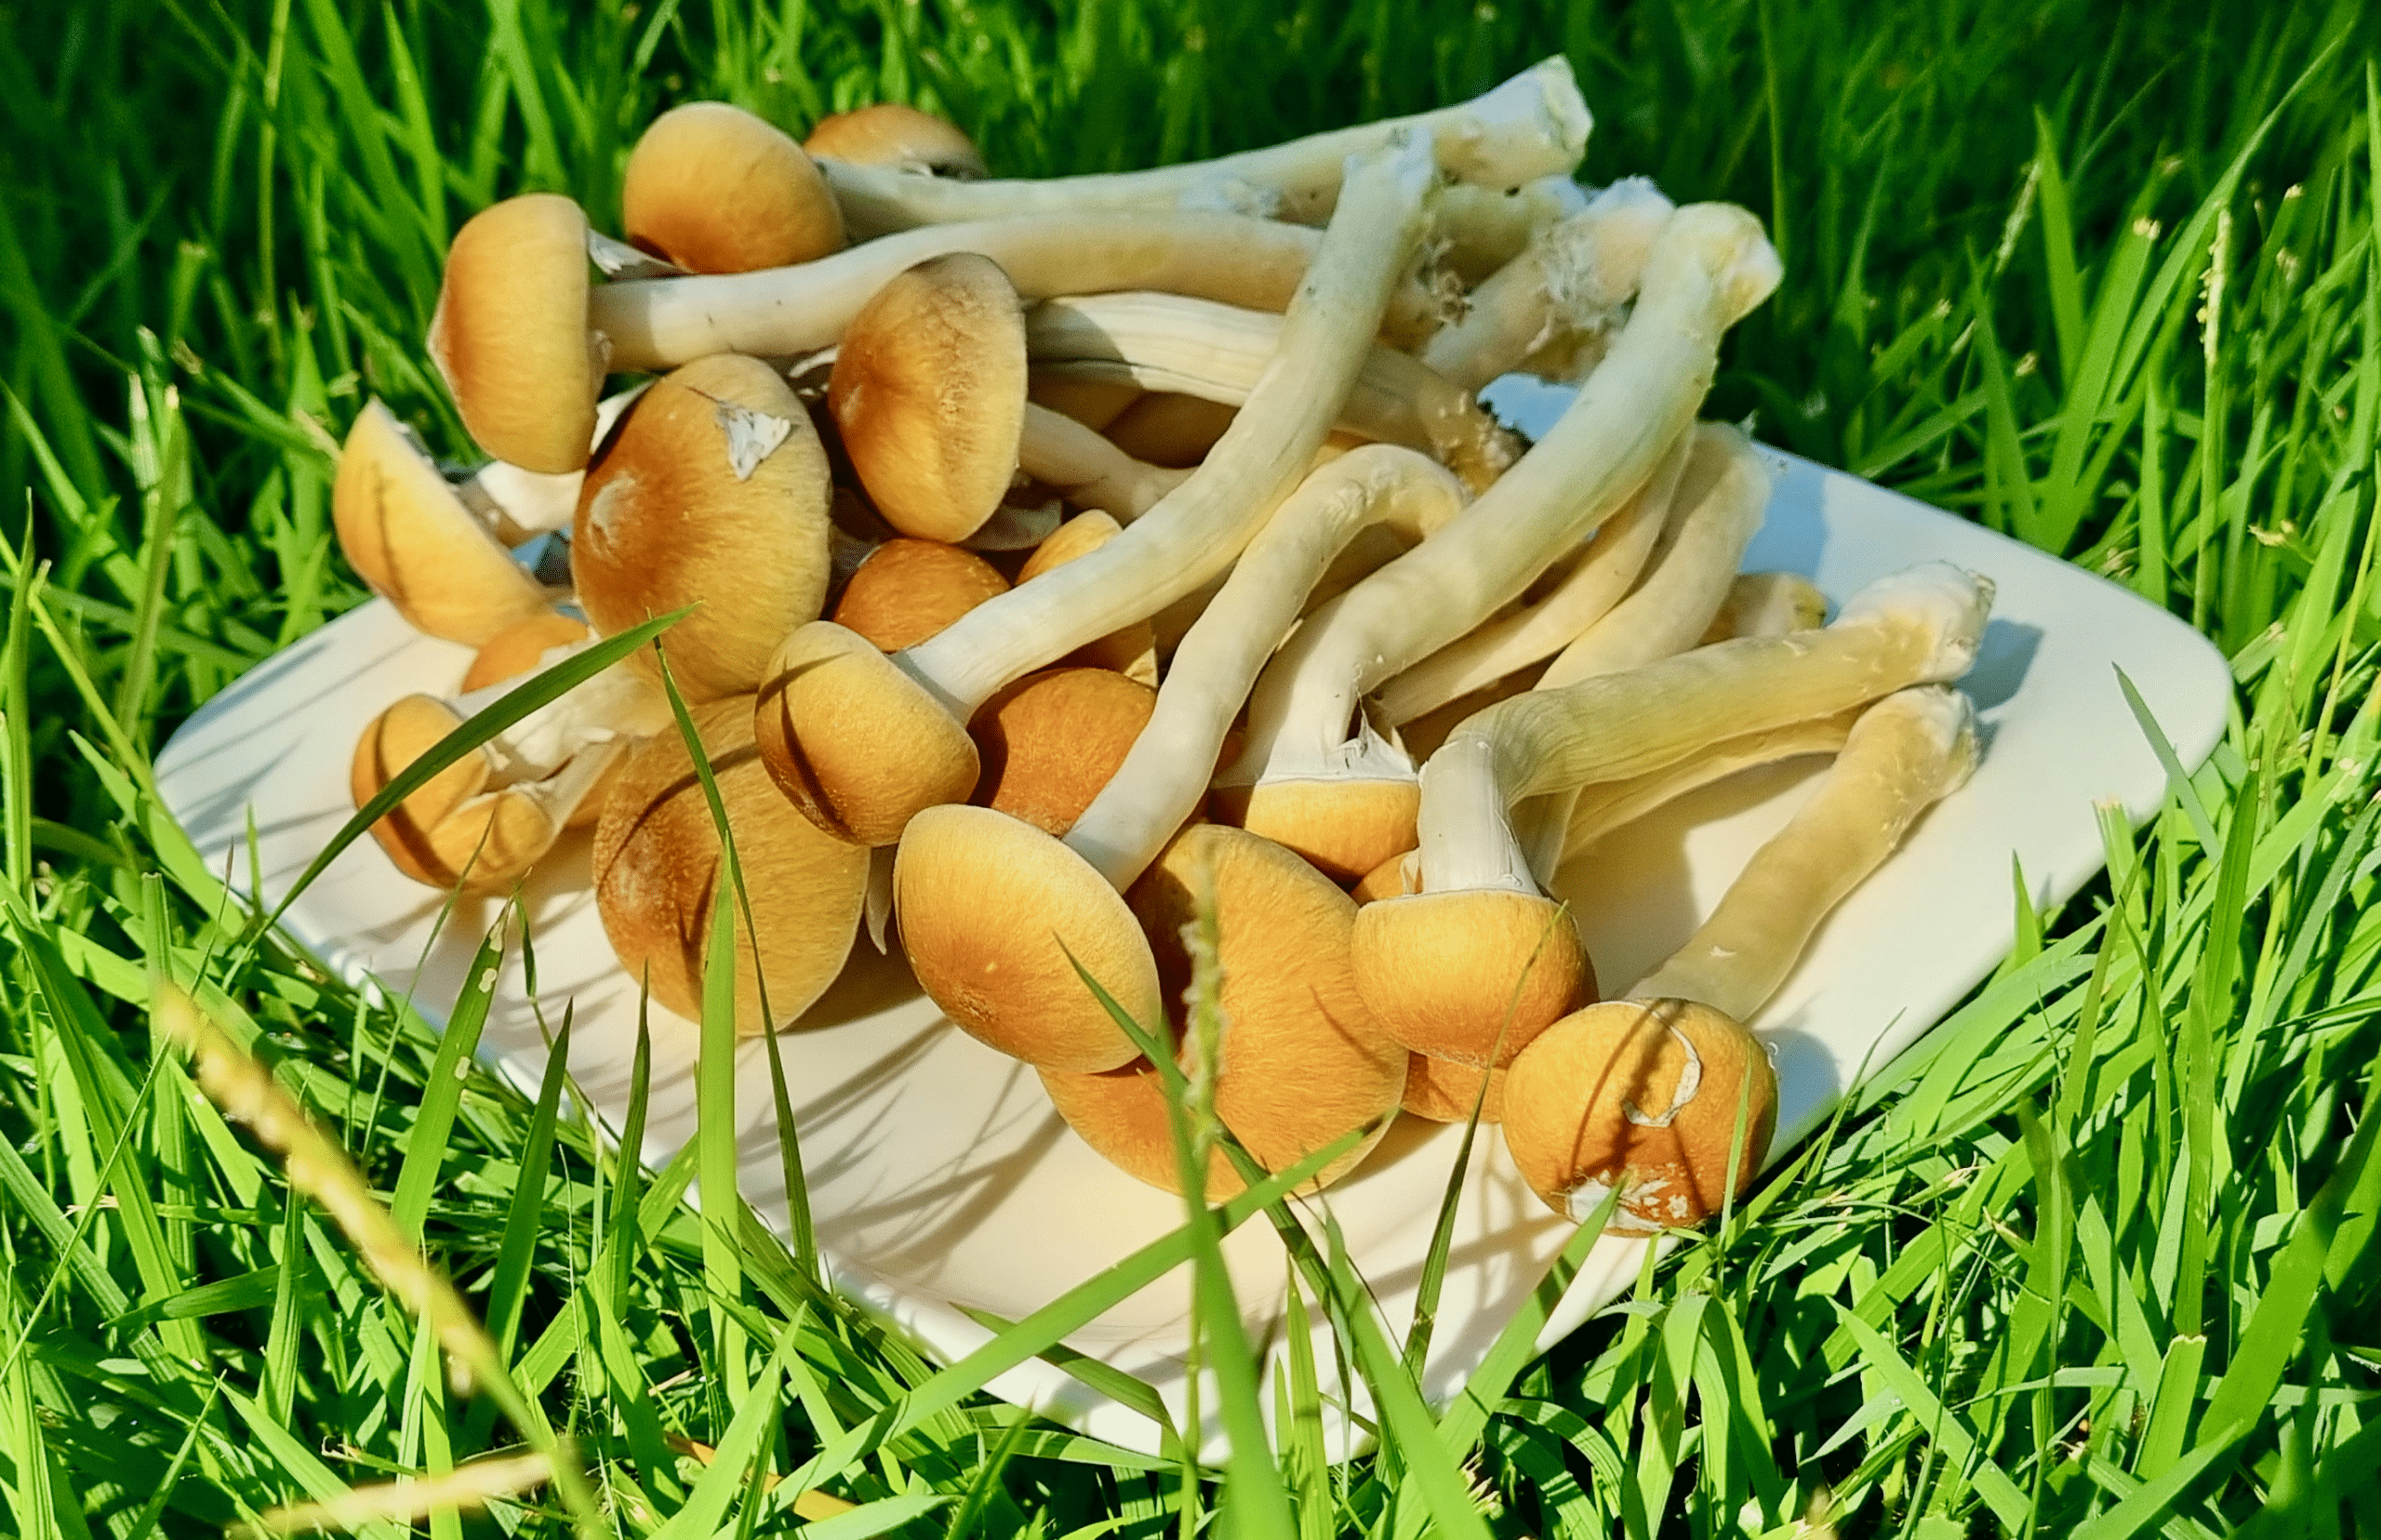
Are the shrooms with broken membranes still ok to ingest? I can’t seem to harvest them all before that stage.
If by “membrane” you mean “veil”, then the answer is yes. Ideally you want to pick them before they have started shedding spores on the mycelium, and that happens just after their veils open.
I have lots of small mushrooms (about 1 to 1 1/2 inch tall) left after harvesting my first flush. Will these grow or should I pick them to prepare for my second flush?
It’s difficult for me to say without seeing a picture. Some mushrooms just grow small, or are not fully developed, while others “abort” at an early stage. If you’re looking at mushroom “aborts”, then it’s better to pick them before the next flush to avoid having them rot…otherwise, it’s ok to leave them to grow a bit more.
Hey man just a few questions out of curiosty. Is injecting liquid culture directly into the mycelium cake okay? Why is it bad to not let the veils break on fruiting mushrooms? – My imagination tells me that it would allow for infinite future flushes as spores are re-introduced to the growing medium. How many flushes can you expect from this kind of setup? Thank you for your advice and thank you again for this amazing resource 🙂
Hi There! 1) Injecting LC into substrate directly never really worked for me. The substrate is usually not sterile, and the mycelium will die out. There’s a certain growth momentum you need to match to give the mushrooms a good enough chance to survive. Think of it like building a fire…you start with the twigs, then add the sticks, and then the logs. If you go directly from the twigs to the logs, the fire most likely won’t have enough momentum to make it.
2) Once the veils break, the spores from the mushrooms are released. Once the spores land on the mycelium, they prevent further pinning of new waves of mushrooms (not sure why). So you want to avoid that, usually by harvesting the mushrooms before they sporulate.
3) Depending on how clean your work was, you can get anything from 3-5 flushes.
Fantastic my friend, I understand completely. Thanks for the fast replies (i saw your other one on the previous tutorial too) – good health and good luck to you! 🙂
Thanks for all of your work!! what can i do if there is no fruiting!. all of the mycelium has colonizated the box. ive given some direct airflow but ther seem to be no fruiting , ive seen somewhere that this is called overlay. is there a way to avoid this or was a culture has overlayed can it be saved?
Without seeing the situation it’s hard to tell. I’m not familiar with the term or process of “overlay”, but for now I would suggest patience and observation. Keep the FAE going and make sure humidity is at decent levels. Good luck!
Hello and thank you for this amazing post!! I have a little question:
I inoculated the substrate a week ago with grain spawn of thai cubs, and it is still in incubation. I am starting to see the mycelium resurfacing to the top. It mostly looks like a thick network of spider webs, which i think it’s correct, but in some area it’literally popping out the substrate in little clusters that look like pop corns. Is this to be expected? ma i doing something wrong?
That sounds about right. Mycelium grown and colonization are not always uniform, and some white patches may grow faster than in other places on the mycelium cake. This is especially true if you incorporate additional nutrients such as manure. Keep on, and have patience!
Cool! Thank you for the response!!!