 Bring magic into your life
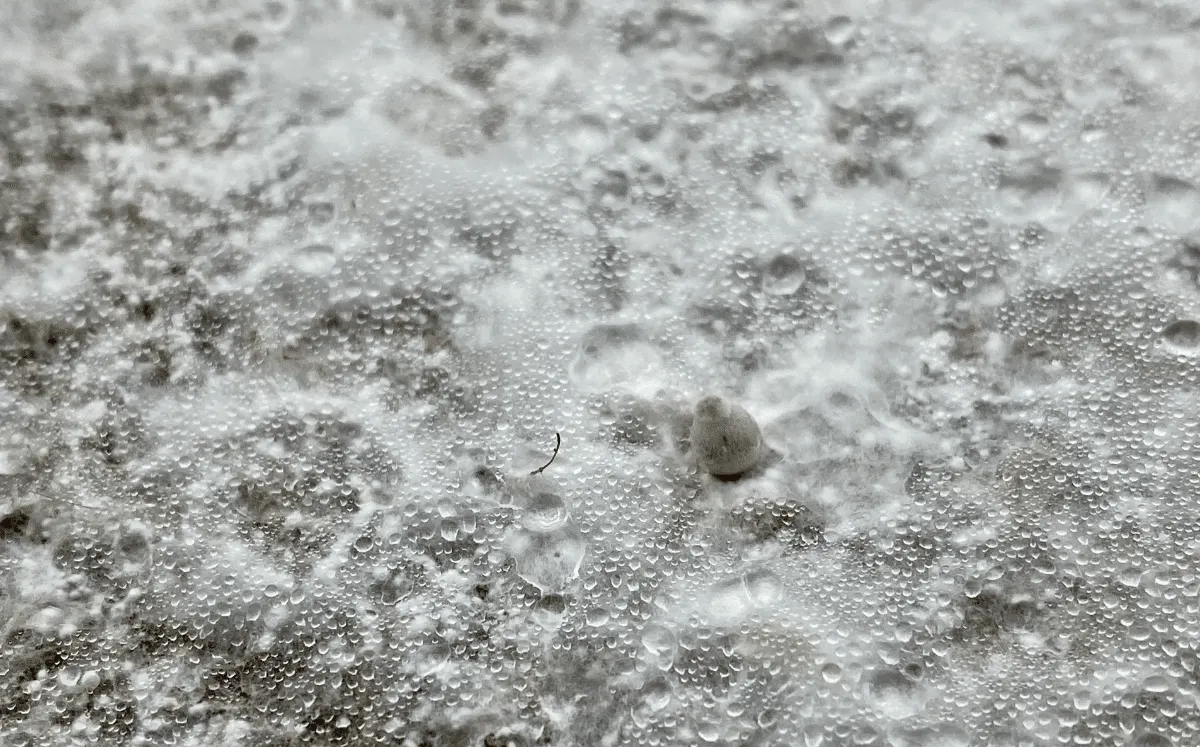



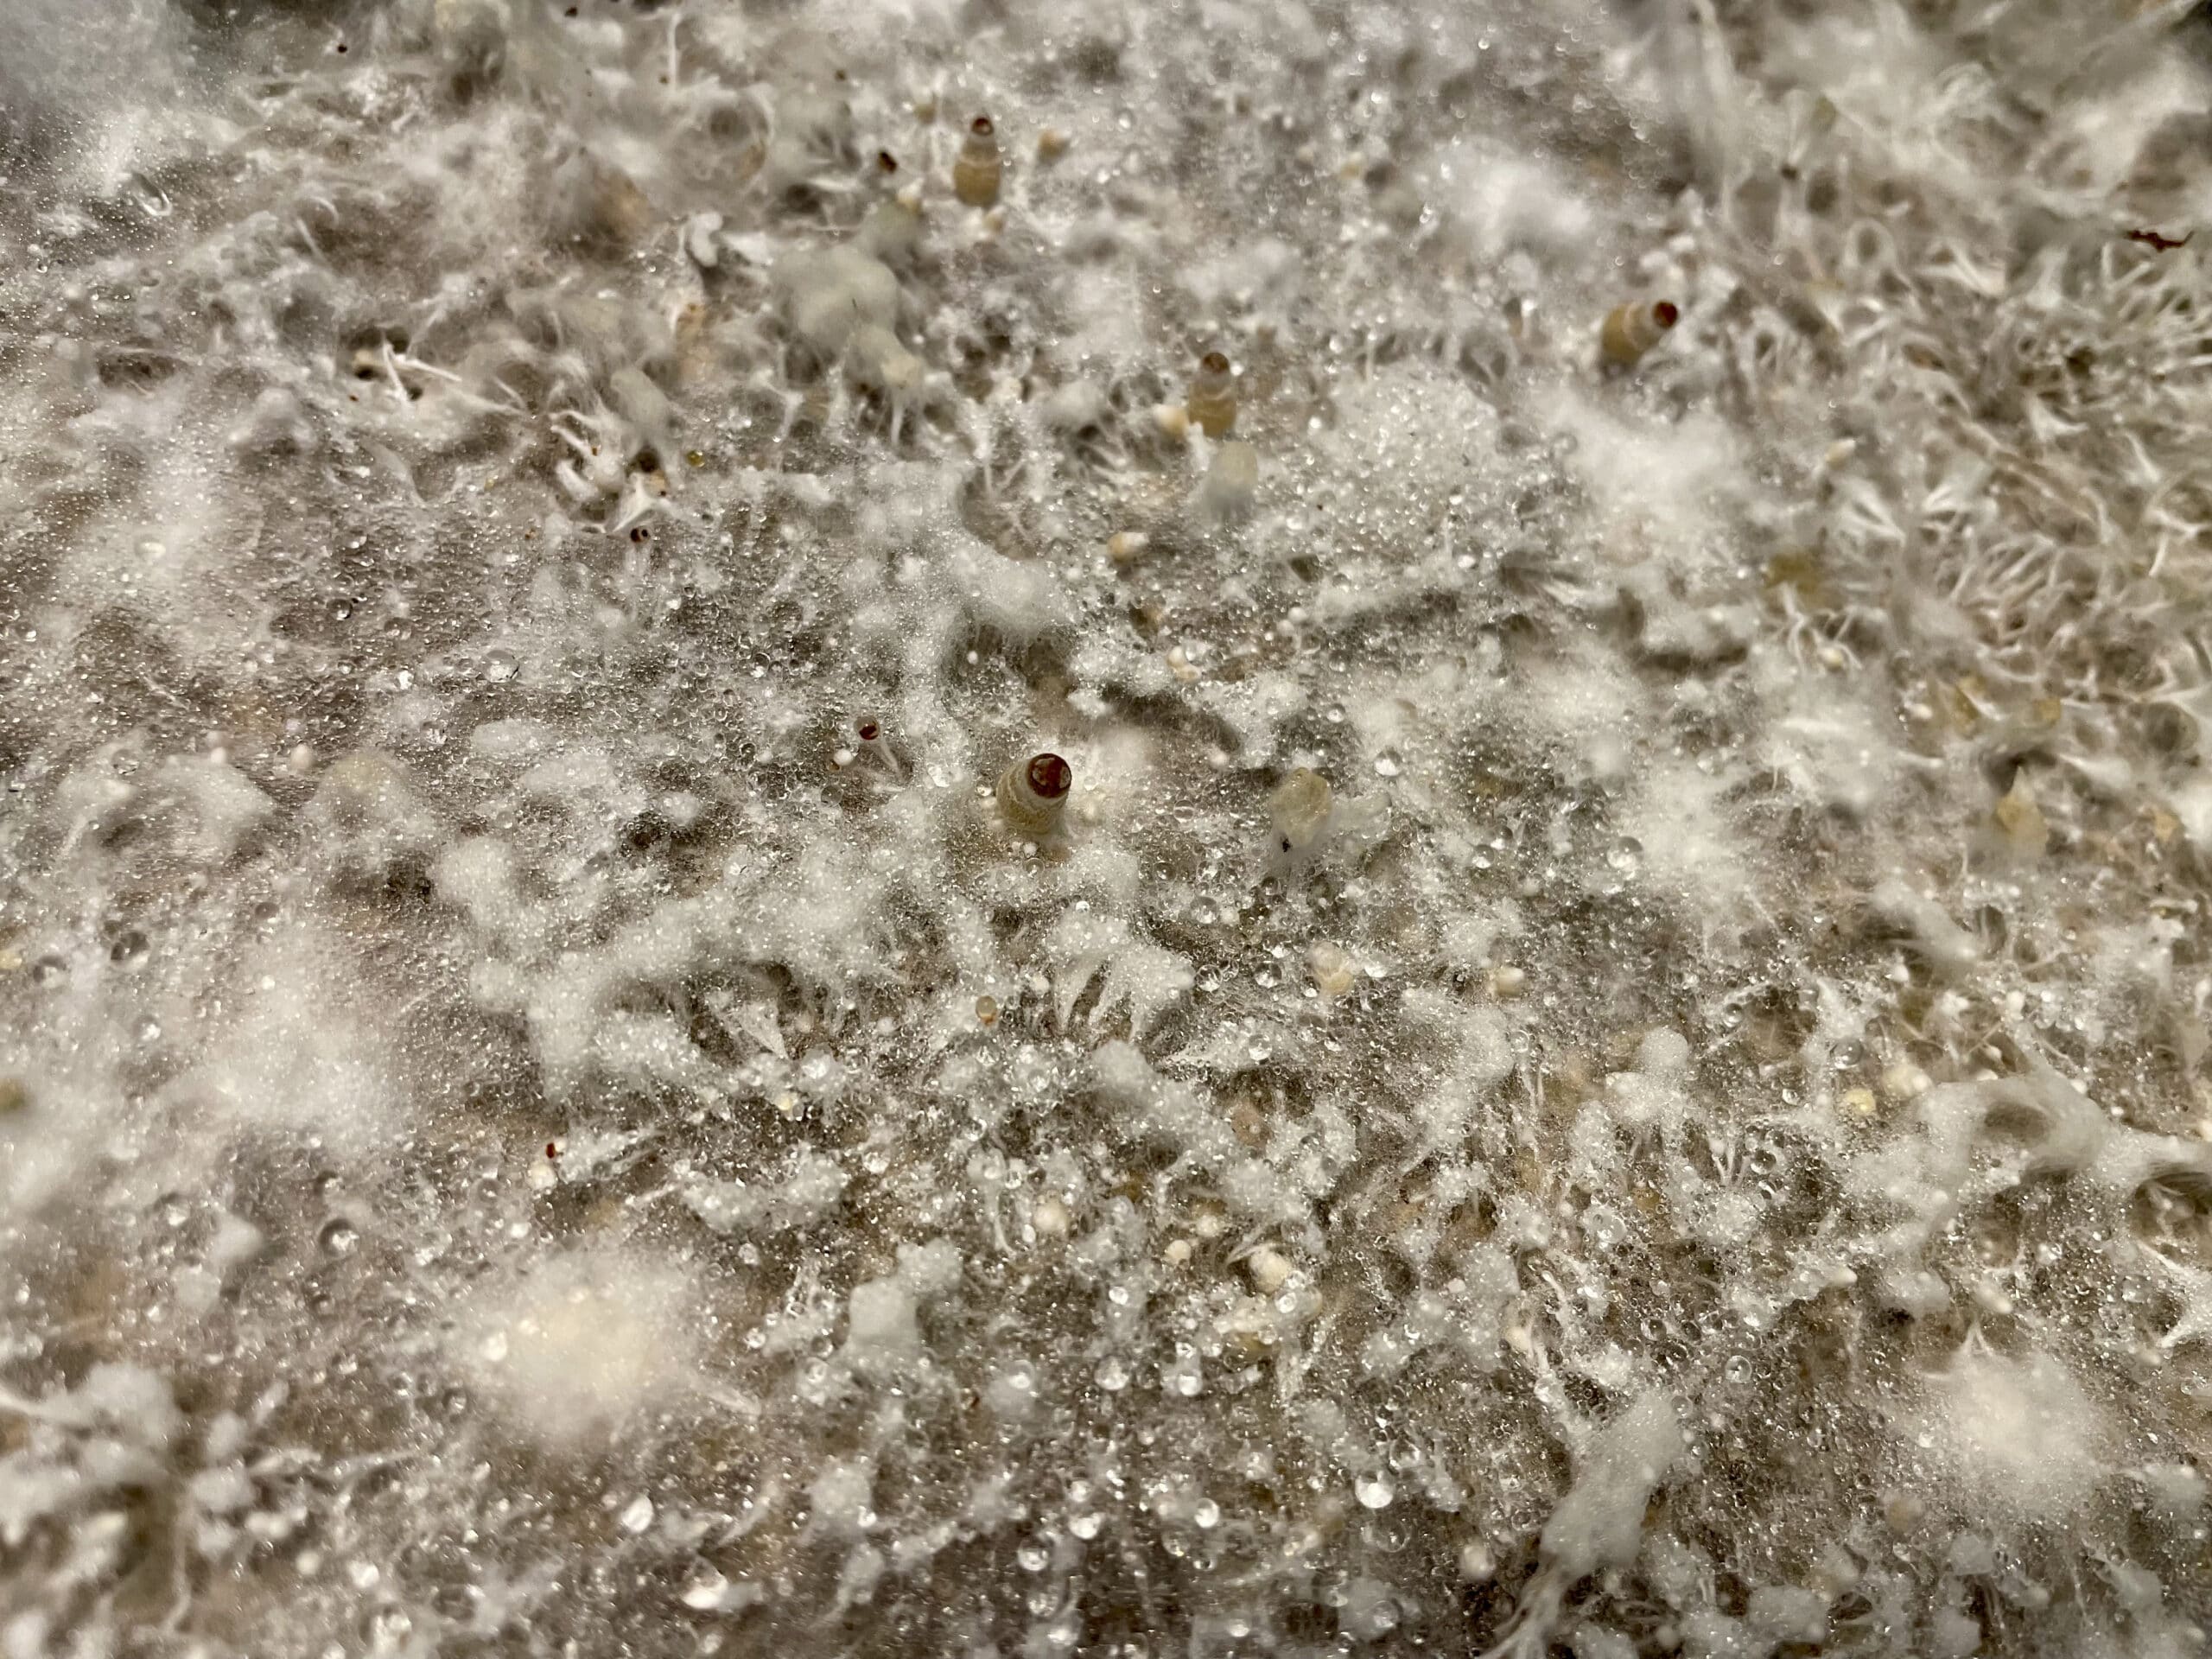
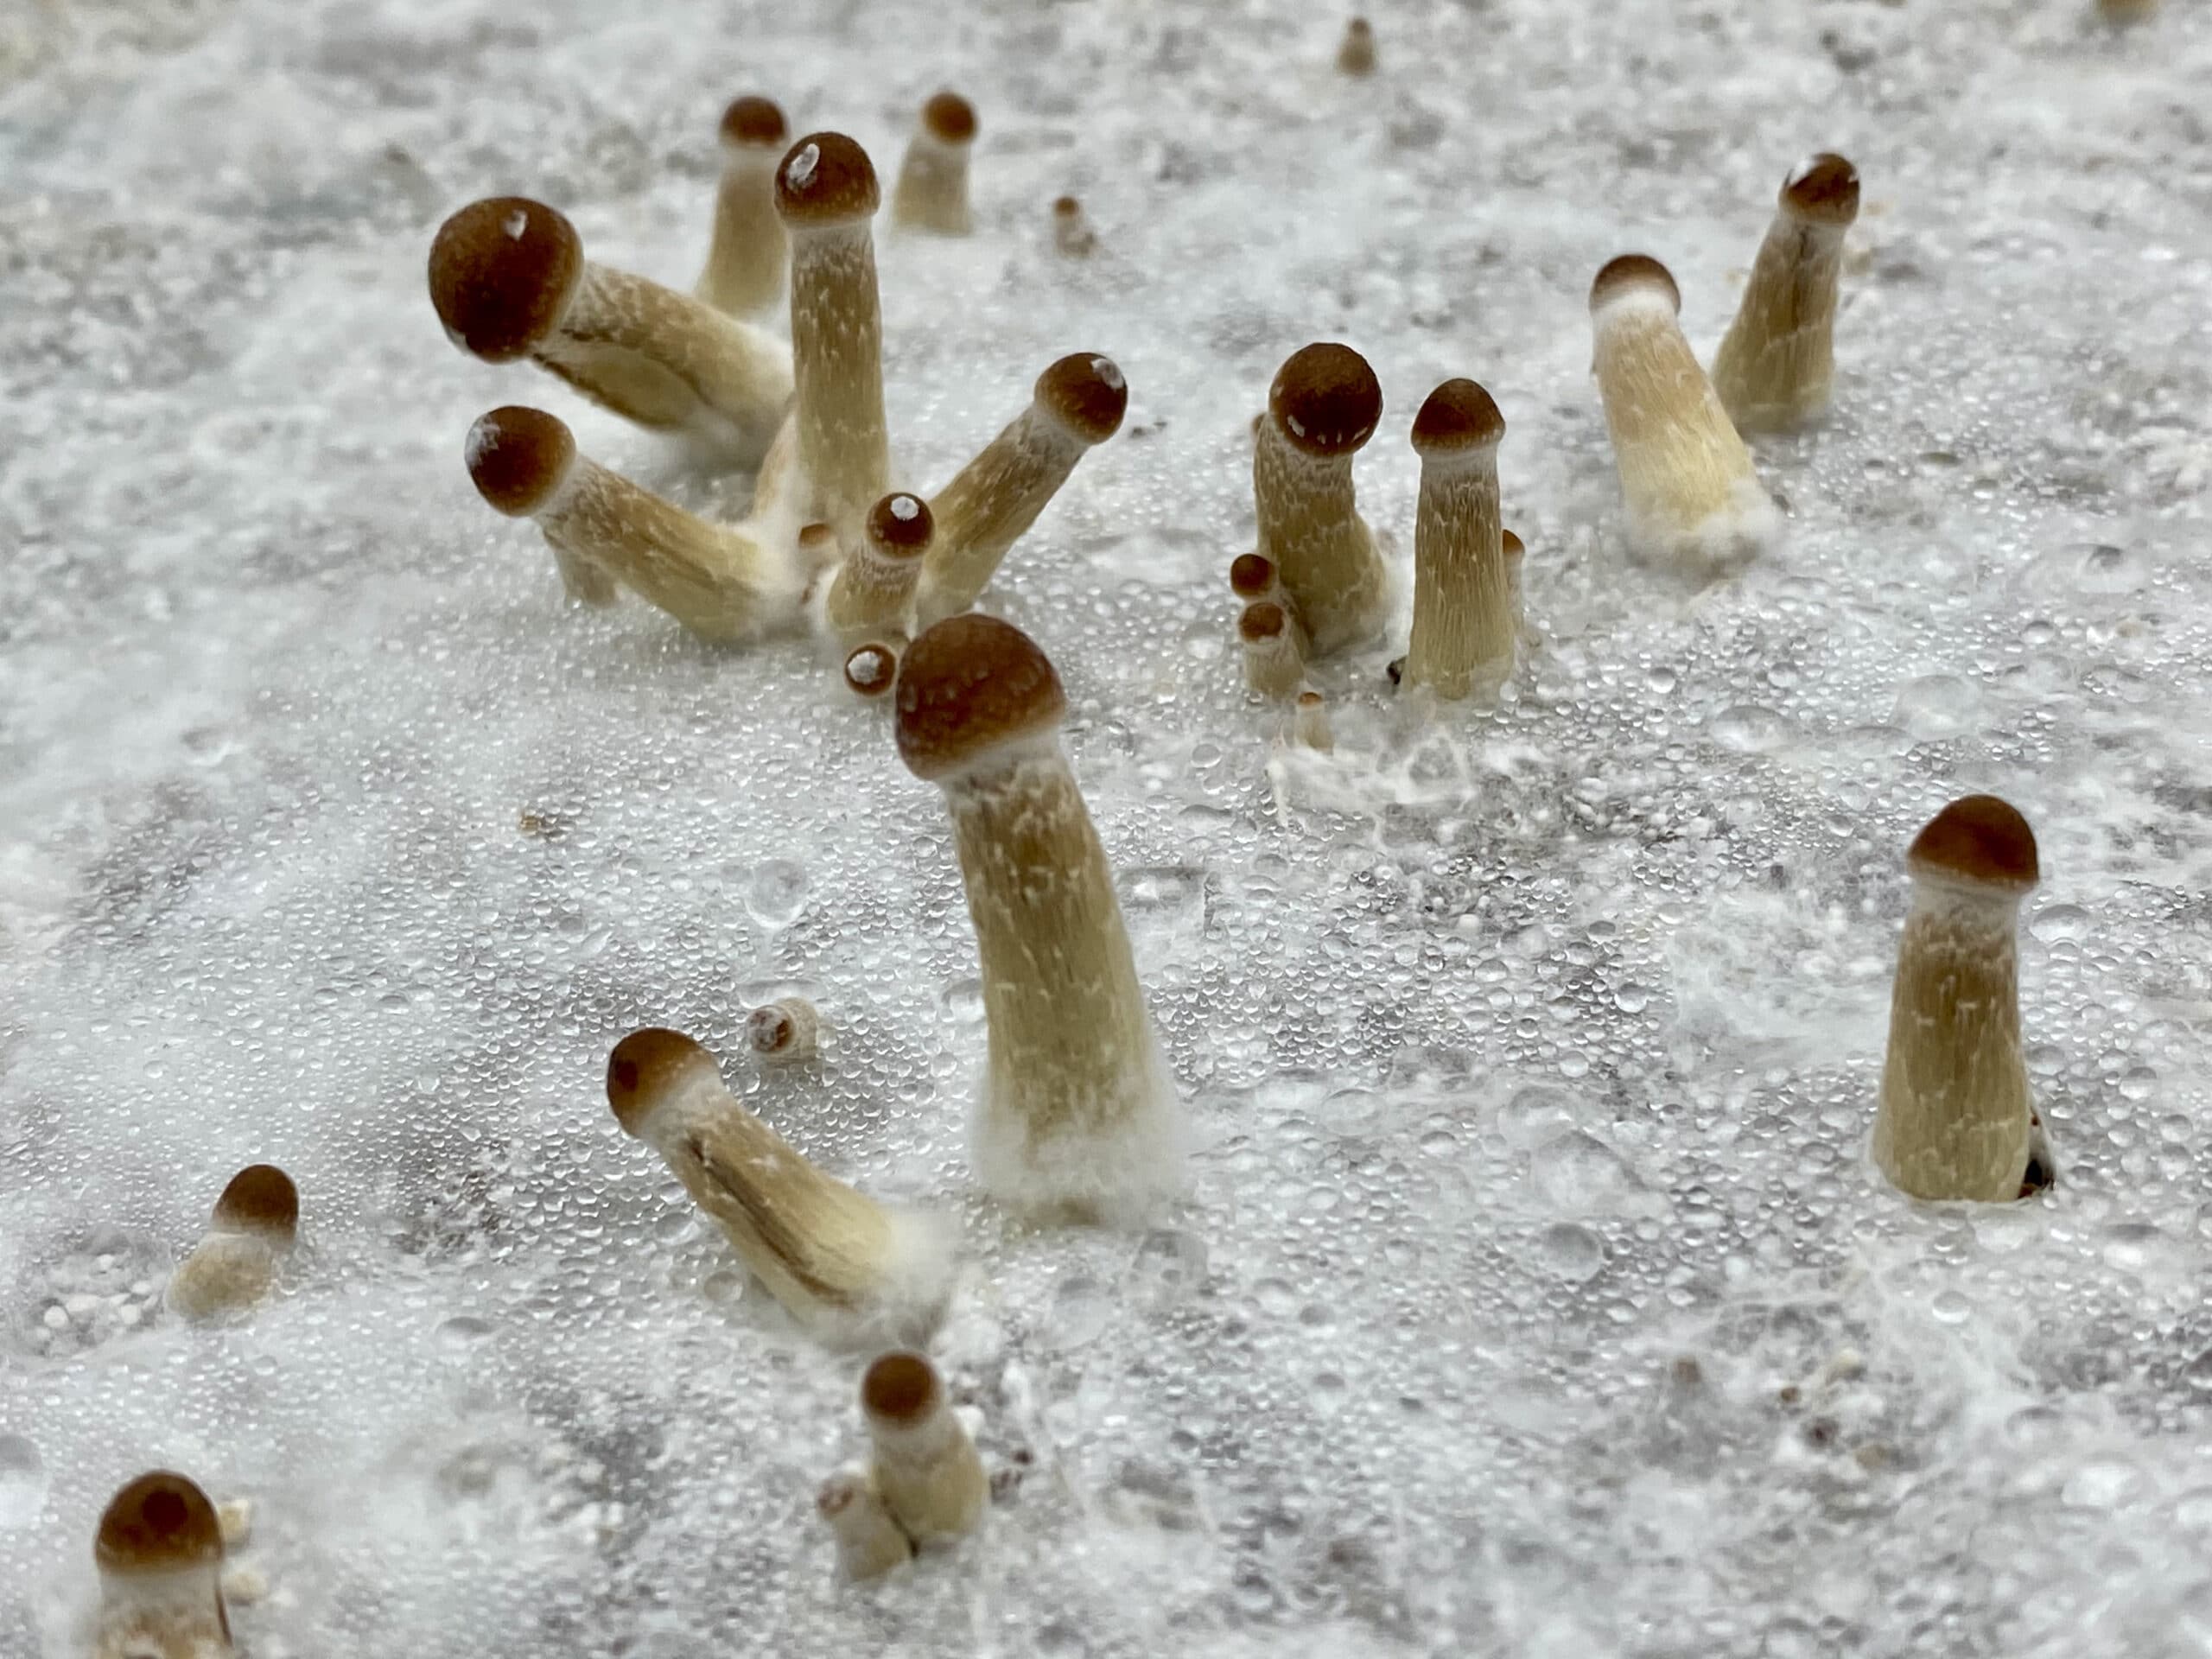
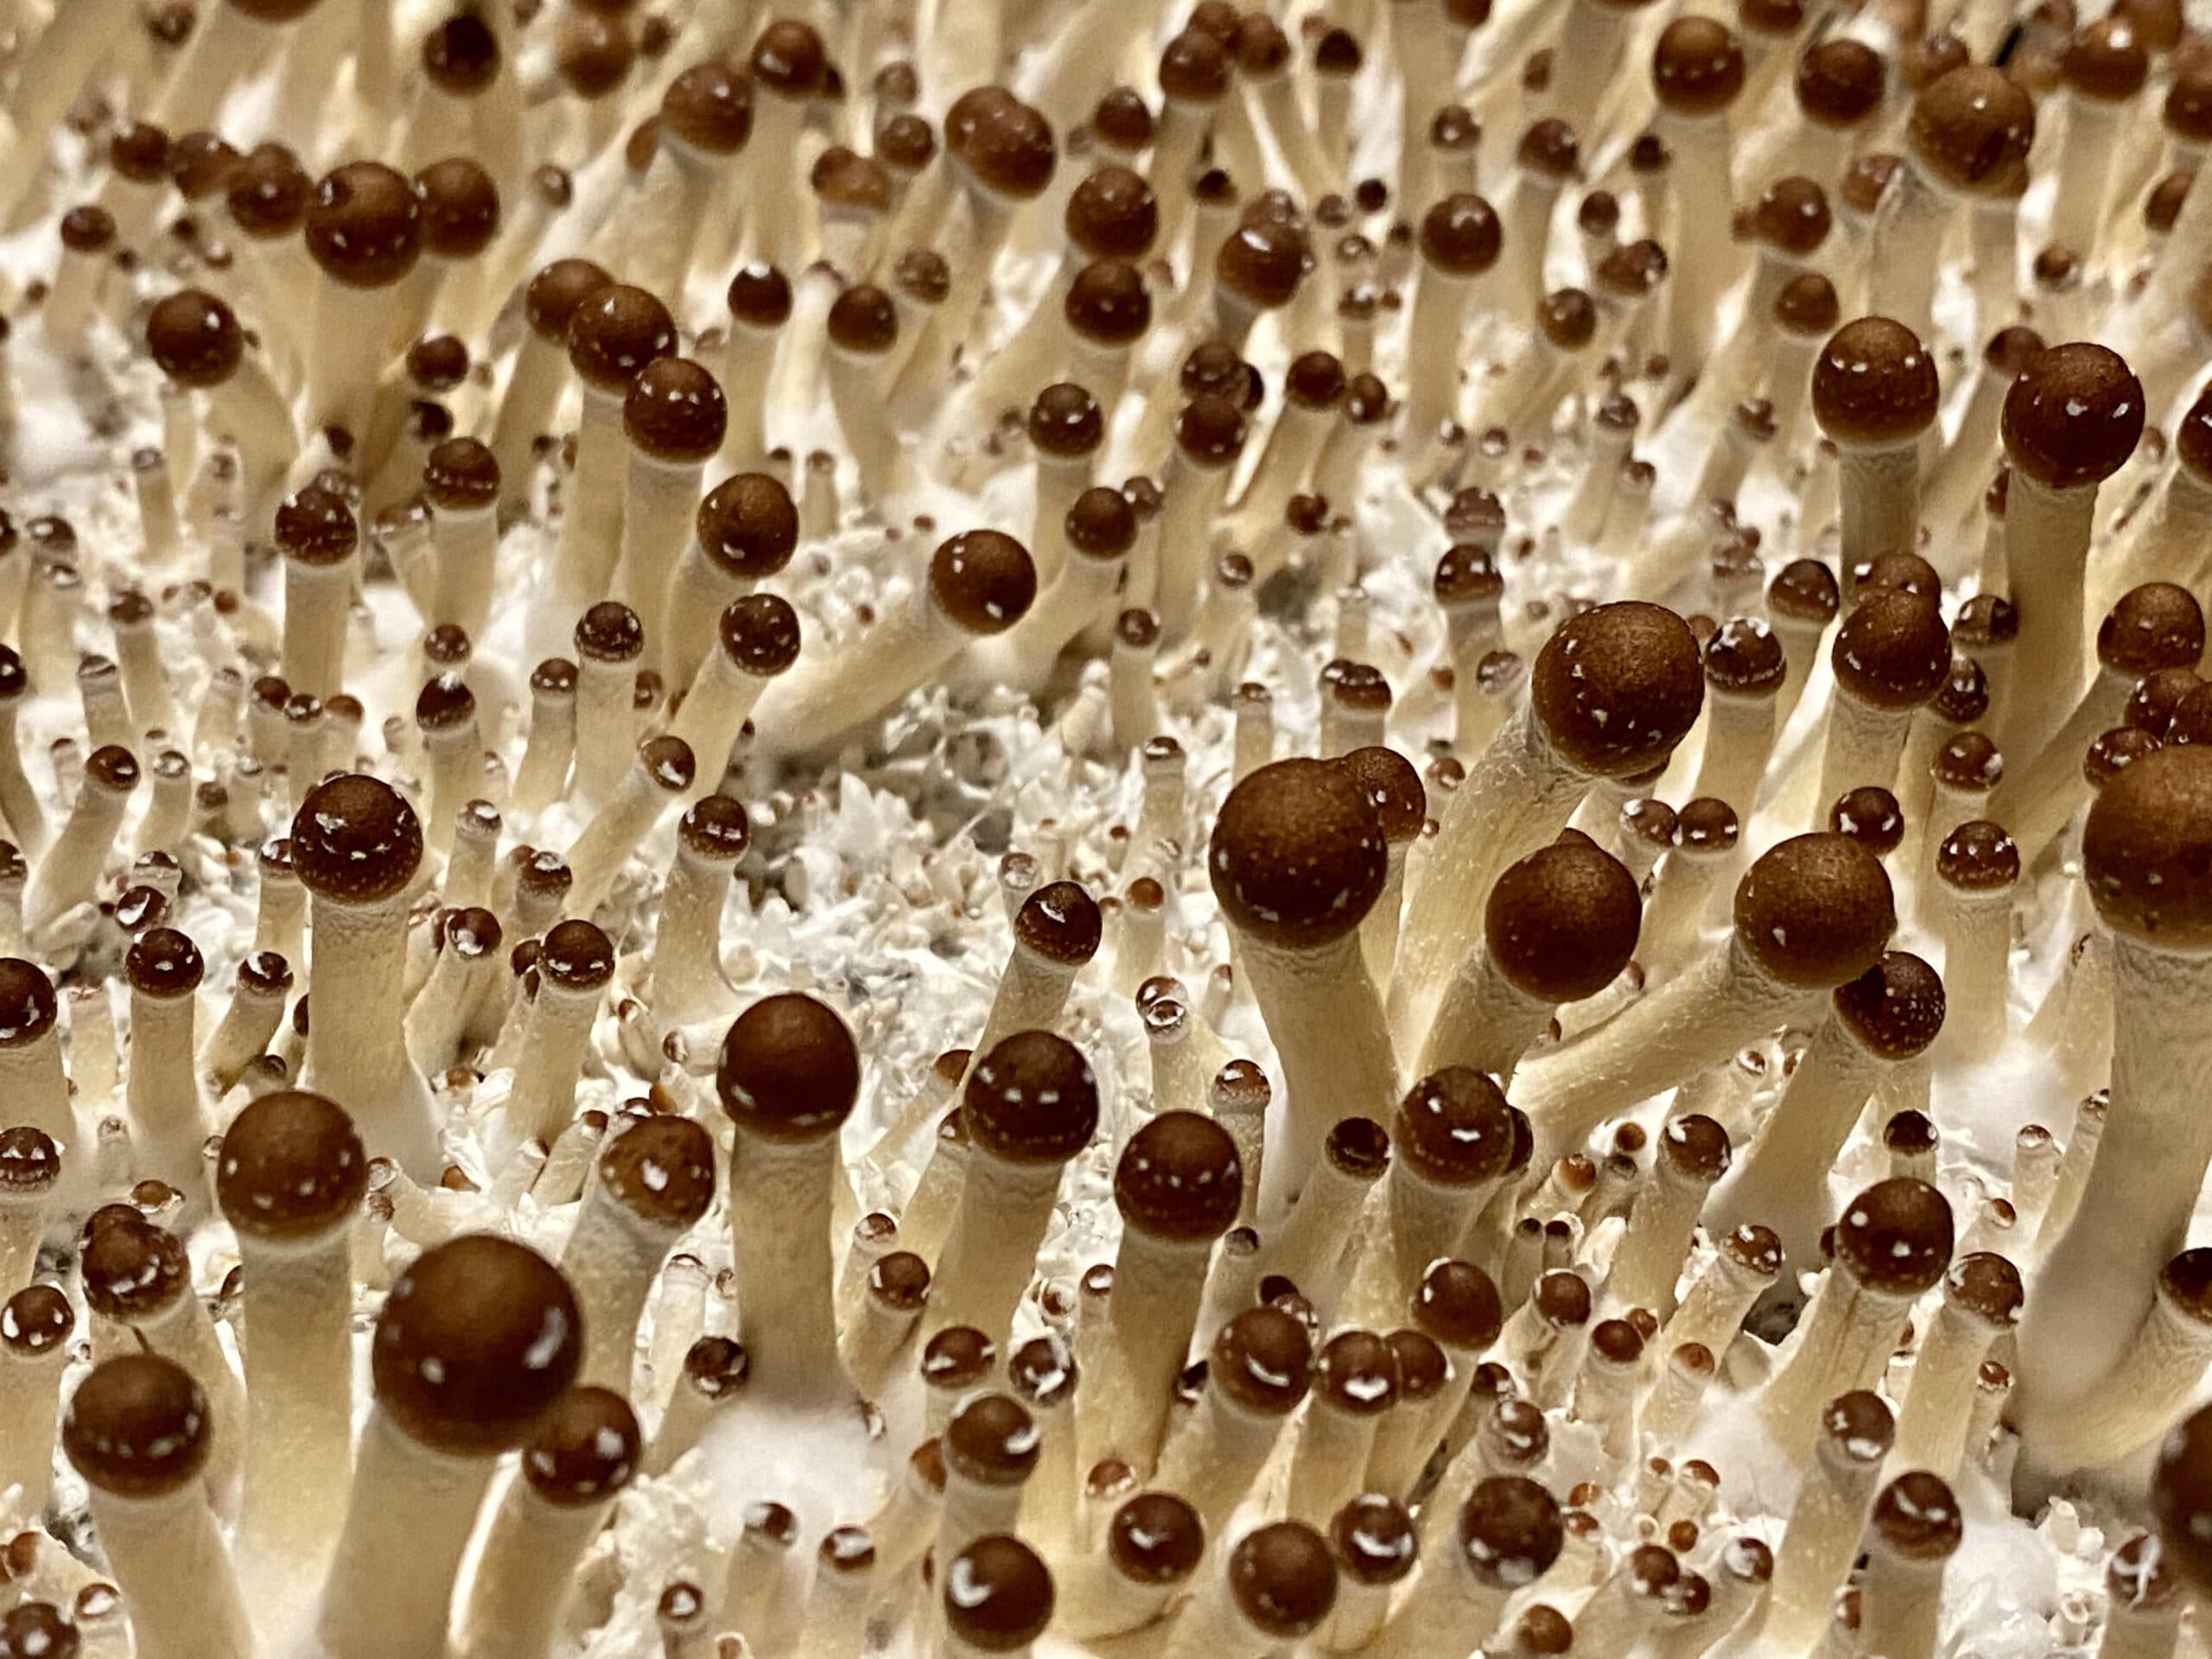
This is both the most nerve racking and rewarding step of them all. If everything has gone well, your monotub should be incubating for about 10 days now. Using a flashlight, you can peek through the clear plastic to see how the colonization of mycelium is going. Once it has fully covered the entire substrate with a snow-white blanket, jeweled with lots of tiny dewdrops, it's time for the "fruiting process" to begin. Basically, this involves gently introducing a flow of fresh air, and bringing on a very slow process of evaporating the moisture on the surface of the mycelium. These conditions spark the fruiting process of the mycelium cake, where tiny knots start forming on the surface of the mycelium. These knots turn to mushroom pins, which in turn, become fully grown mushrooms - all within the space of a few days.
Putting your Monotub into Fruiting Conditions
- Avoid opening the tub at all costs for the first 10 days of incubation.
- You can shine a flashlight through the side of the monotub to see the mycelium spreading.
- If you notice any signs of foreign contamination such as green moulds, or a sour smell, discard of the contents of the tub far away and downwind of your growing environment.
- When the time comes to open the tub, be careful not to let any water droplets fall on the surface of the mycelium.
Video Tutorial : Fruiting Your Monotub
The video markers above 👆🏼correspond to the the various Steps in this Unit. Click on them to skip to a Step.
Remove the lid from the Monotub and drain any Water from it.
After about 10 days of incubation, try to peek inside the tub without opening it to see if all the surface of the grain / substrate cake is covered in mycelium. If it is, proceed to carefully open the lid, without letting any water droplets from the lid fall onto the mycelium cake. Wipe down the water from the inside of the lid, and place it back on the tub.
Cut out the Air Vents from the Monotub.
Next, use a scalpel to re-cut out the 8 holes in the monotub, by slicing through the gorilla / duct tape. Once cut out, cover these holes once again with a single layer of micropore tape. If the piece of micropore tape is not large enough to cover the entire hole, use a second piece with a small overlap. If you don't have micropore tape, you can fill the holes with polyfil fibers instead. These will act as air filters, allowing in air, but keeping bugs and contaminants out. These 8 holes should allow for enough FAE inside the tub without the need of opening the lid to let air in.
Avoid Touching, Opening or Moving your Monotub during Incubation.
Pace the tub in an area which has indirect light. In the next week or so, FAE in the tub will start evaporating the water inside it. This evaporation will trigger baby mushroom pinning on the surface of the mycelium. If the sides and lid of the tub become totally dry, spray them with some water using the fine-mist spray, although this should not generally be needed until the first flush.
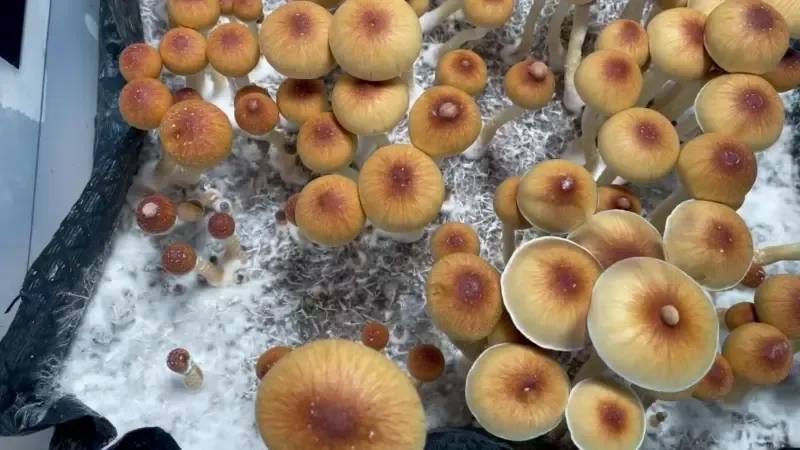
Pictures : Freshly Opened Monotubs and Perfect "Mycelium Cake" Surface Conditions.
Harvesting your Magic Mushrooms
- Twist the mushrooms from their base to try to get them free of the cake.
- Prepare for the step after harvesting. If you're drying, make sure you have a food dehydrator ready, etc.
Video Tutorial : Harvesting your First Flush
The video markers above 👆🏼correspond to the the various Steps in this Unit. Click on them to skip to a Step.
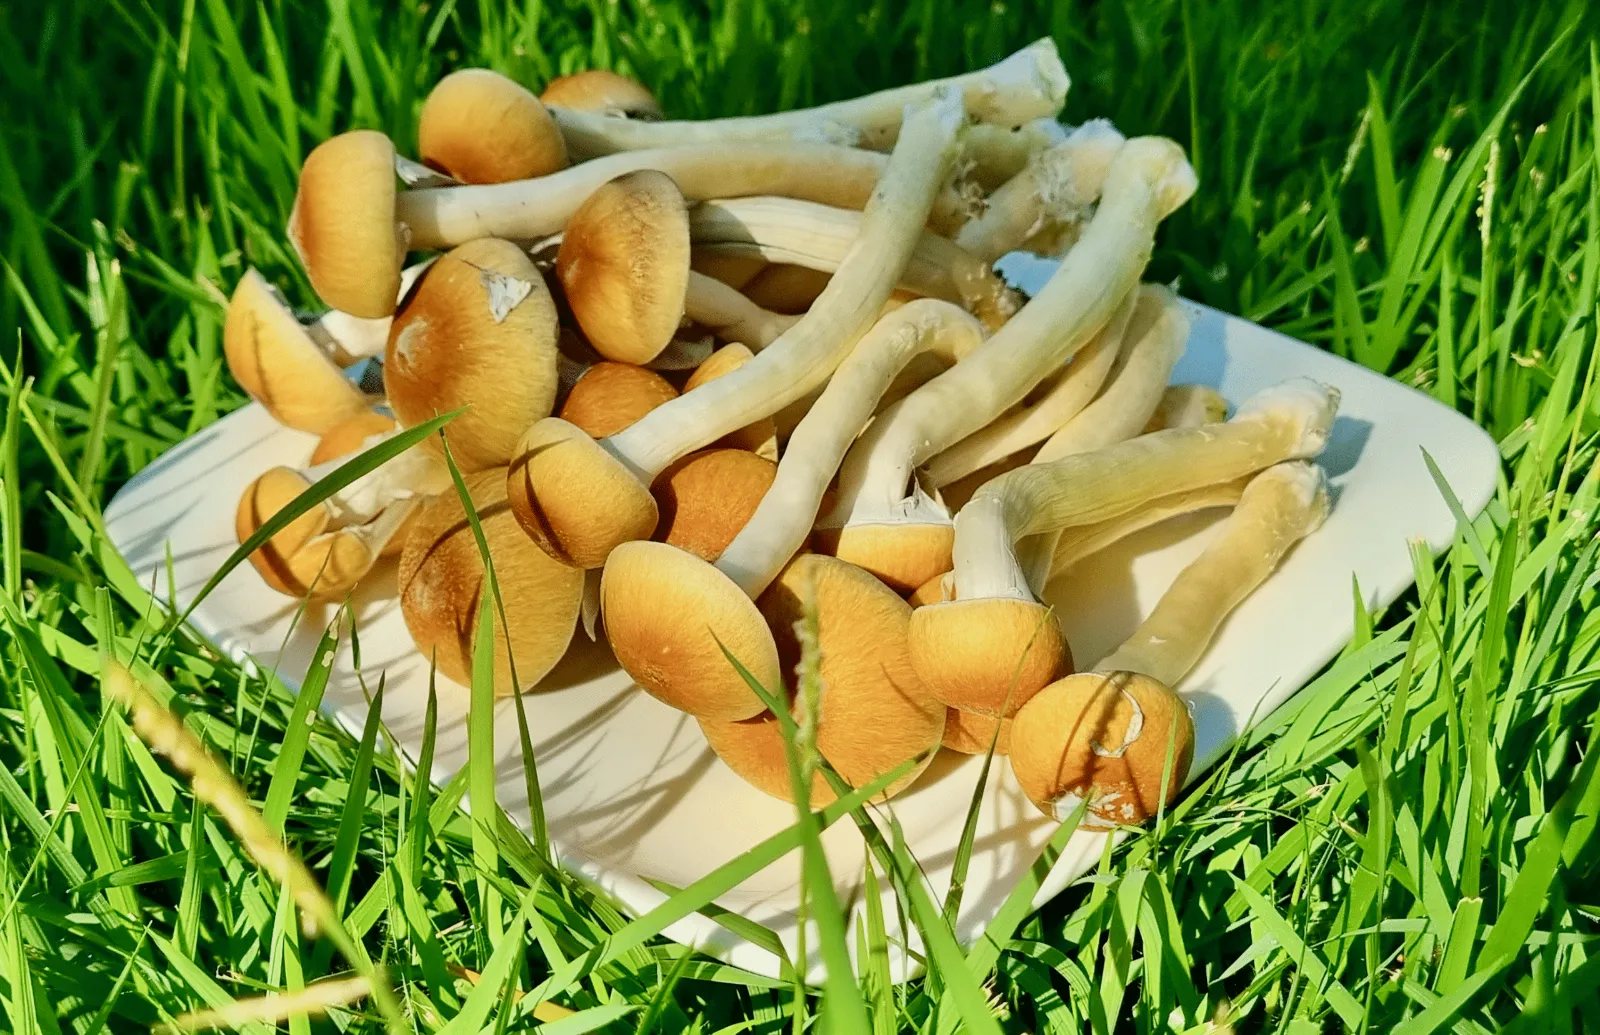
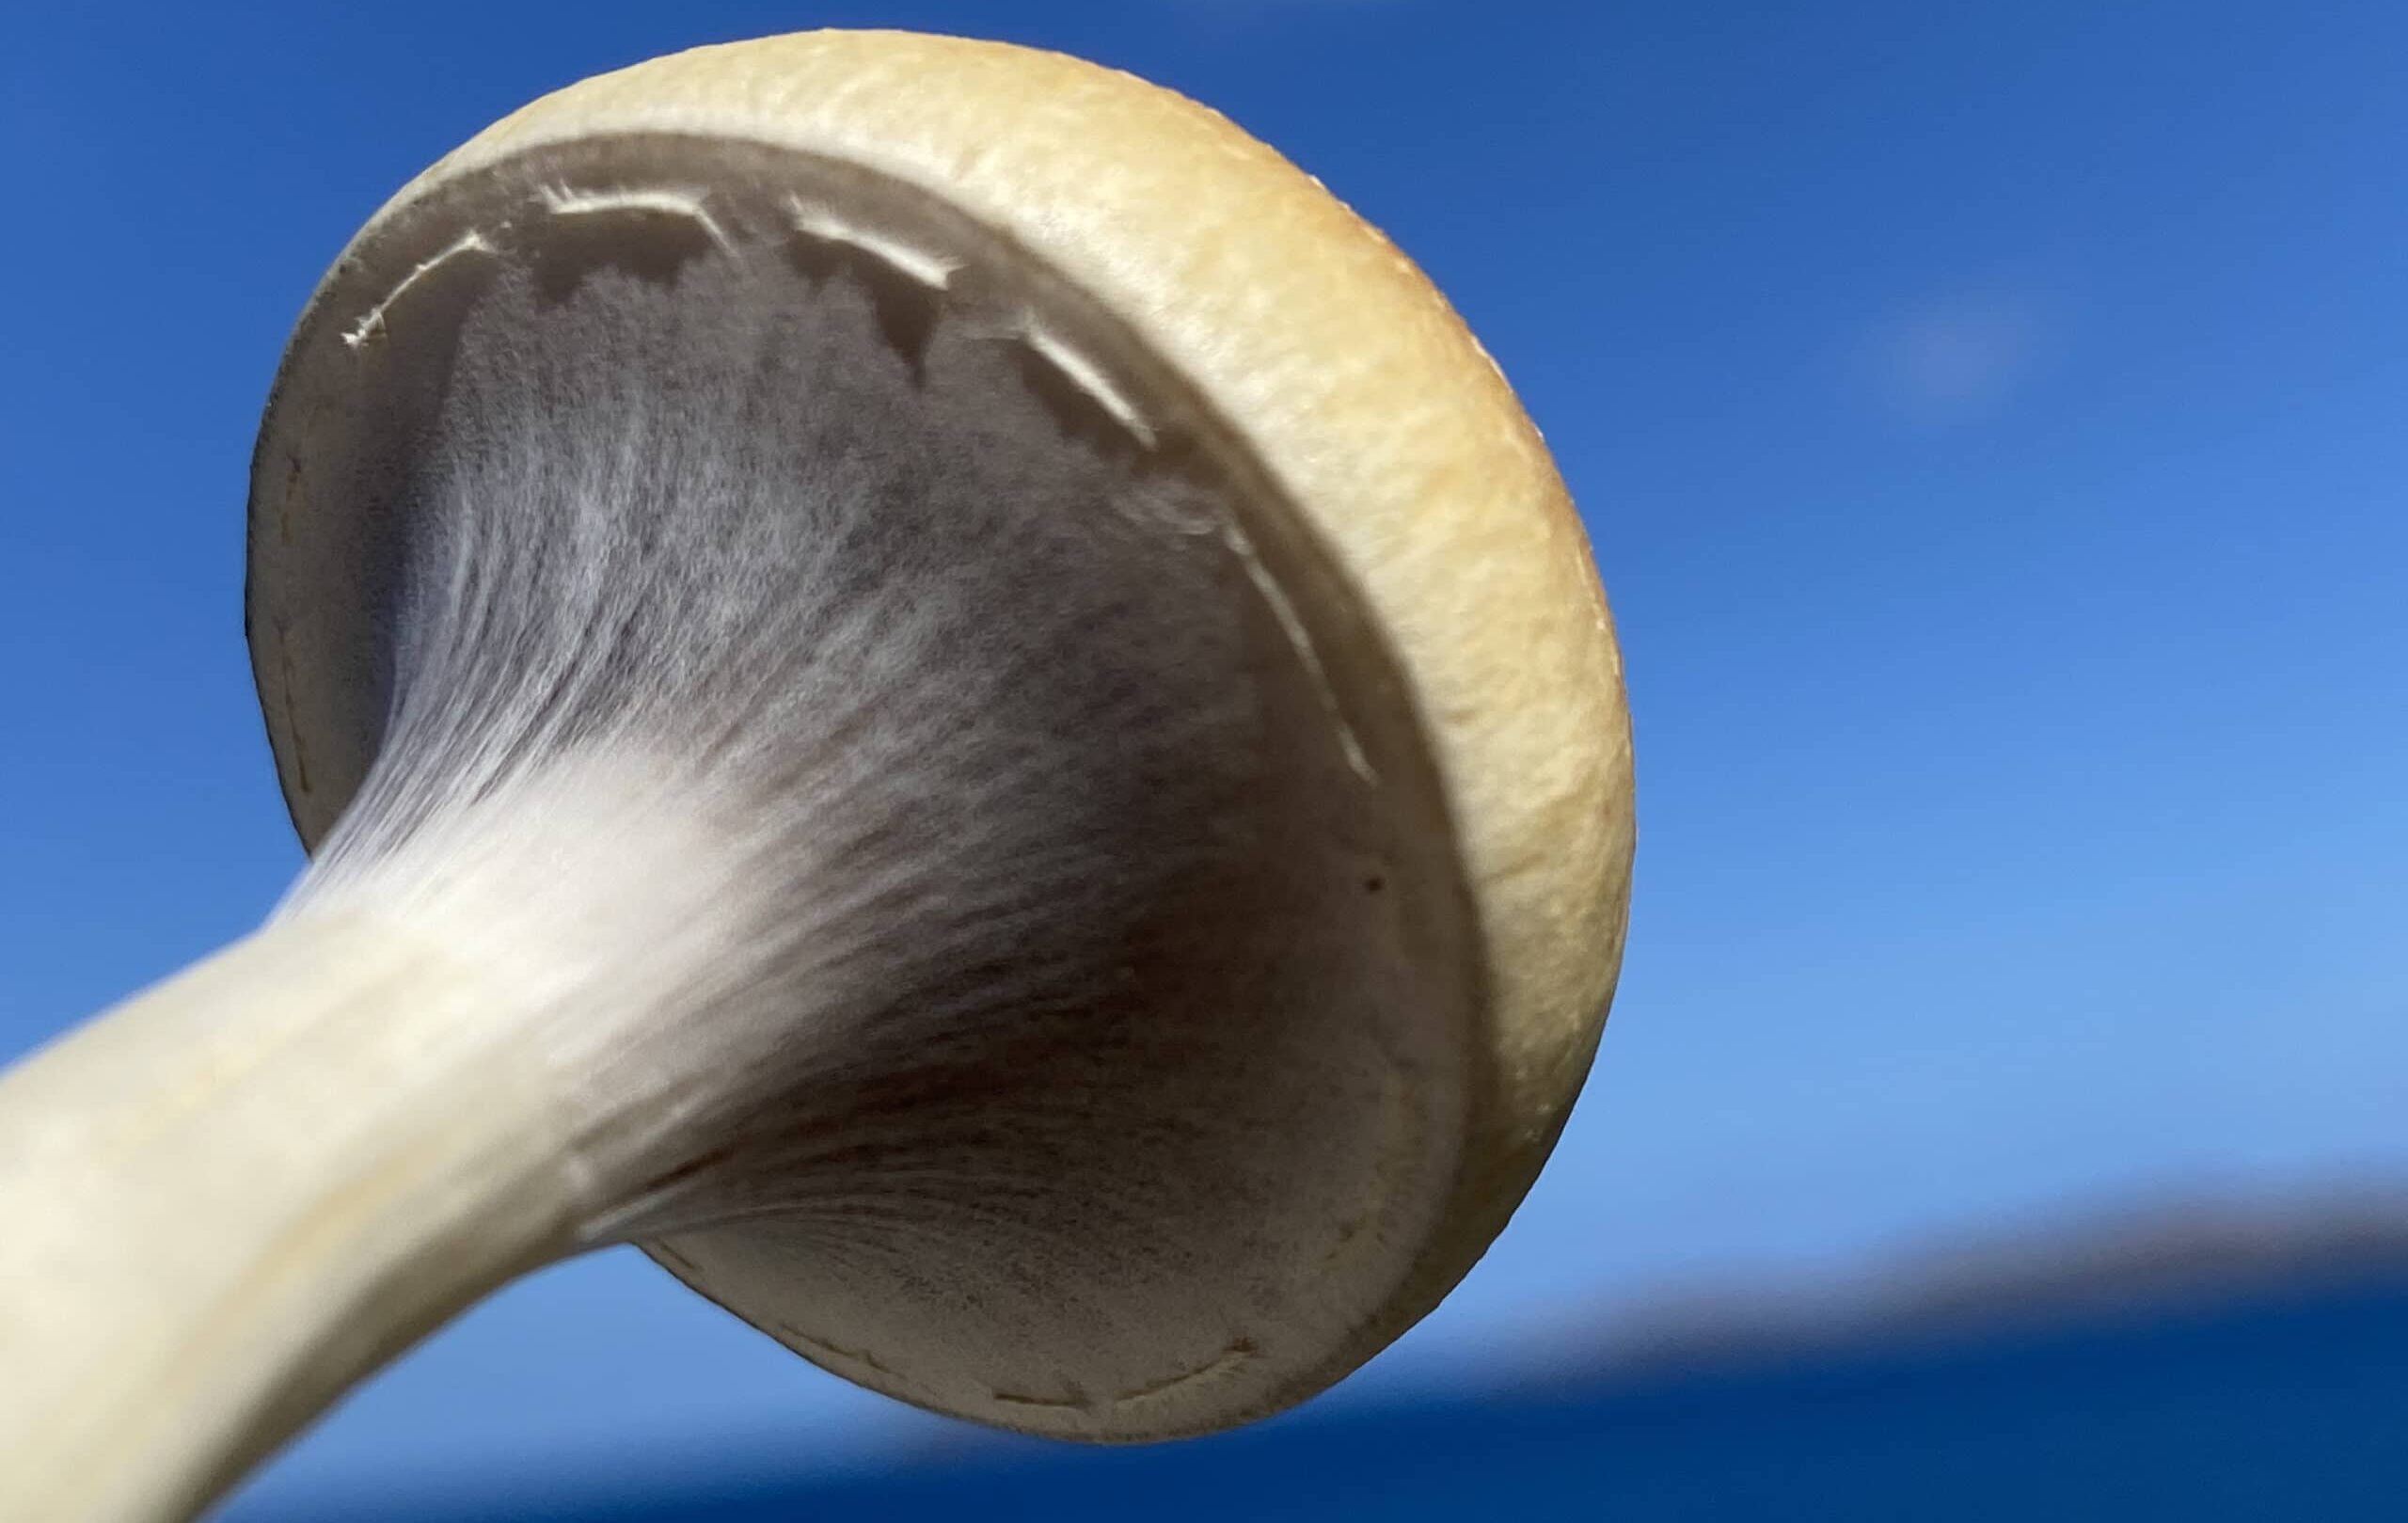
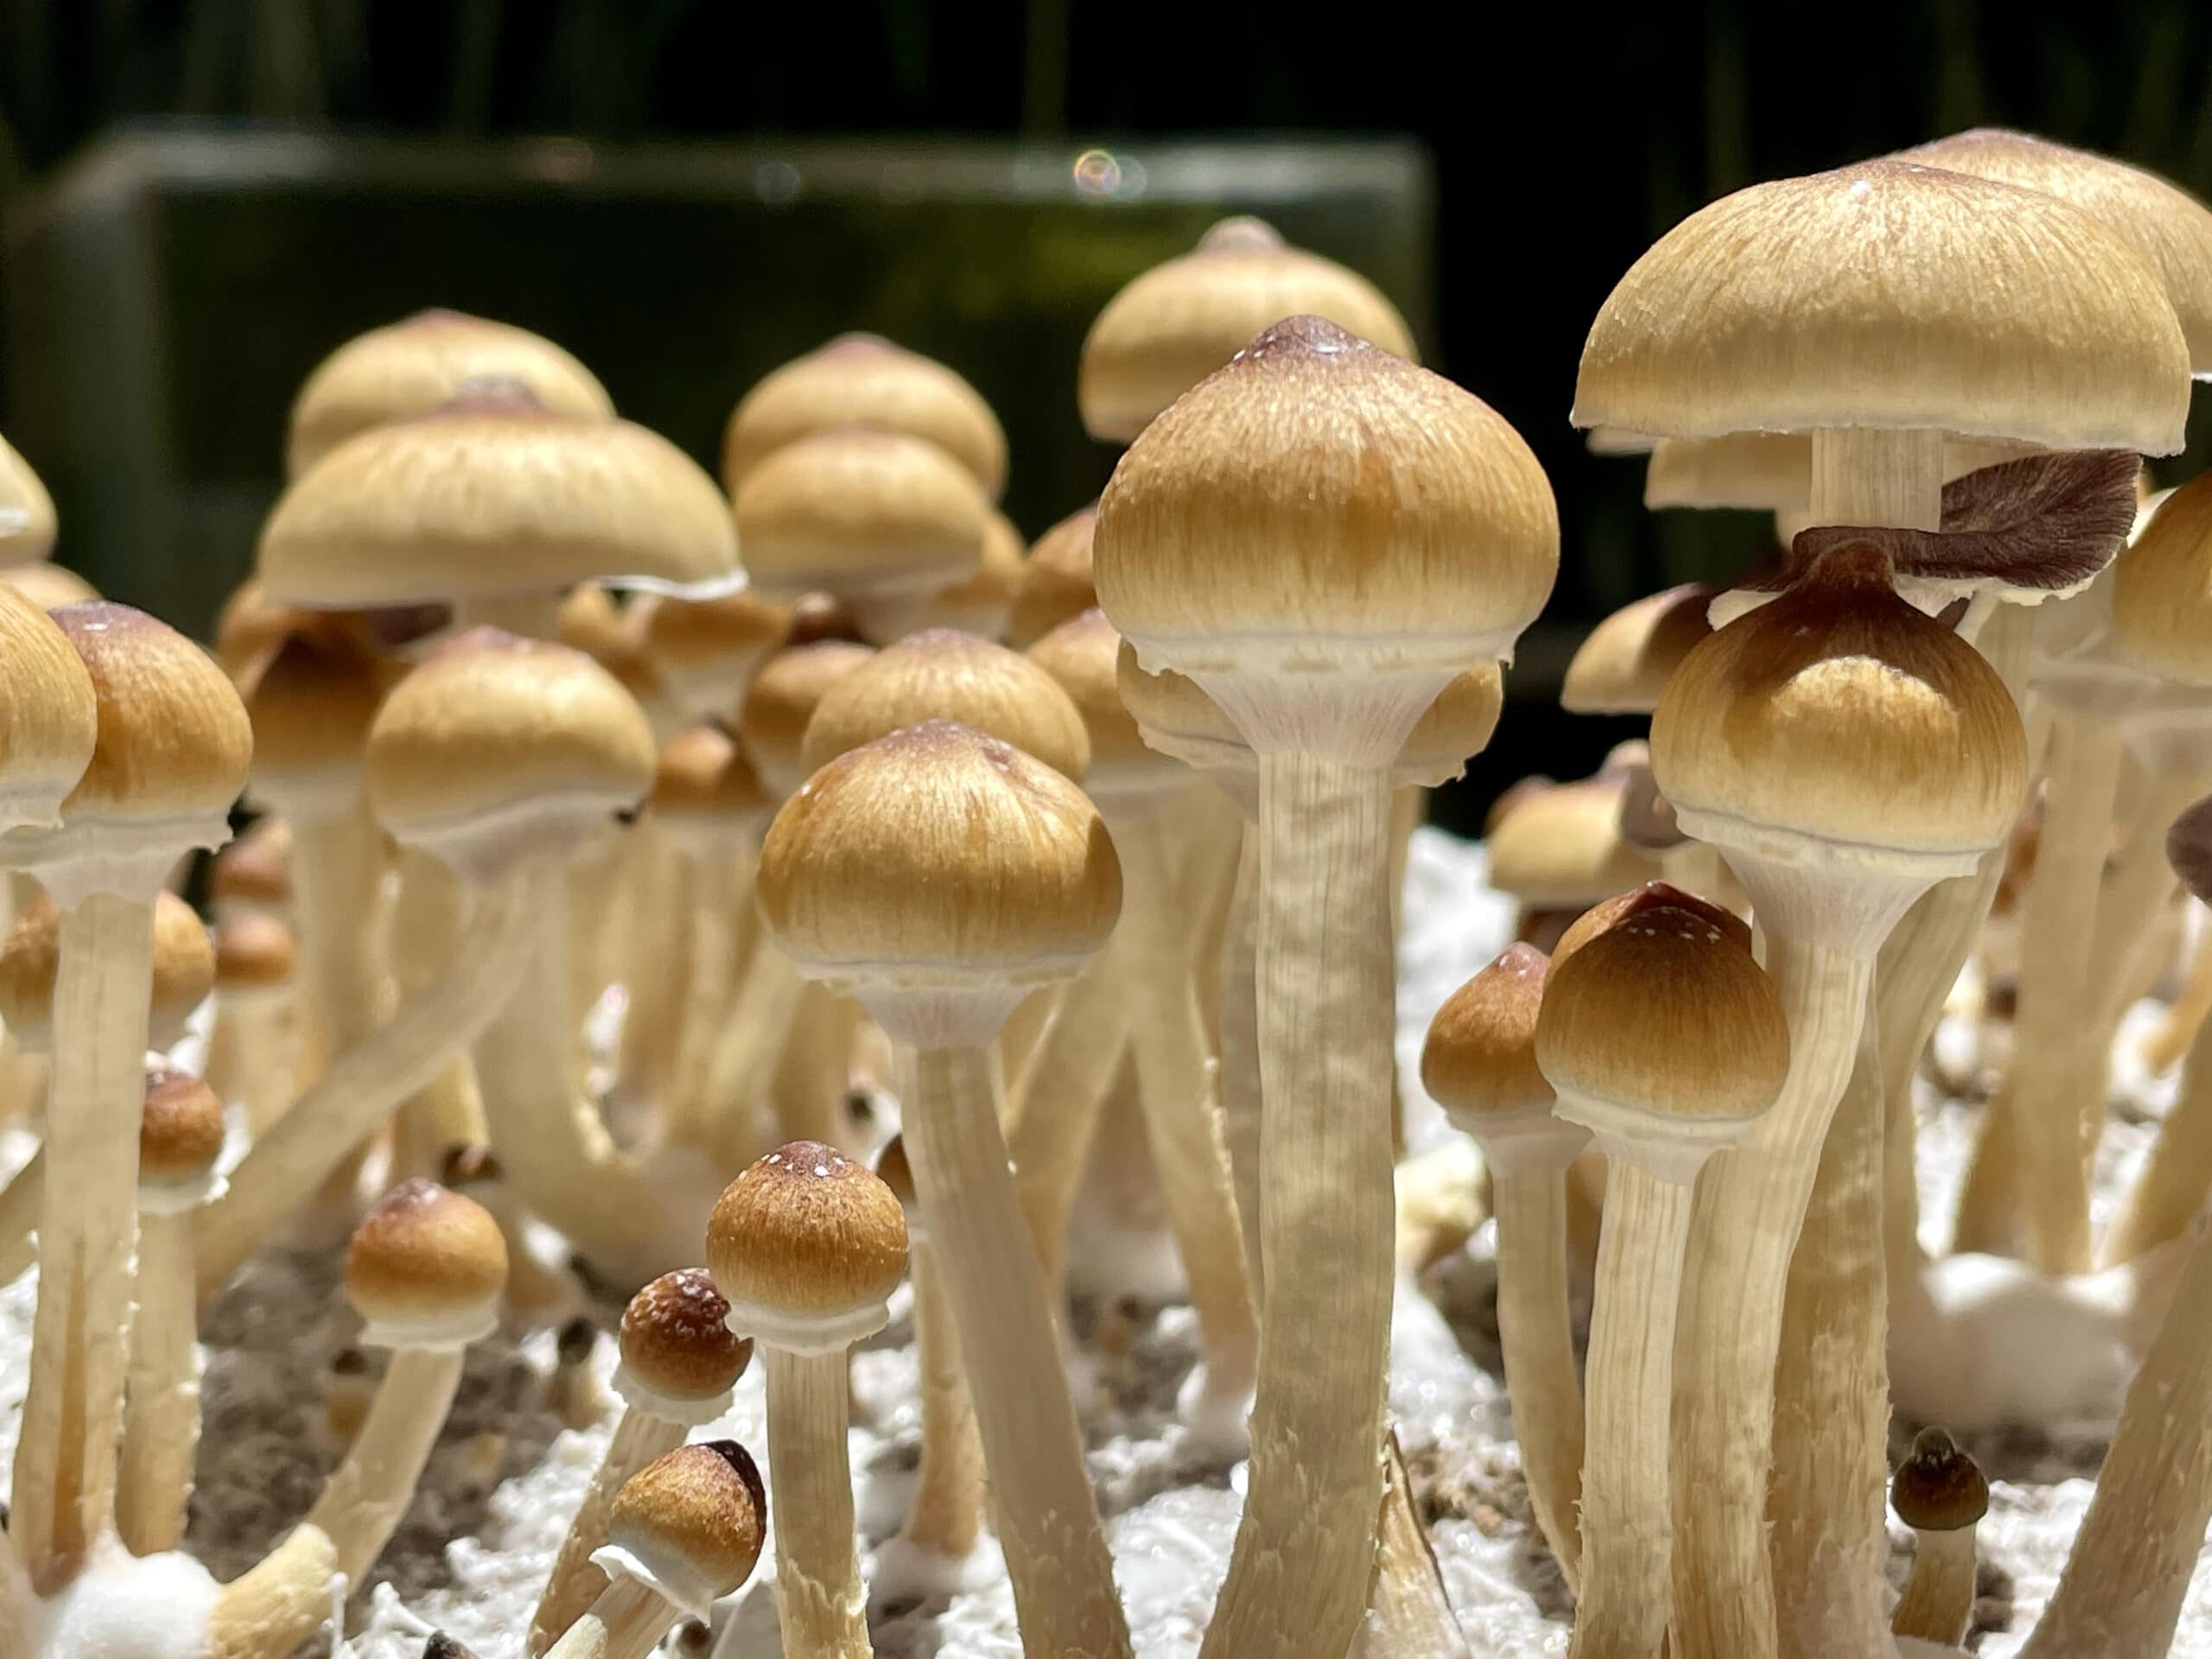
General info about Harvesting Mushrooms In general, a "flush" refers to a wave of mushroom growth that happens usually in the space of 2-3 days. You might find that your mushrooms grow at a different rate, and we suggest that you harvest your first flush of mushrooms over a period of 2-3 days. Choosing the right time to harvest each mushrooms is key. As the mushroom grows and transforms from a lollipop shape into an open-cap mushroom shape, you will see a white veil covering the gills from the underside of the mushroom cap, and connecting to the stem. Try to harvest the mushroom just before the veil disconnects. Once it disconnects, the mushroom releases its spores onto the mycelium, which you want to avoid since this damages the mycelium. By day 3, you should have harvested the last of the mushrooms, including any stragglers, even if they are not fully grown.
Prepare the Monotub (and yourself) for the Harvest.
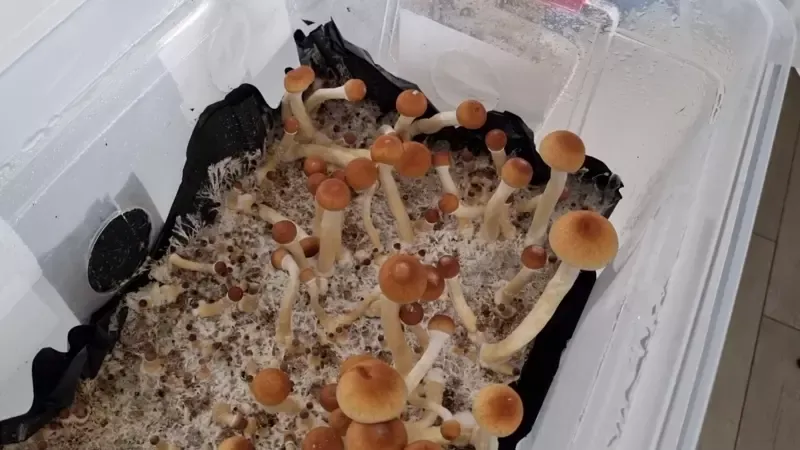
Put on a pair of gloves, look around inside your tub and bask in the glory of your first flush! Identify the mushrooms which are ready for harvesting and think about how you will access them with minimal damage to their surroundings. You are looking for mushrooms with veils have opened, or just about to open.
Pick and Harvest Mushrooms
Hold the bottom of the stem of your first mushroom, and gently twist it until it disconnects from the mycelium cake. You can also tip the mushroom over the break it off at the base. You want to create as little damage as possible to the cake when doing this. Place all your mushrooms in a container such that all the caps are on the same side, so that the substrate at the base of each mushroom doesn't stick to the body of the other mushrooms. Repeat the process once or twice a day for the next 2-3 days, until you have completed the harvest of your first flush.
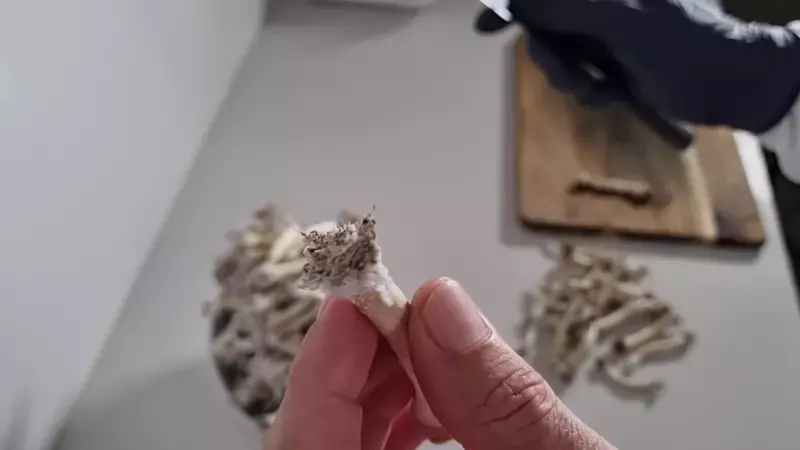
Clean off Remaining Substrate or Dirt from Mushroom
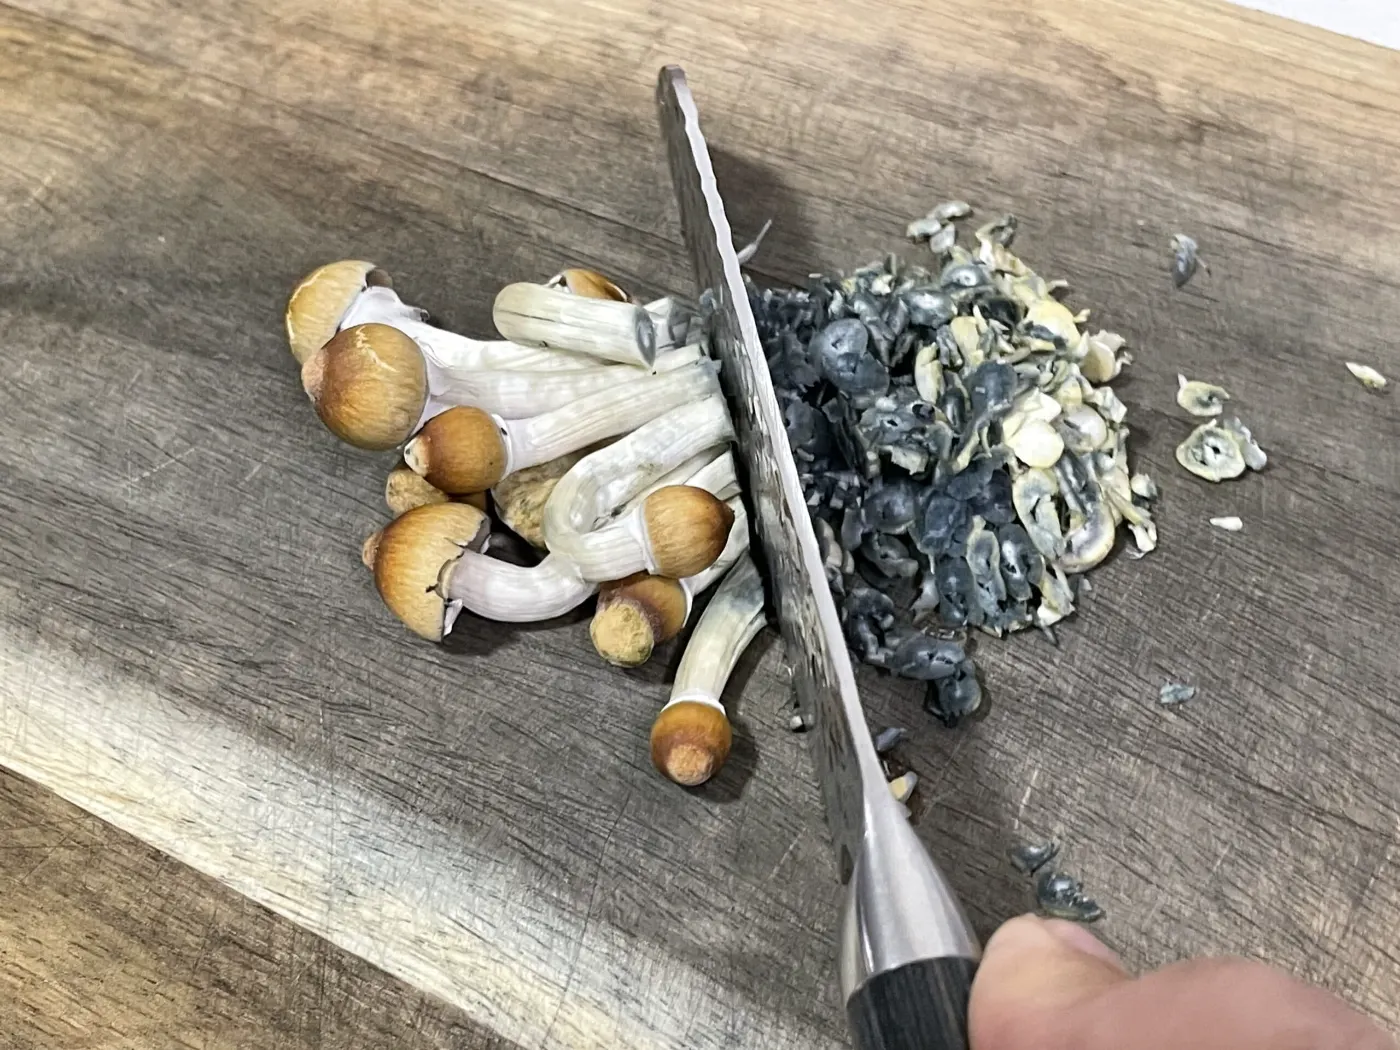
Use a cutting board and knife to chop off the substrate-covered base of each mushroom, and gently brush off any substrate residue, until you have a pile of clean mushrooms. Do not wash them as this will reduce their potency!
Pictures : Mushrooms Ready for Harvesting
Drying and Storing your Magic Mushrooms
- Don't wash the mushrooms, it will reduce their potency.
- Start the dehydrator at 95°F or use a "low" setting to begin with.
- Rotate the mushrooms around in the dehydrater every few hours so that they dry as evenly as possible.
Video Tutorial : Drying and Storing your Mushrooms
The video markers above 👆🏼correspond to the the various Steps in this Unit. Click on them to skip to a Step.
Dry Mushrooms in Food Dehydrator
Place freshly picked and cleaned mushrooms on the trays of the dehydrator. Very large or chunky mushrooms should be split in two to facilitate drying. Once in, run the dehydrator at temperatures around 95-100 F for between 12-24 hours.
Verify Mushrooms are Bone Dry
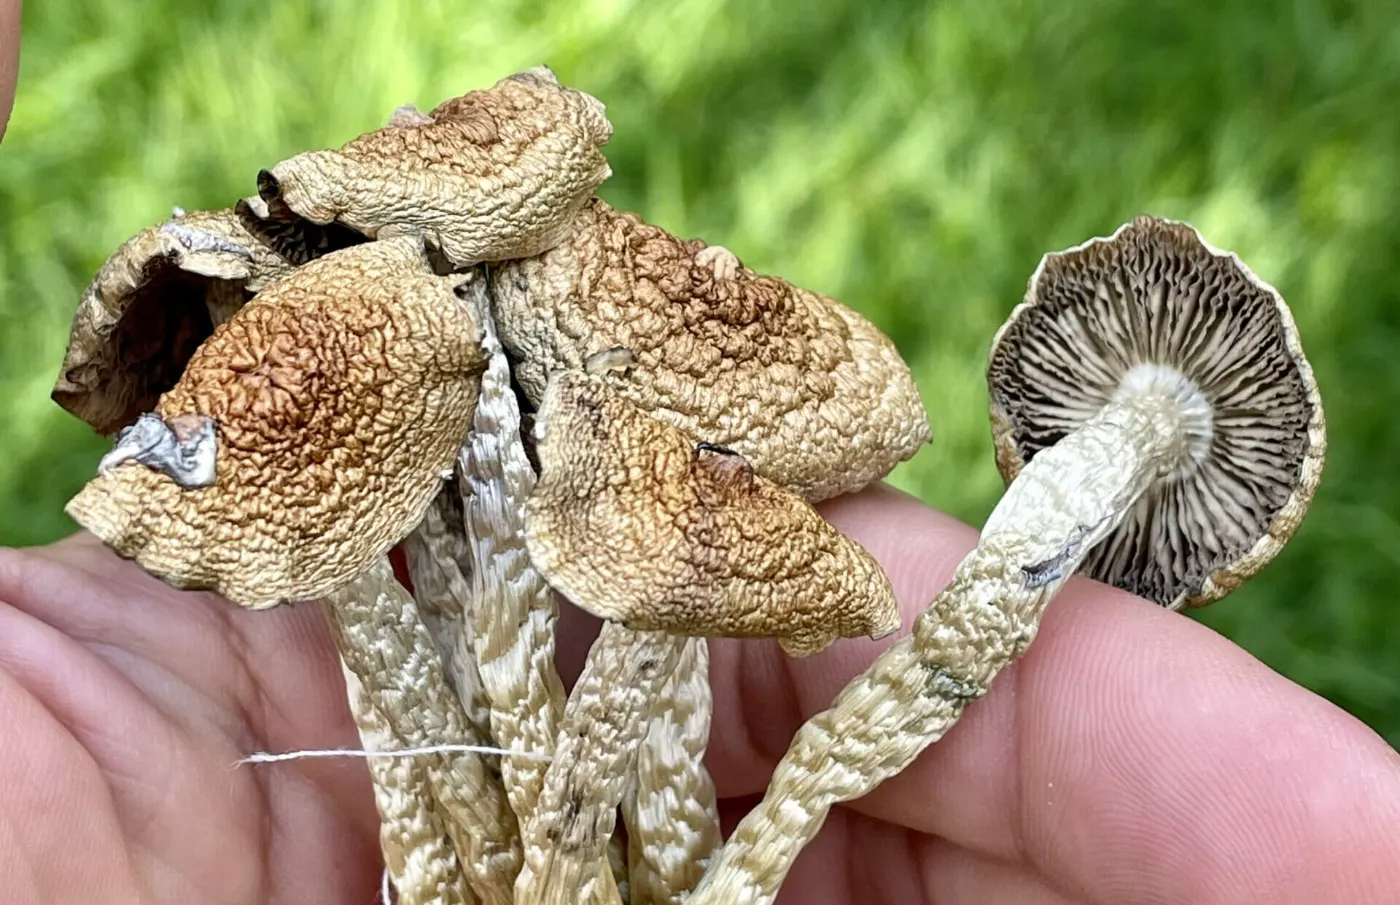
Over the drying period, occasionally inspect the mushrooms by touching and bending them. They are considered "bone dry" when then snap on bending. Once all mushrooms have become bone dry they are ready for long term packaging.
Package and Seal Mushroom Jars
Get an airtight container such as a mason jar. Place 2 silica gel packs in the bottom of the jar. Fill the jar half way with dry magic mushrooms. Place another two silica gel packs mid way through the jar. Fill the jar to the brim with dry mushrooms and add a final two silica packs, making a total of 6. Seal the jar tightly with a regular, unmodified lid. This jar should be stored in a dark, cool and dry place. The dry mushrooms can be kept this way for several years.
Next Unit: Managing additional flushes. Learn how to rehydrate and feed your mycelium cake so that it gives additional (up to 3-4) magic mushroom flushes. Love your cake, and it will love you back.